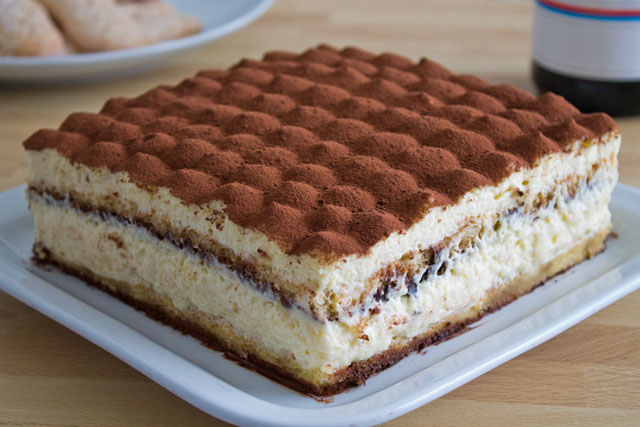
My very first video: Tiramisù (with pasteurised eggs)
Guys, you simply cannot imagine how excited I am about this post!
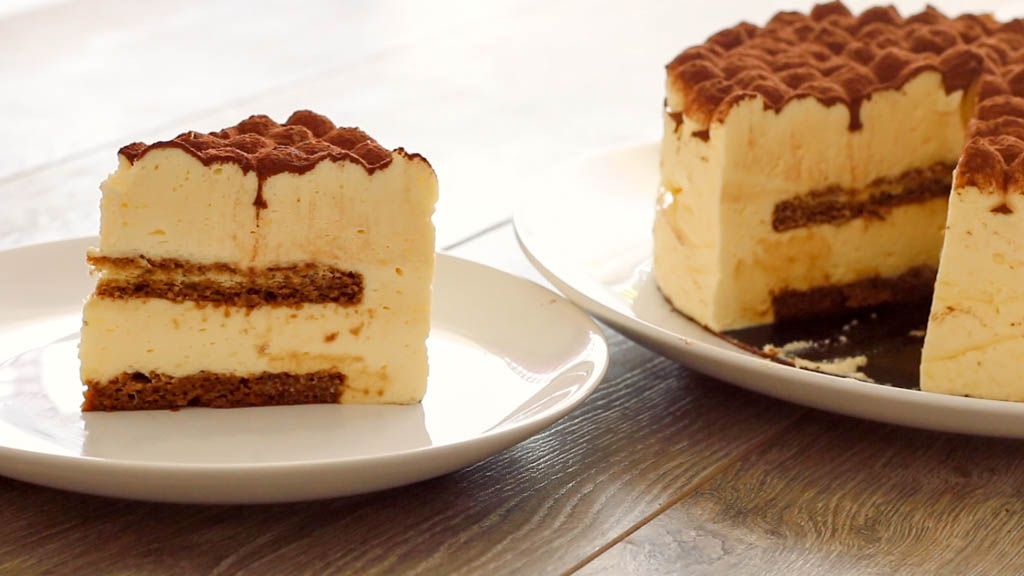
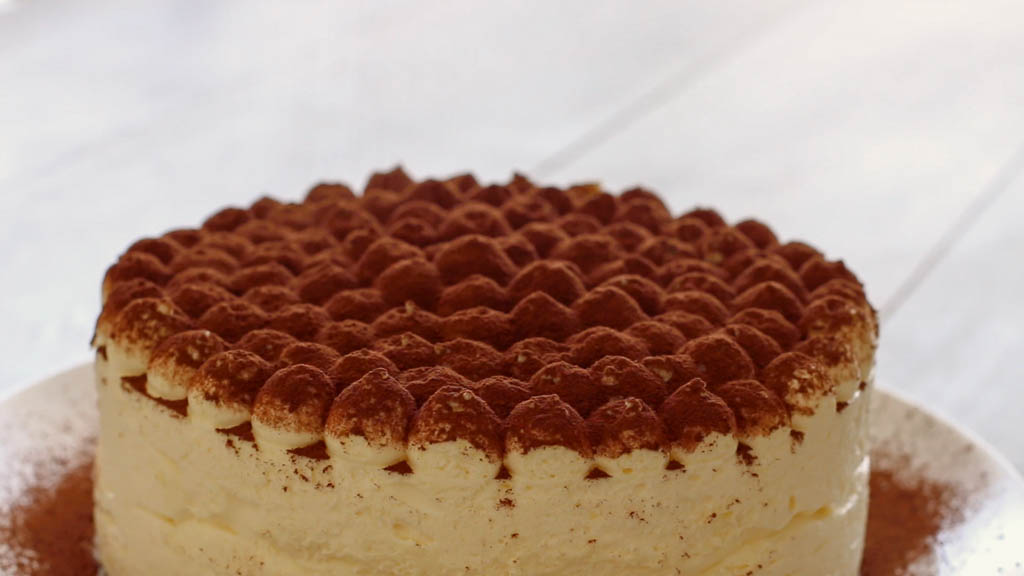
First of all, I’ve just made the most amazing tiramisù ever!
But I also took a video while I was making it… so I am very proud to present you my very first video recipe! 😀
If taking pictures while baking is hard enough, then let me reassure you that taking a video is a real challenge… and stressful, because literally nothing must go wrong! (You can’t unmix two ingredients!)
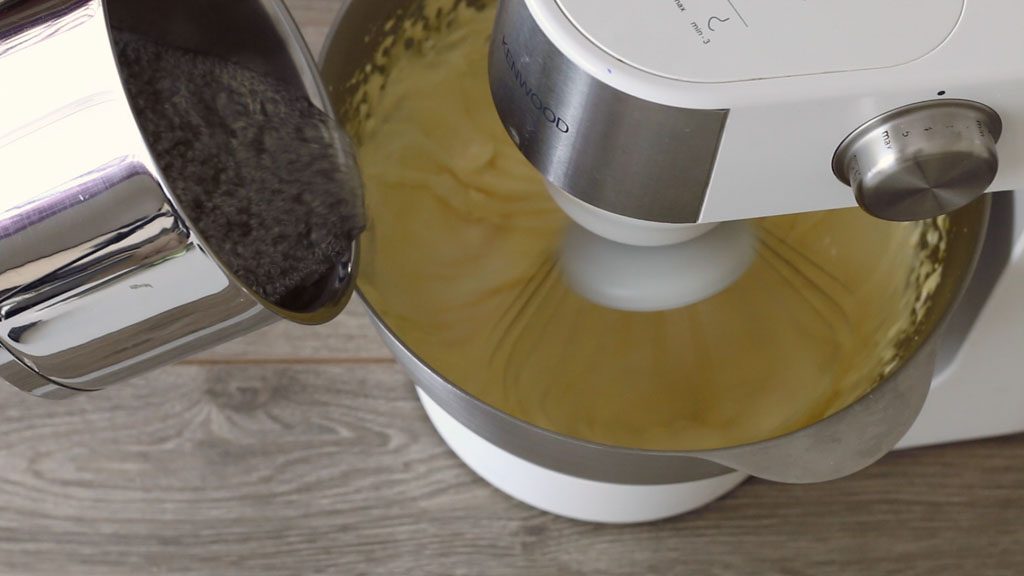
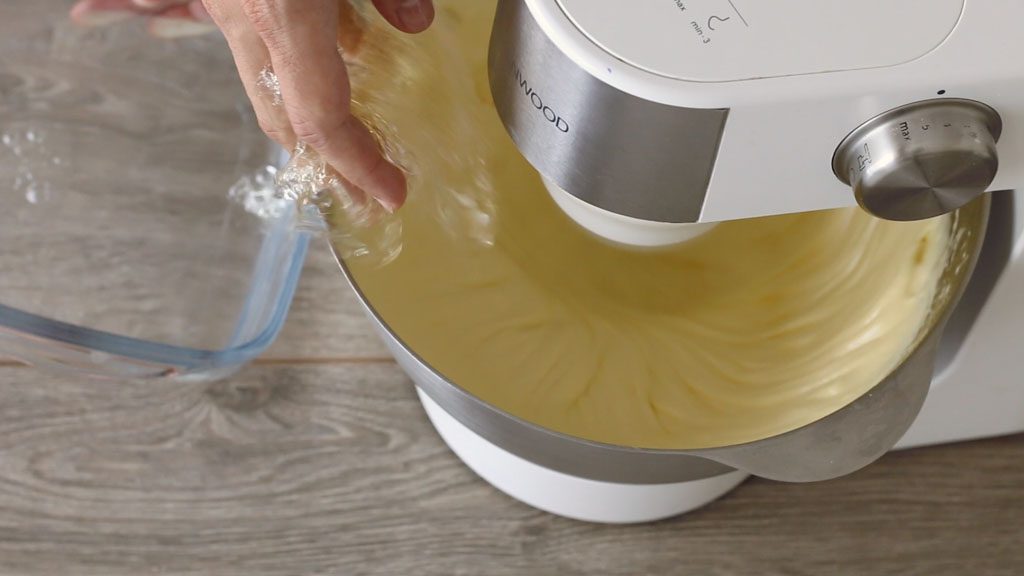
On a pastry note, this tiramisù can be considered “professional“: it is not made with raw eggs like the traditional, home made one, but it uses pâte à bombe instead. Pâte à bombe is simply a mixture of egg yolks and hot sugar syrup, used to pasteurise the eggs and kill all the bacteria. Pâte à bombe is definitely safer, makes the cake last a bit longer and gives it an extraordinary texture.
Anyway, although there might be a few things to improve in the video, I’m pretty satisfied with the result! What do you think? Should I make more videos? 😀
(The usual step-by-step recipe with photos is below the video)
Tiramisù with pâte à bombe
 Print recipe
Ingredients
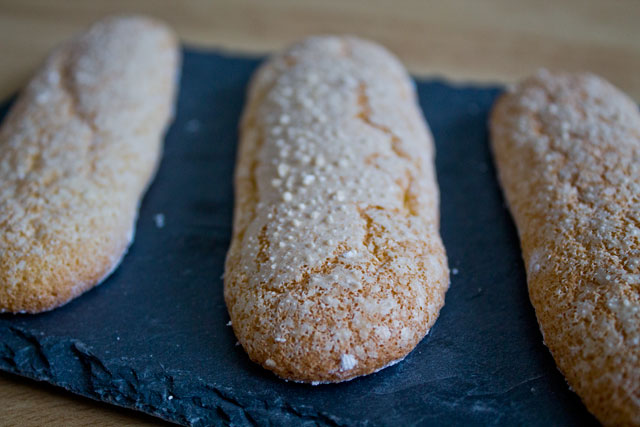
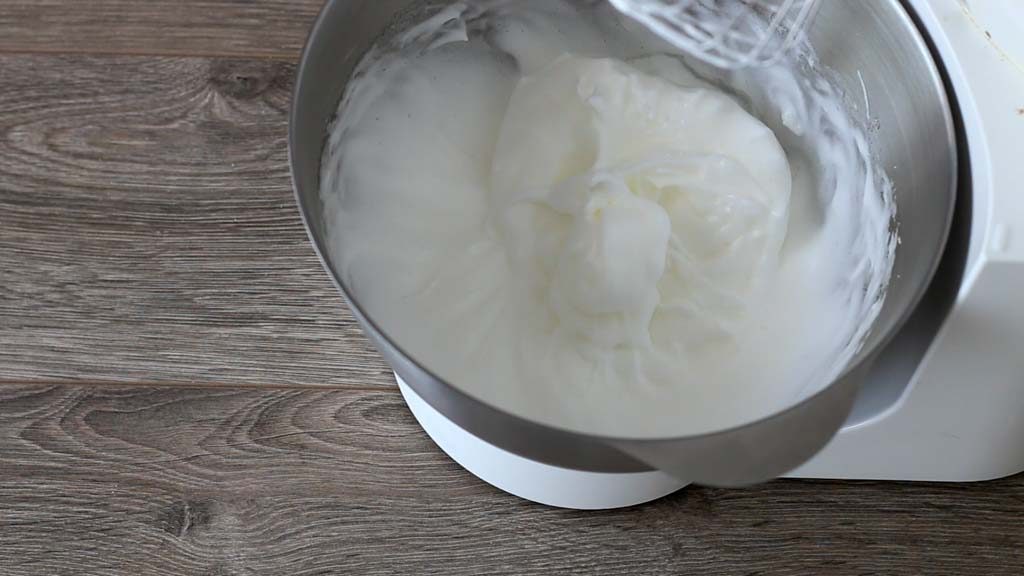
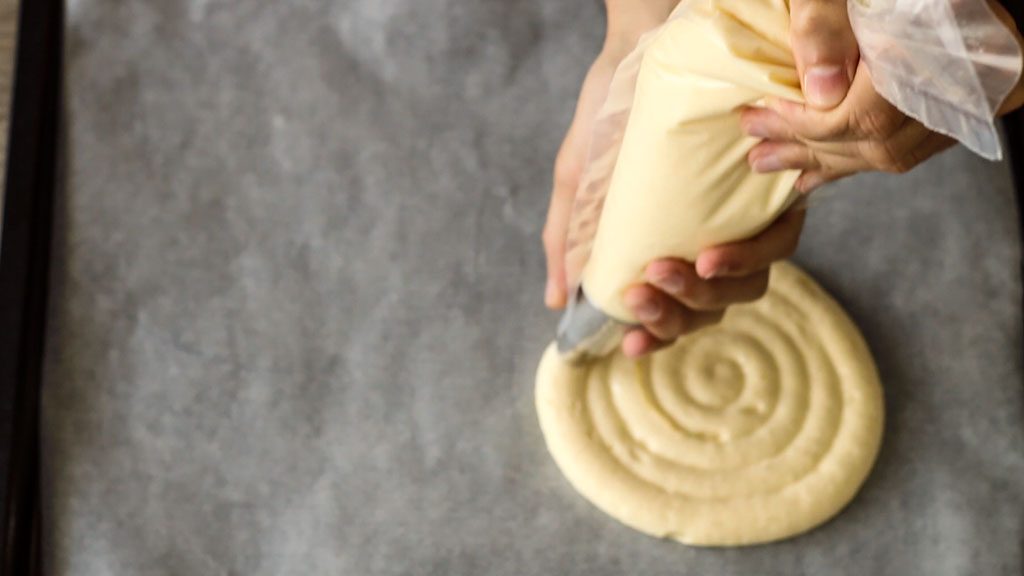
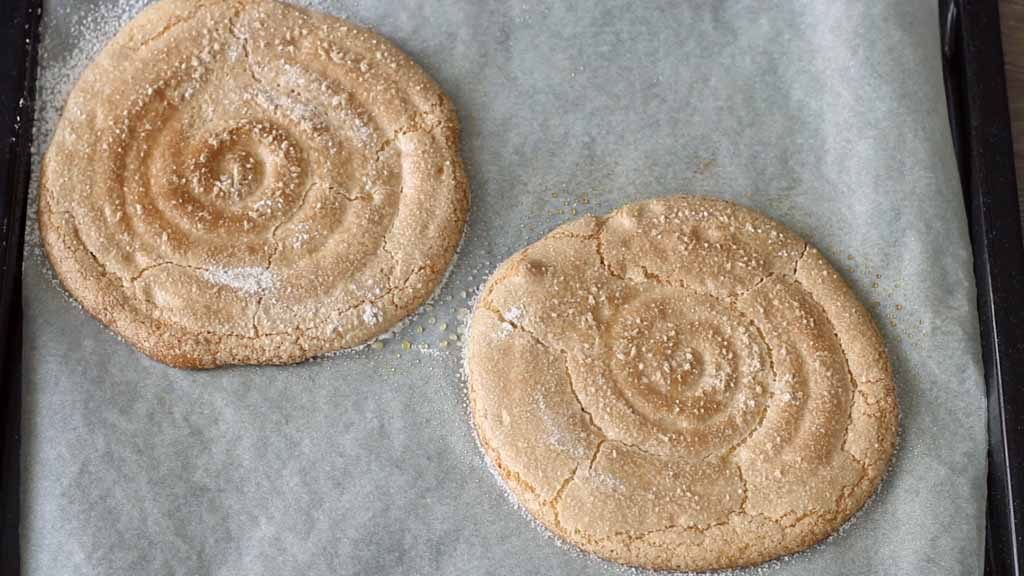
Ladyfinger spongecake
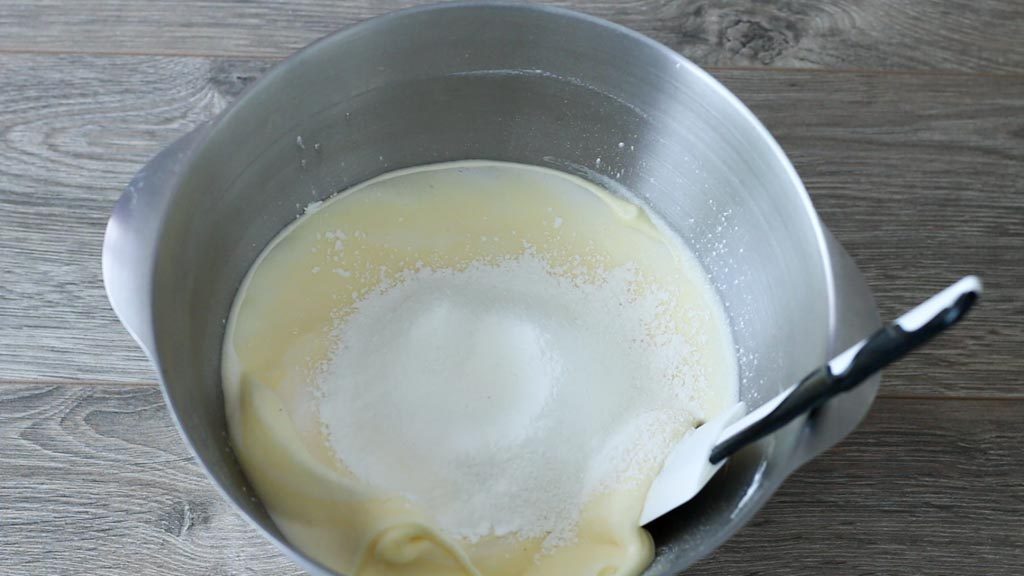
| 90g | Egg whites |
| 60g | Granulated sugar |
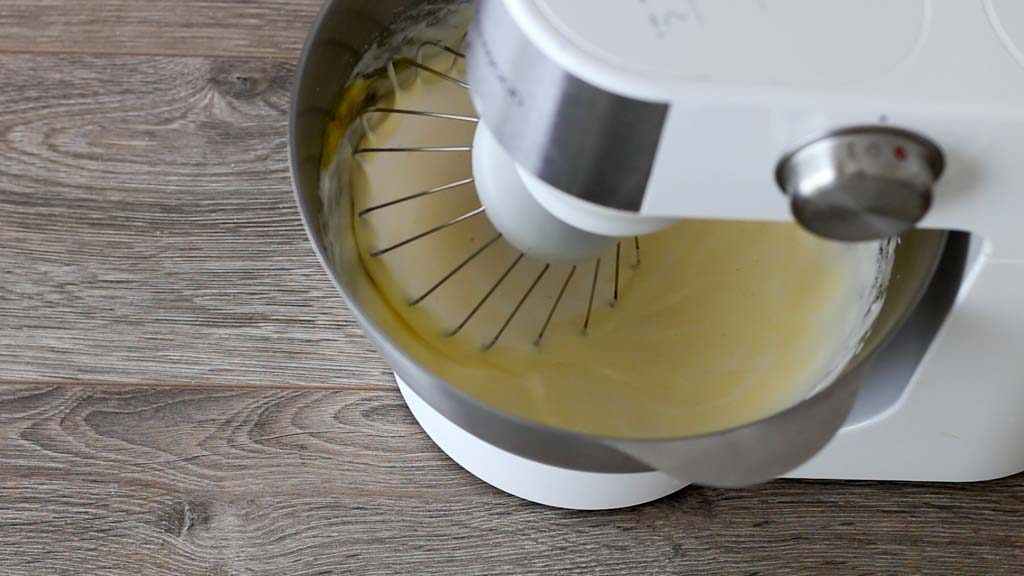
| 120g | Egg yolks |
| 35g | Pastry flour |
| 30g | Cornstarch |
| As needed | Granulated sugar |
| As needed | Powdered sugar |
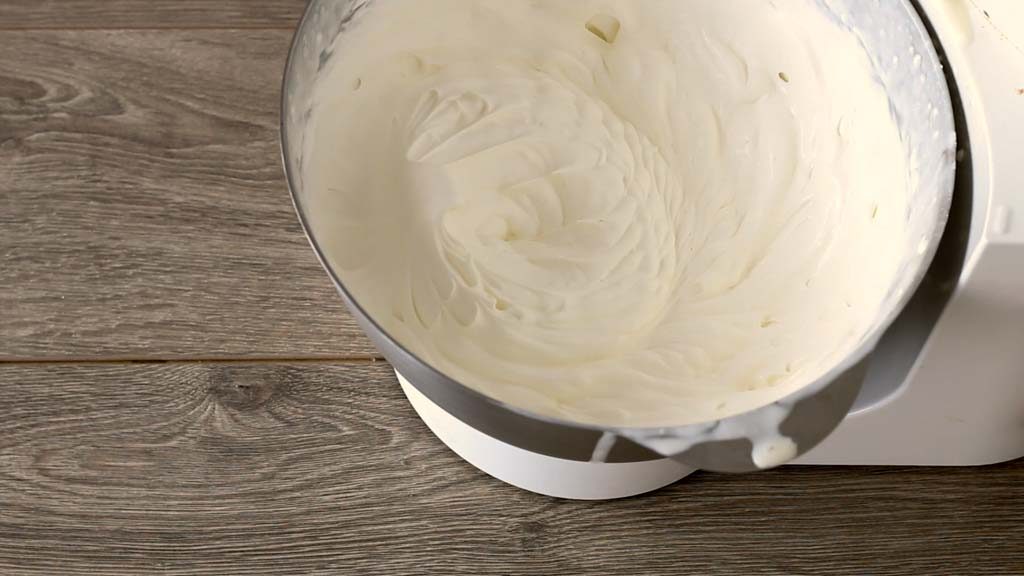
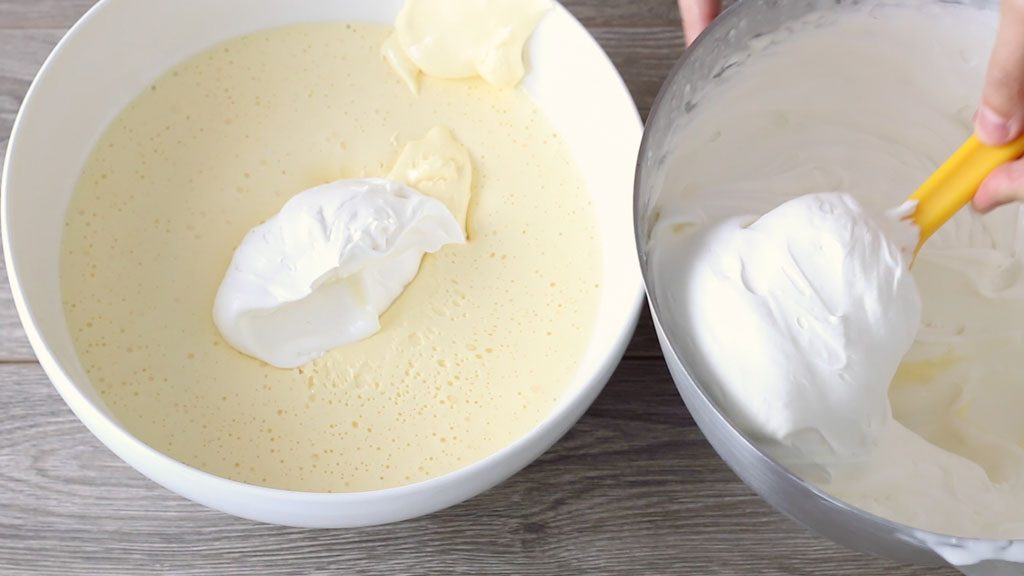
Mascarpone mousse
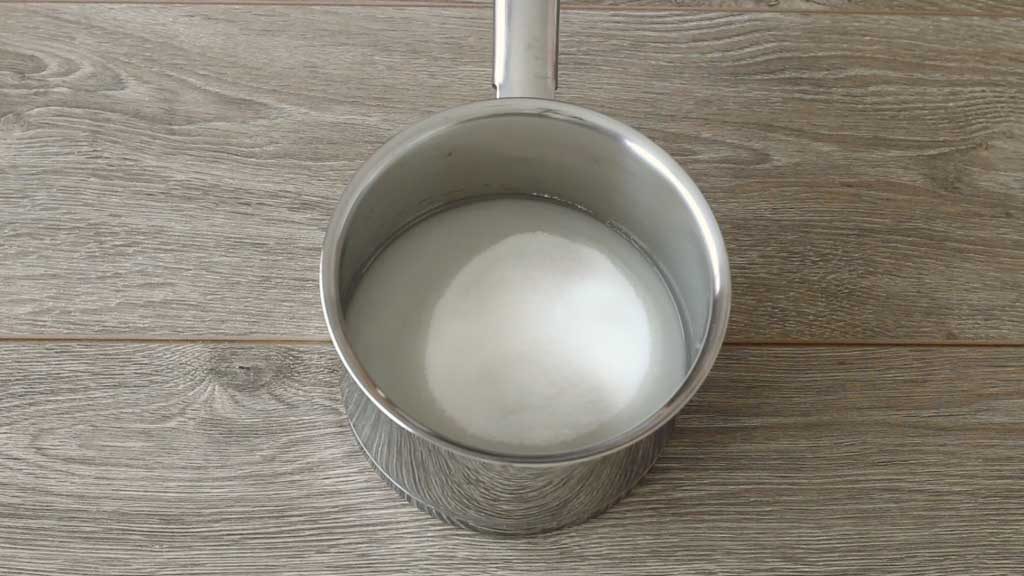
| 120g | Egg yolks |
| 240g | Granulated sugar |
| 70g | Water |
| 11g | Sheet gelatin |
| 350g | Mascarpone cheese |
| 350g | Heavy cream |
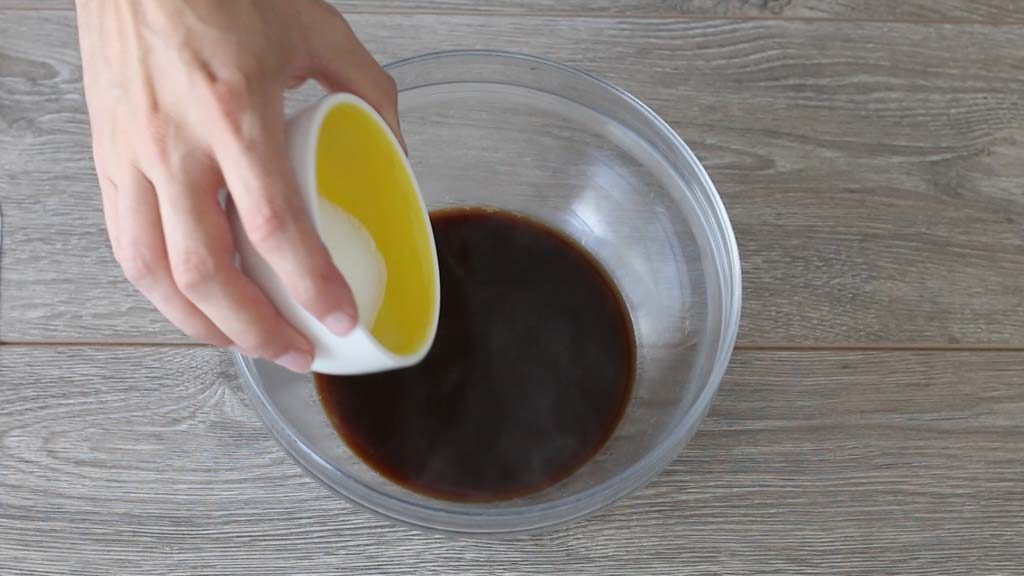
Coffee syrup
| 150g | Espresso coffee |
| 4 teaspoons | Granulated sugar |
Decoration
| As needed | Cocoa powder |
Directions
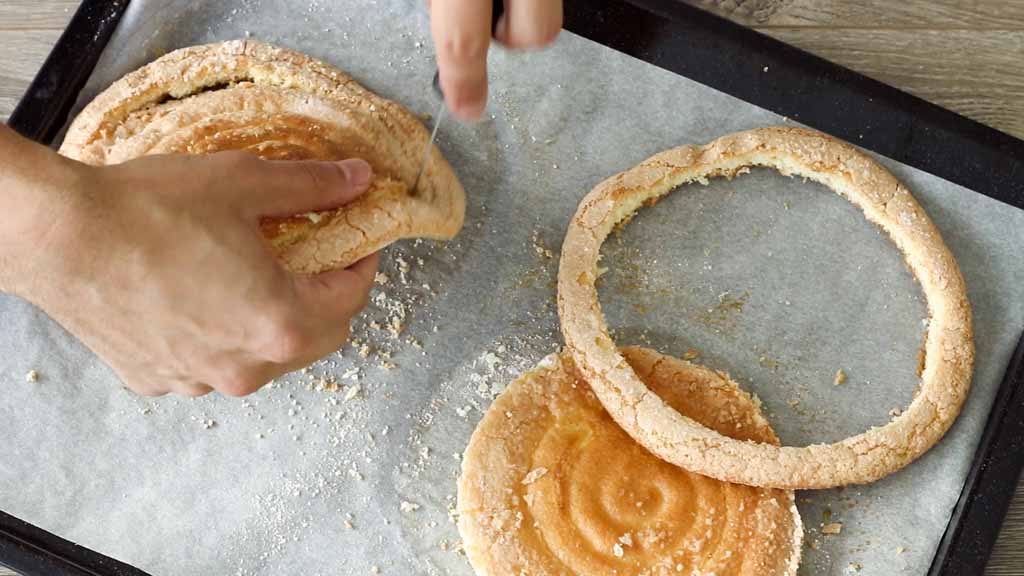
Ladyfinger spongecake
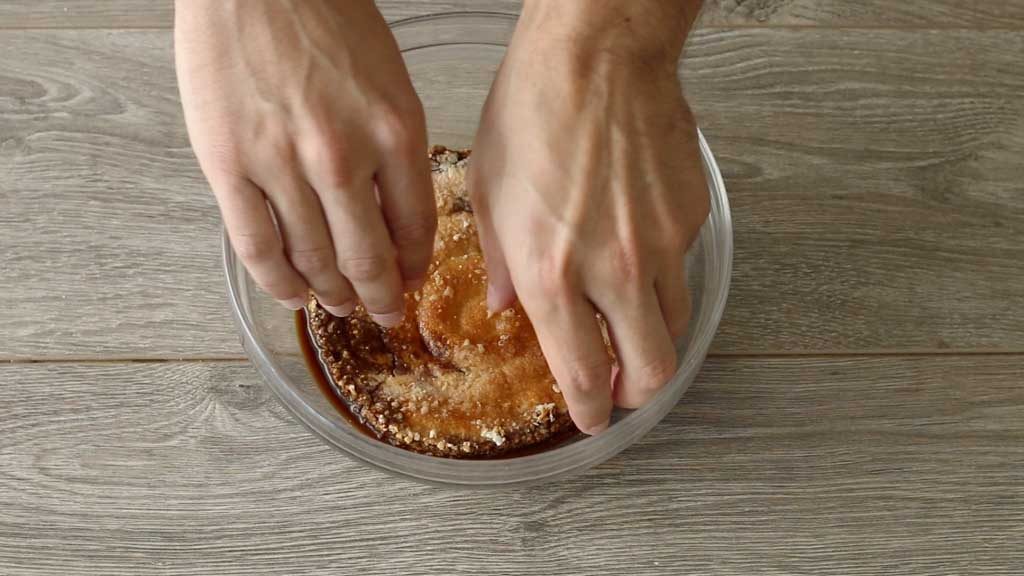
Coffee syrup
Mascarpone mousse

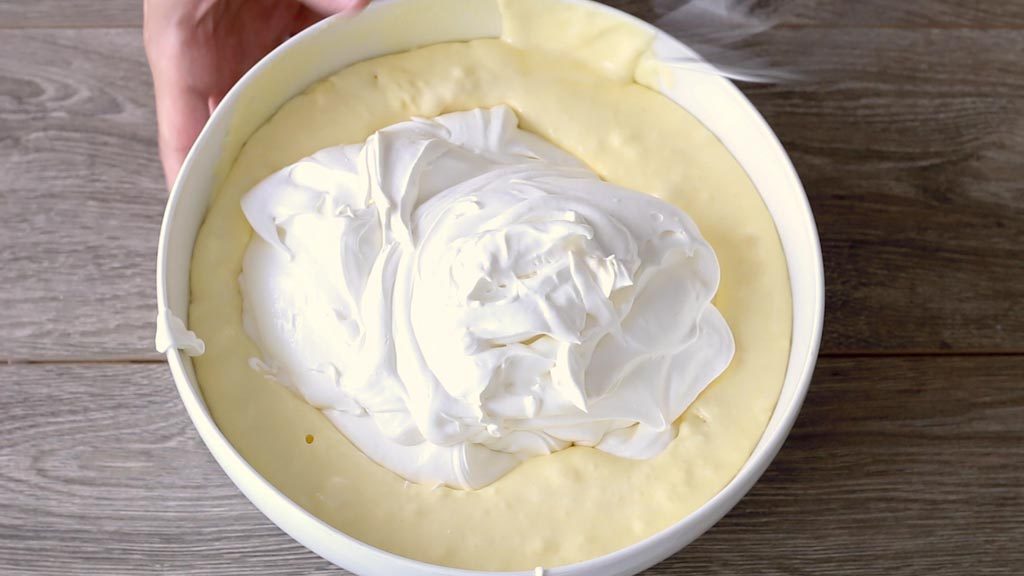
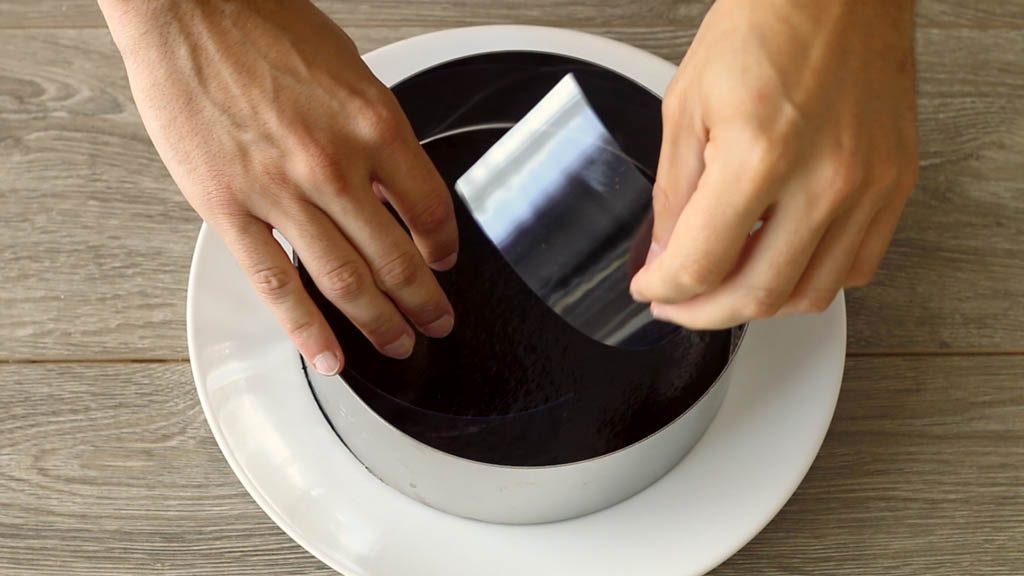
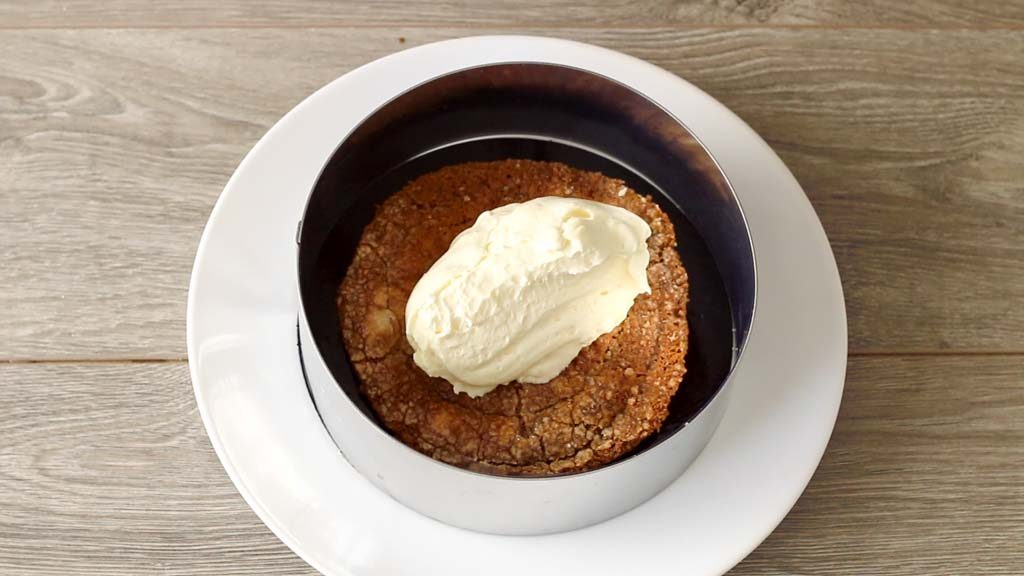
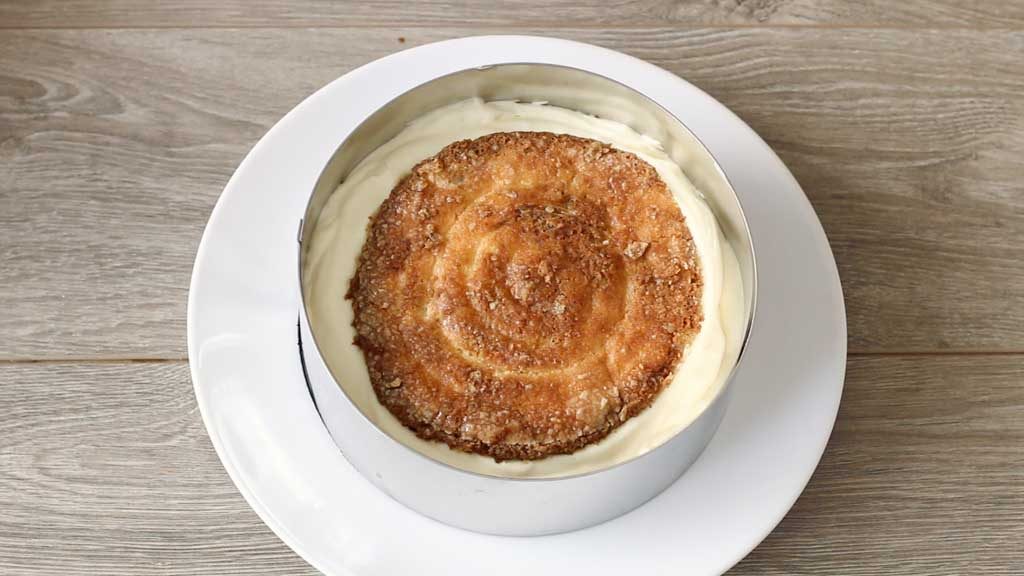
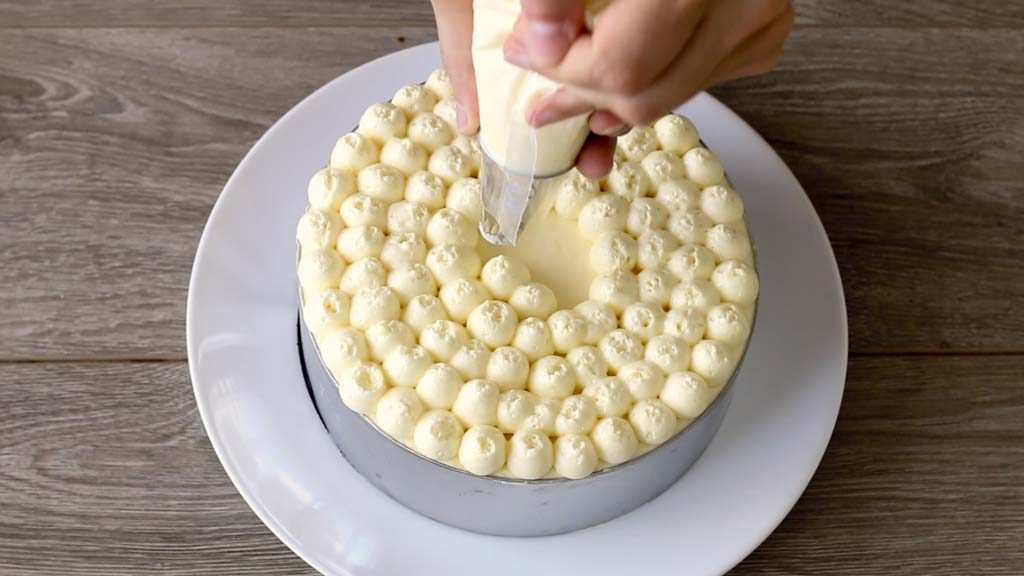
Assembling the cake