Recipe: Tiramisu-shi
I haven’t been baking that much lately. I’d like to think it’s more because the weather has been insanely hot rather than because I’ve been insanely lazy. Ok, maybe it’s for both reasons.
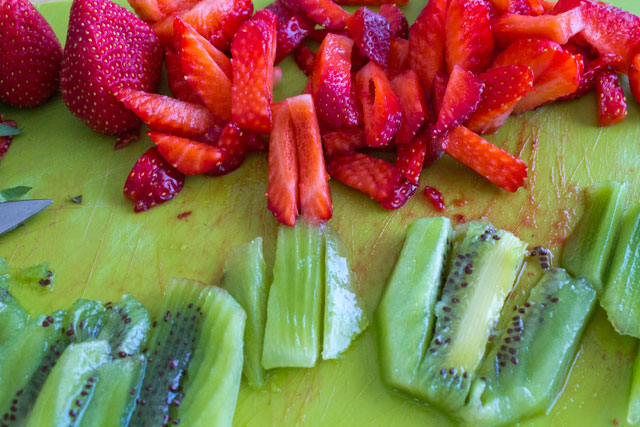
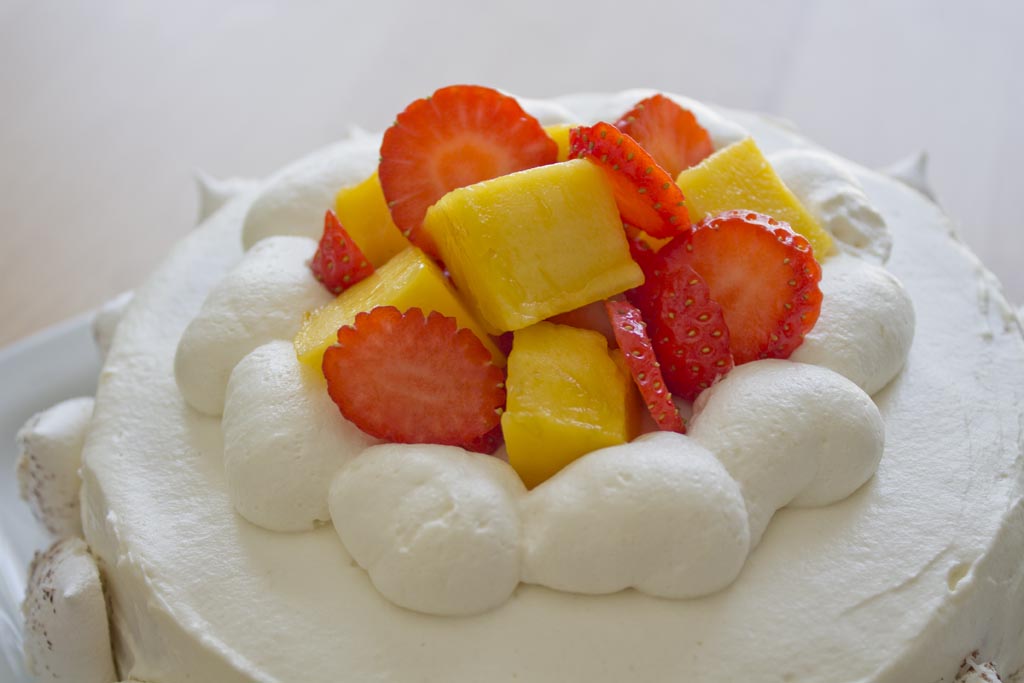
And it’s absolutely a shame, because there are so many good fruits in this season! Strawberries for example. I mean, I would put them in every cake, they are delicious.
But since I’m lazy, here I am at the end of the strawberry season, rushing to make some nice dessert with them!
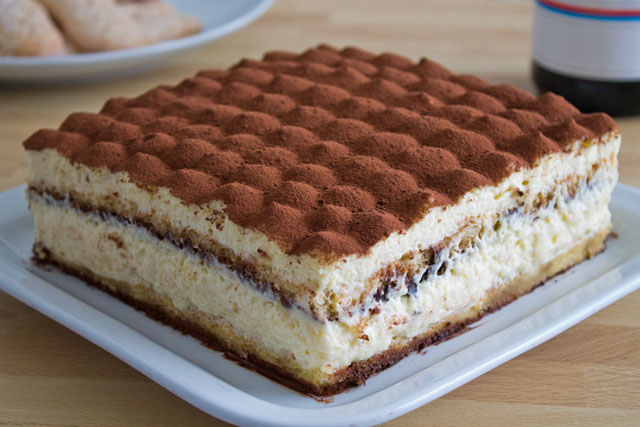
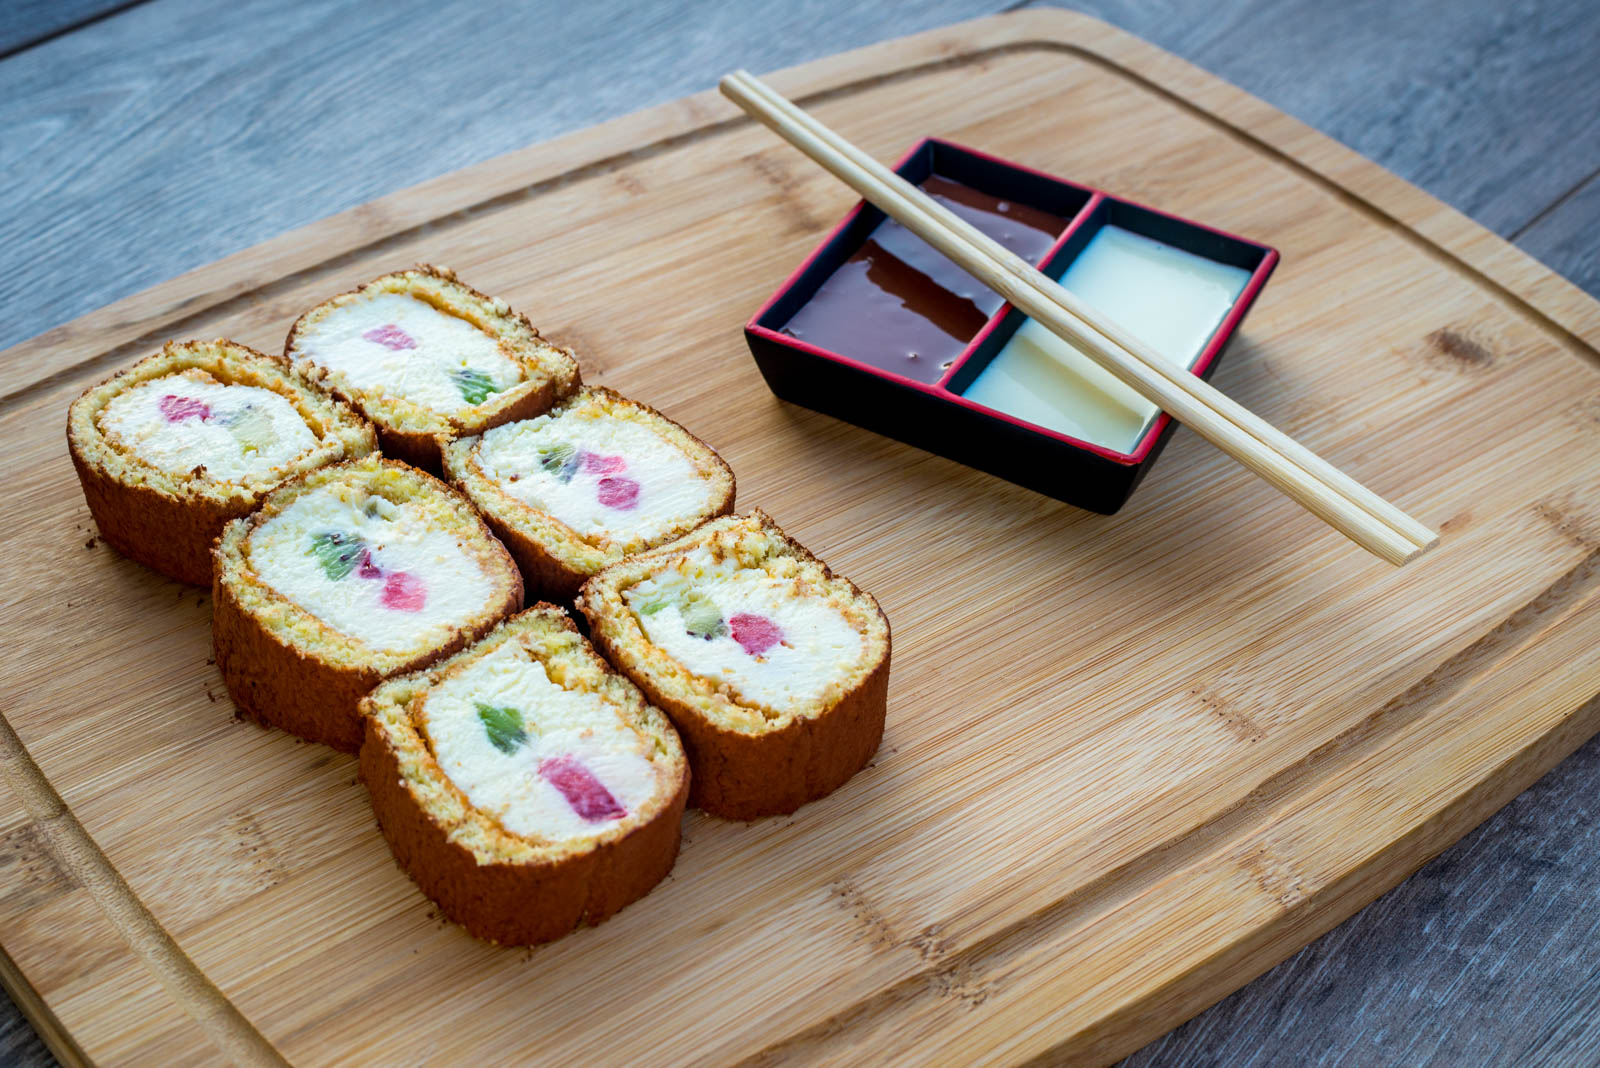
Well… at least it seems I succeeded in the end: I absolutely love this Tiramisu-shi, a tiramisù in the shape of sushi (I know they are actually “makis”, but “tiramisu-maki” was totally uninteresting as a name). 😛
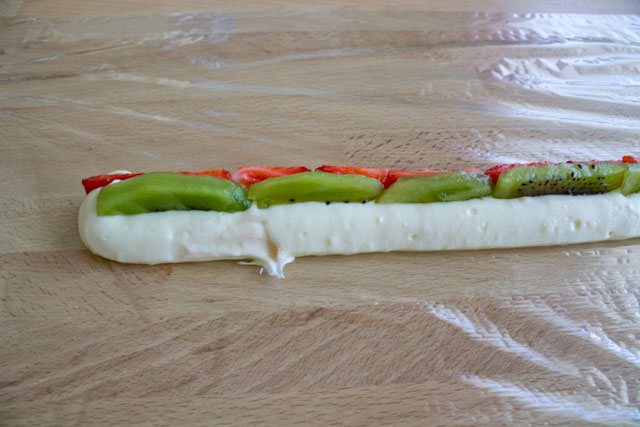
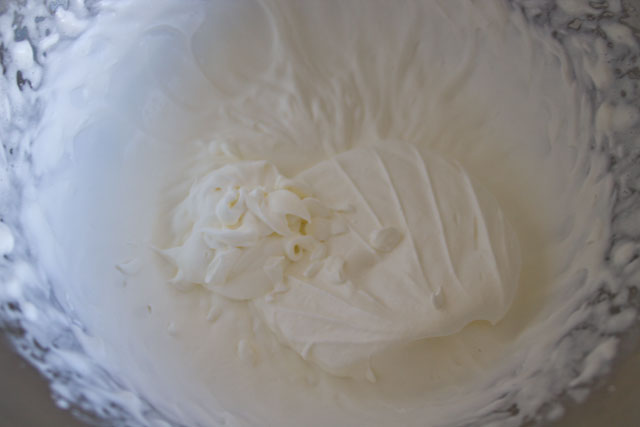
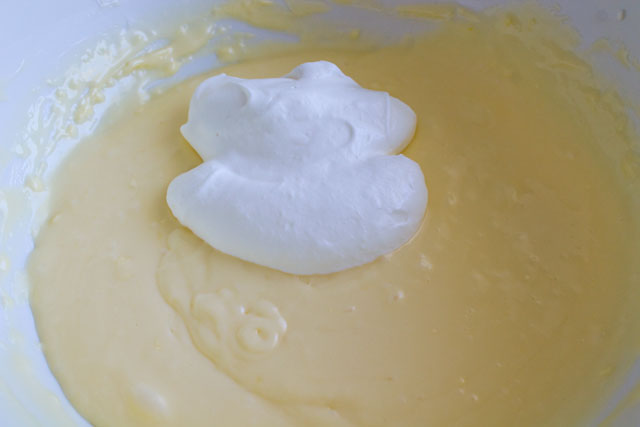
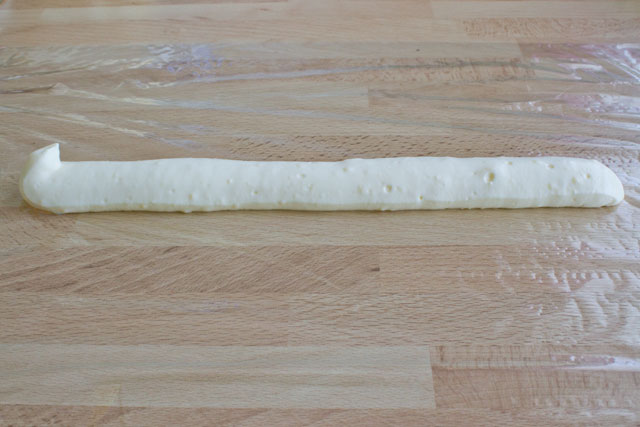
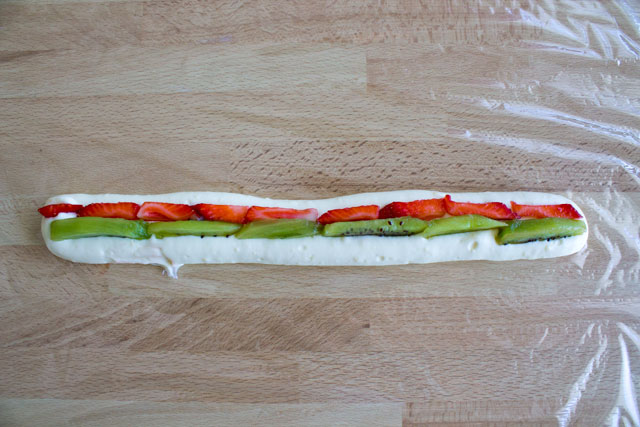
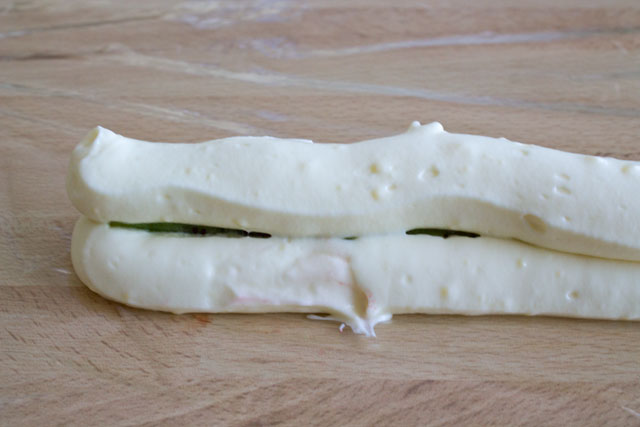
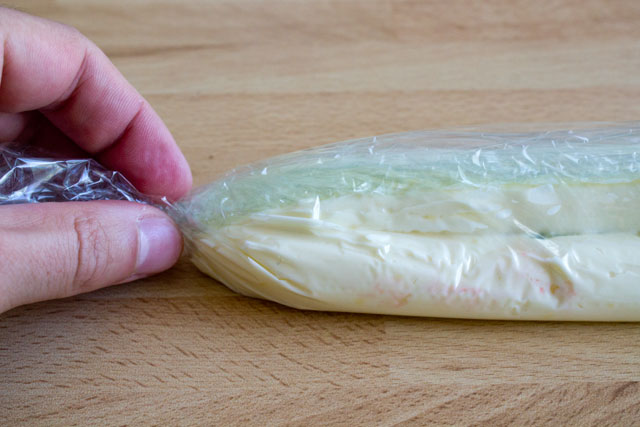
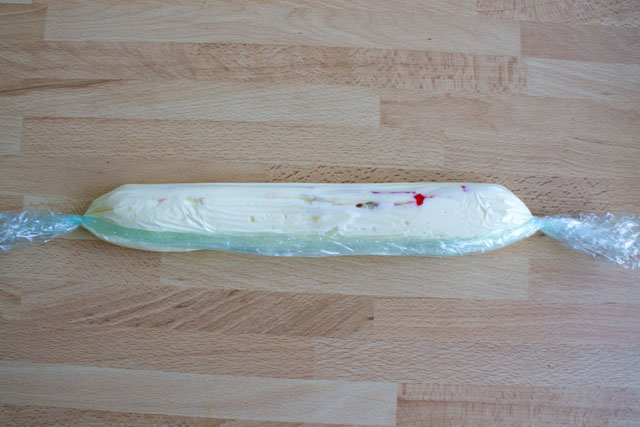
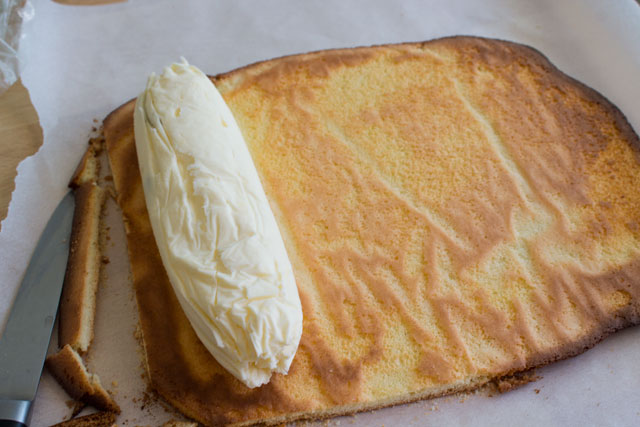
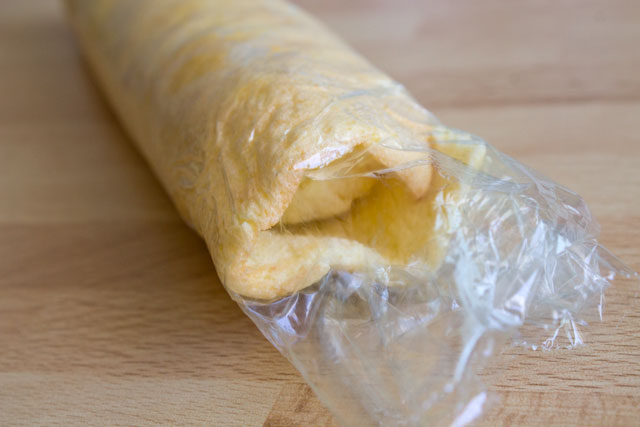
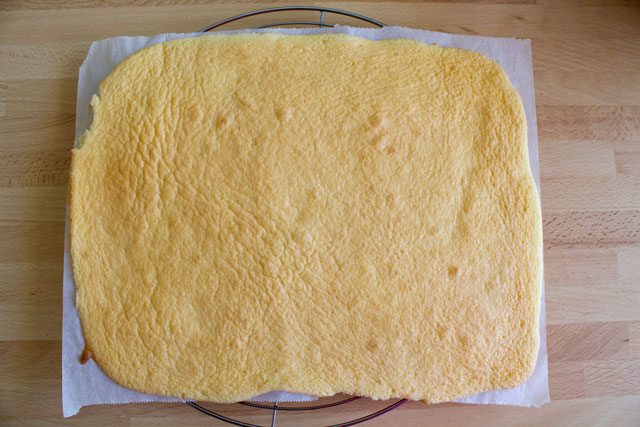
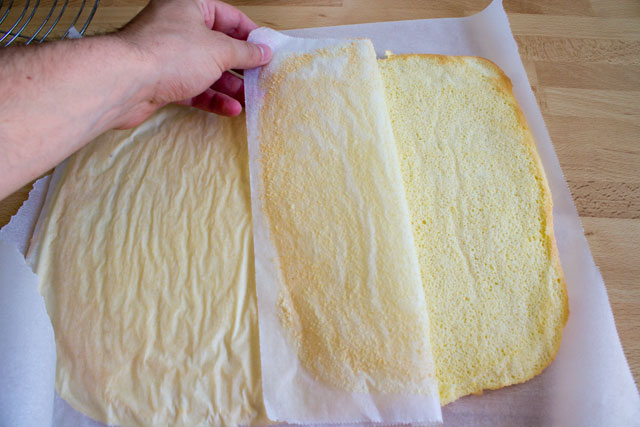
The Tiramisushi is a recipe by Italian chef Luca Montersino and is made of a core of mascarpone cream mousse with fresh fruits (I used strawberries and kiwis to remind of the fish and avocado), wrapped in spongecake. The tiramisù is then rolled in cocoa powder, sliced like makis and served with a chocolaute sauce or ganache.
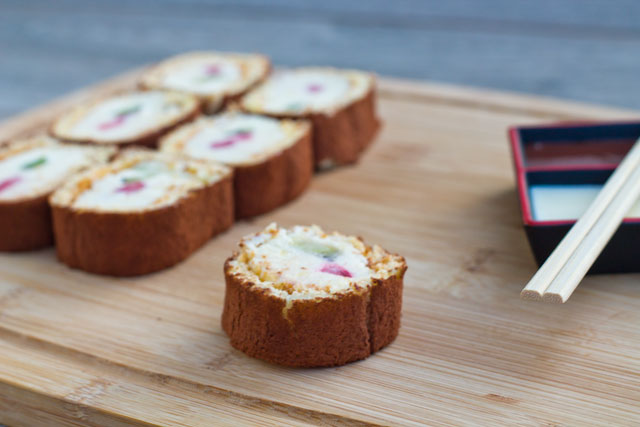
And yes, you can actually eat it with chopsticks! It’s probably one of the nicest and most captivating desserts I’ve ever made. It’s not super simple (rolling the cylinder of mascarpone mousse without shooting cream everywhere made me sweat!) but it’s manageable and it will certainly dazzle your friends! 🙂
Tiramisushi
 Print recipe
Ingredients
| 250g | Heavy cream (min. 30% fat) |
| 100g | Fresh strawberries |
| 100g | Fresh kiwis |
| As needed | Cocoa powder |
| 85g | Granulated sugar |
| 25g | Water |
| 8g | Sheet gelatin |
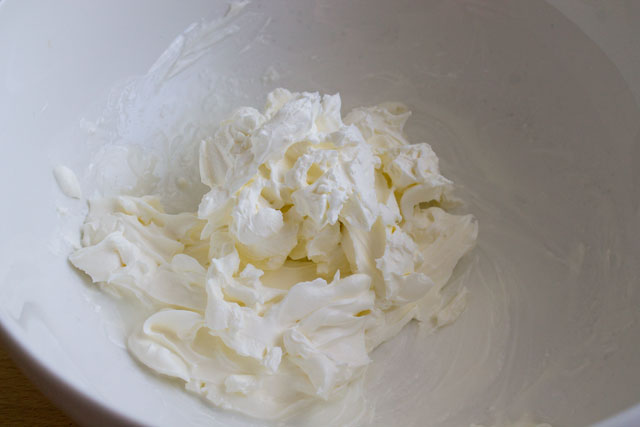
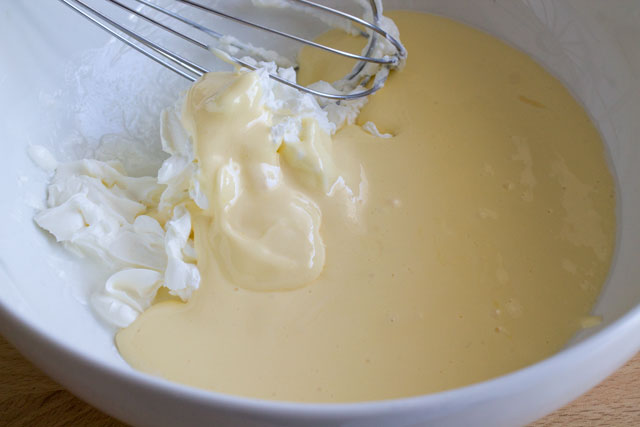
| 250g | Mascarpone cheese |
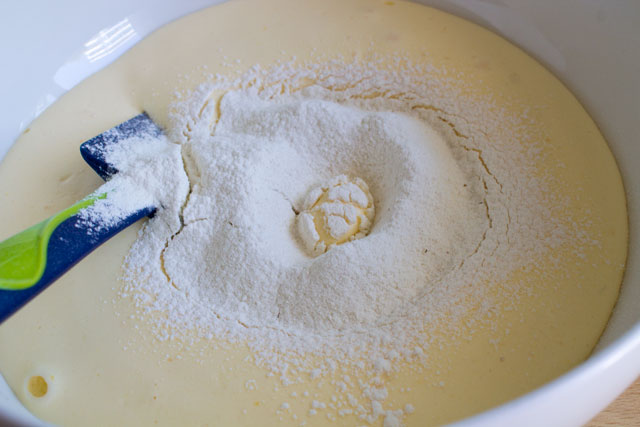
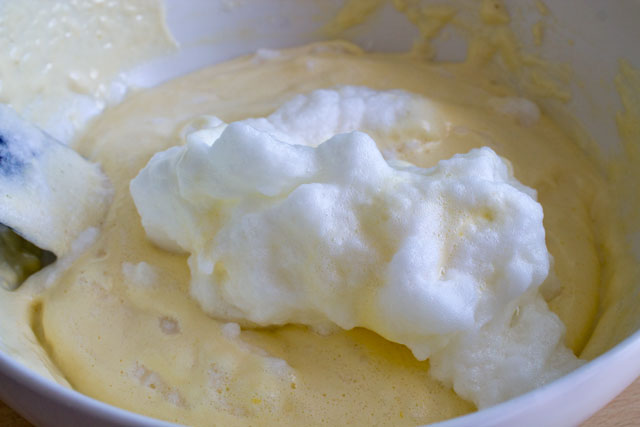
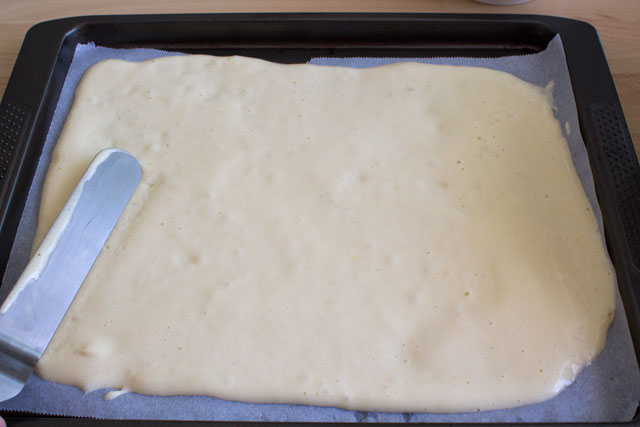
Rolled spongecake
| 45g | Egg yolks (~2 yolks) |
| 110g | Eggs (~2 eggs) |
| 110 | Granulated sugar (for the egg yolks) |
| 65 | Egg whites (~2 egg whites) |
| 15 | Granulated sugar (for the egg whites) |
| 65 | Pastry flour |
Mascarpone cream mousse
| 45g | Egg yolks |
Directions
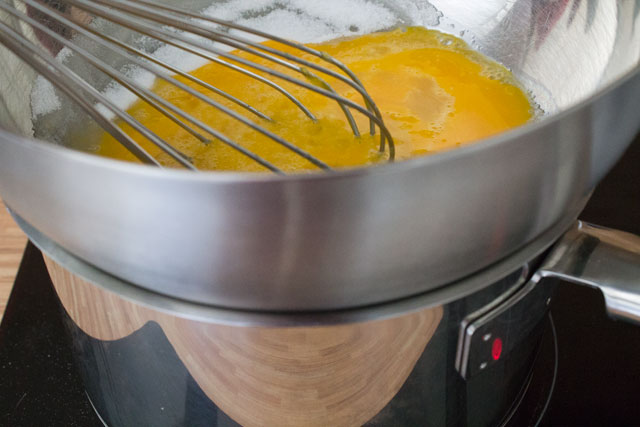
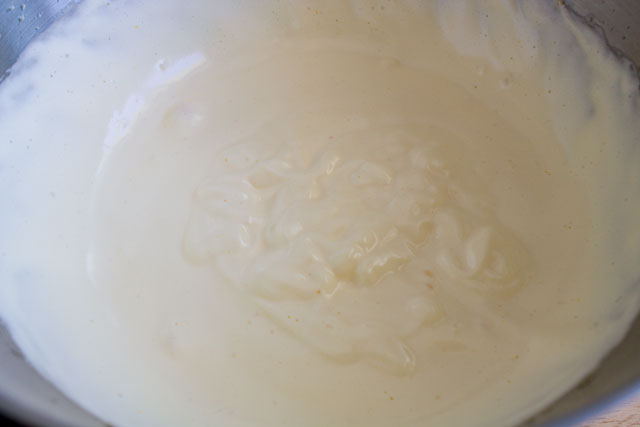
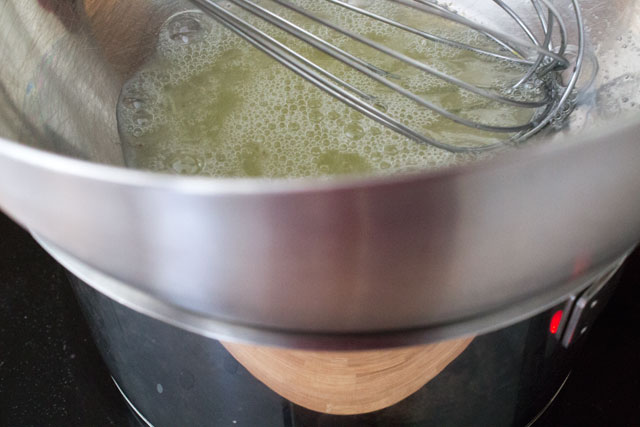
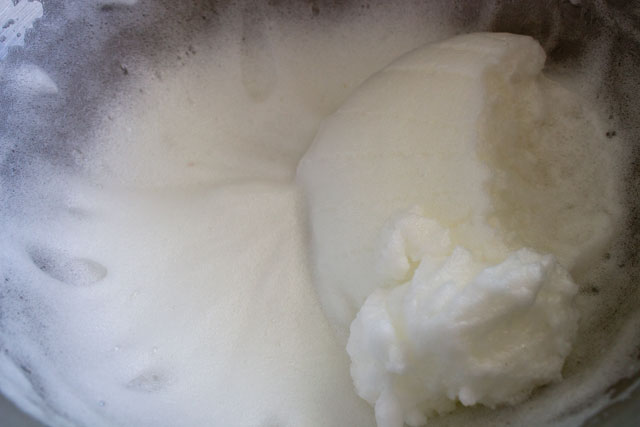
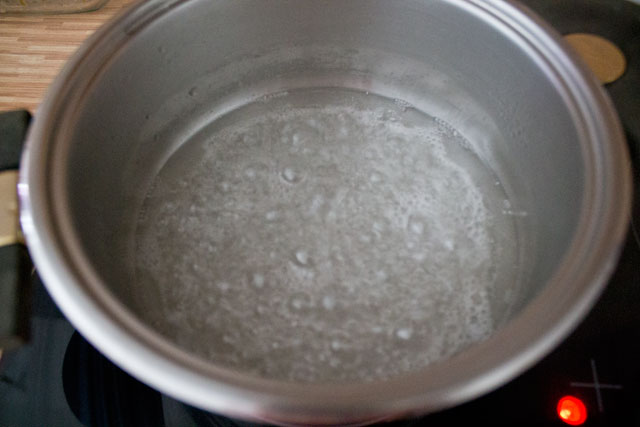
Mascarpone cream mousse