Recipe: Saint-Honoré

Are you ready for a challenge? 🙂
After months of hesitation, I finally found the courage to face one of the behemoths of pastry: the famous Saint-Honoré cake.

What is the Saint-Honoré cake?
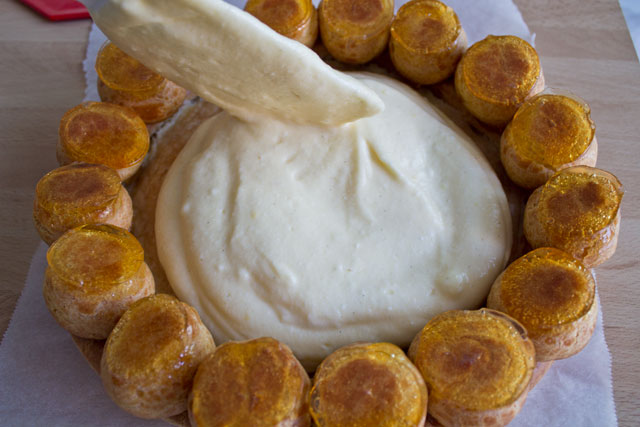
A Saint-Honoré is a complex cake with a base of puff pastry and choux pastry, a ring of caramel-glazed cream puffs on the border and a Chiboust cream filling.
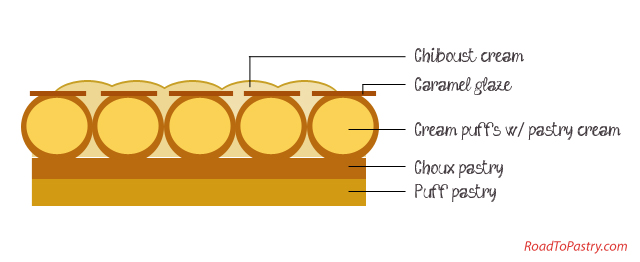
The different components of a Saint-Honoré cake
It is traditionally decorated by using a piping bag fitted with the St. Honoré tip.
The somewhat-tricky Chiboust cream today is often replaced with a lighter Chantilly cream, and sometimes the base is made of tart dough rather than puff pastry. For this post, though, I tried to respect the traditional recipe as much as possible.
What’s the story behind the Saint-Honoré?
This famous French gâteau was created in the 1800’s by a pastry chef named Chiboust, who had a shop in Rue Saint Honoré.
On a side note, a baker in 1202 offered his money to build a chapel in Paris in honour of Saint Honoré: the chapel became one of the richest of the city and in 1400, the bakers of Paris established their guild in the church of “Saint Honoratus”, who is now the patron saint of bakers.
Techniques you need to master for a Saint Honoré
Oh, so you like the Saint-Honoré and you would like to make it. Fine, I just hope this is not the first pastry attempt of your life! 🙂
This cake is not impossible at all, but it requires a lot of time, a good mastery of some fundamental techniques, and most importantly of all a perfect organisation and planning.
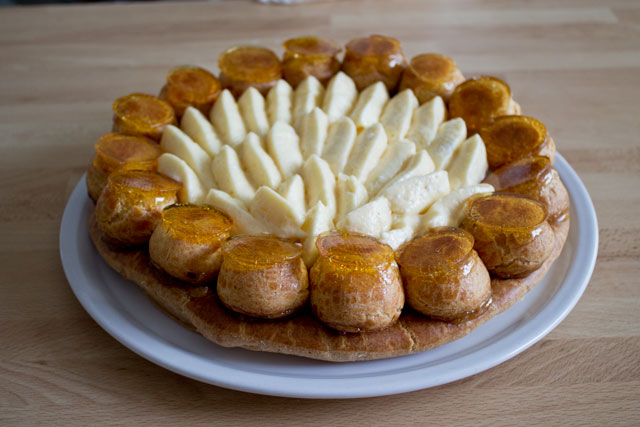
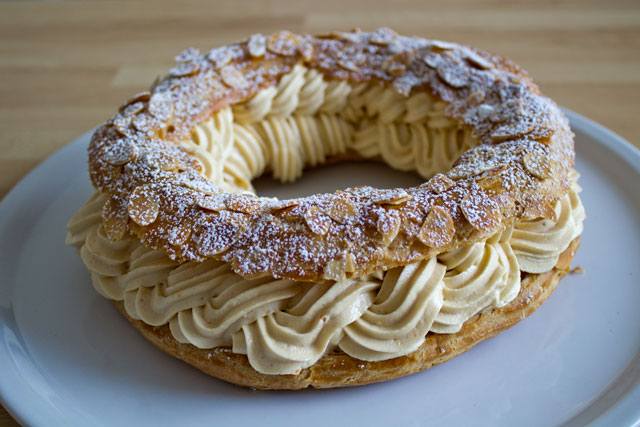
I was so happy with the decoration that I had to ruin it with the last touches 🙂
I suggest you try the following techniques at least once before attacking the Saint-Honoré:
- Puff pastry (follow the link for the recipe; sure you can buy it at the supermarket, but I wouldn’t talk to you anymore)
- Choux pastry/Éclair paste
- Caramel
- Pastry cream
- Italian meringue (for the Crème Chiboust)

The way I structured my work is the following. I tried to optimize time as much as possible (I recognize there might be better methods):
- Puff pastry: you can even make it a few days in advance
- Make the choux pastry: you need to make it the same day
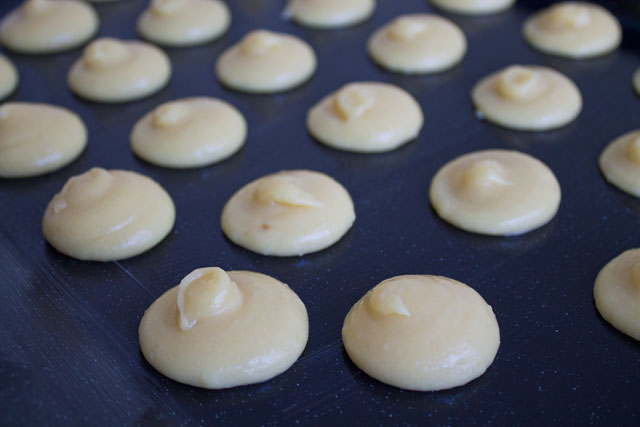
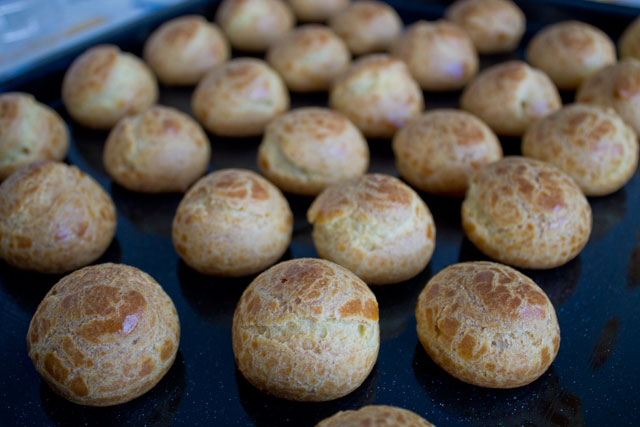
- Bake the cream puffs
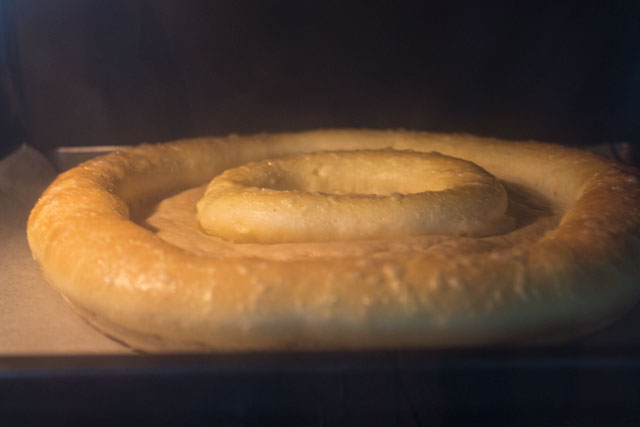
- Bake the cake base (puff pastry + choux pastry)
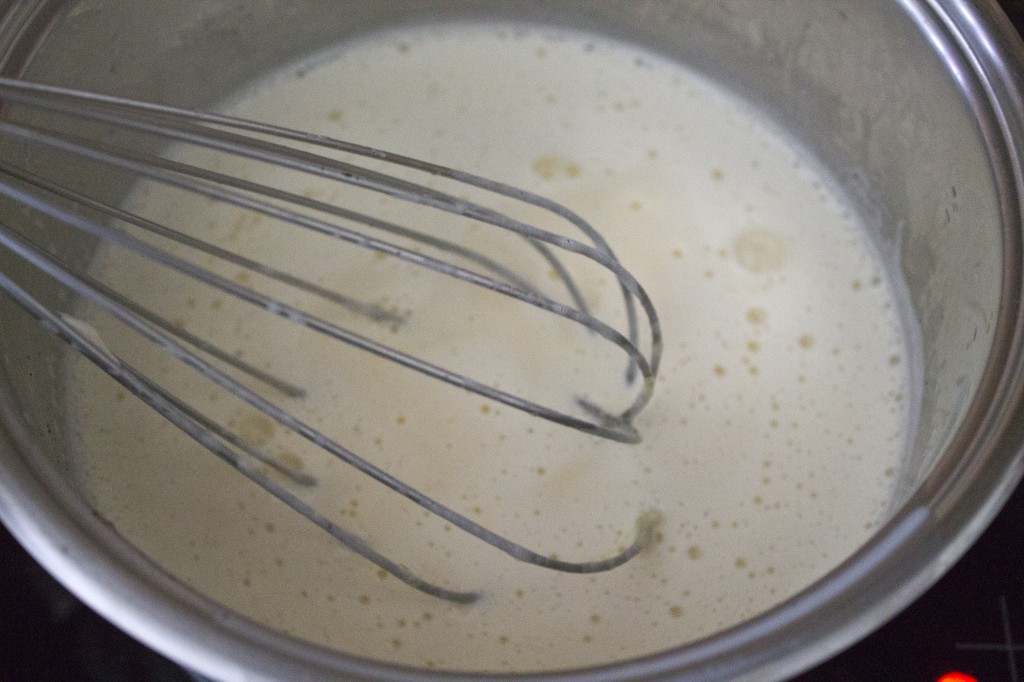
- Prepare the pastry cream
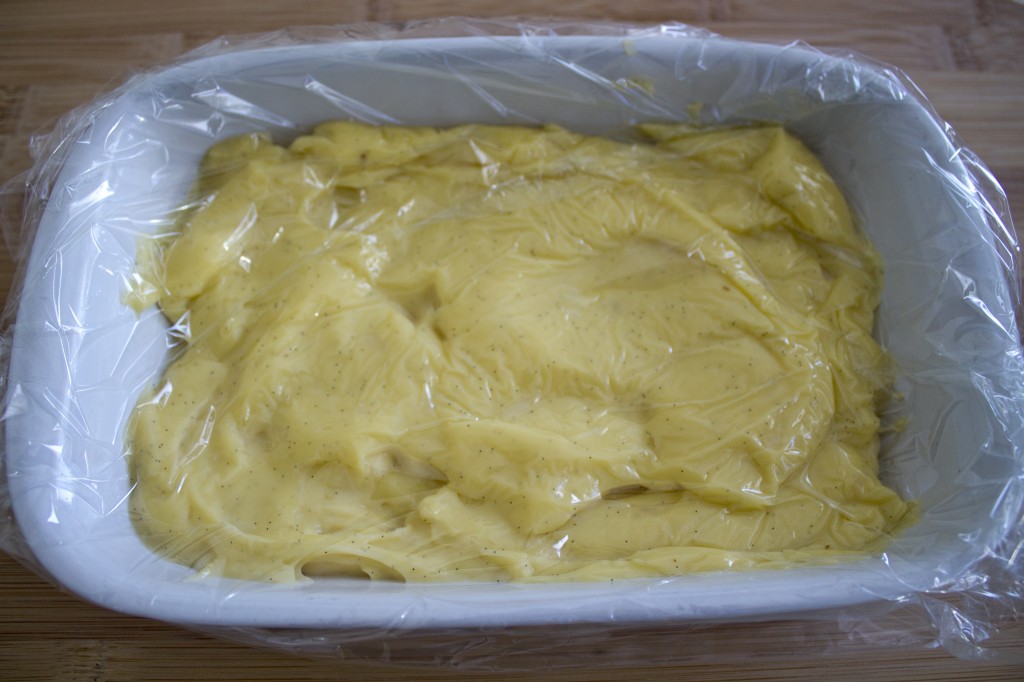
- Chill a part of the pastry cream and keep the rest for the Chiboust cream
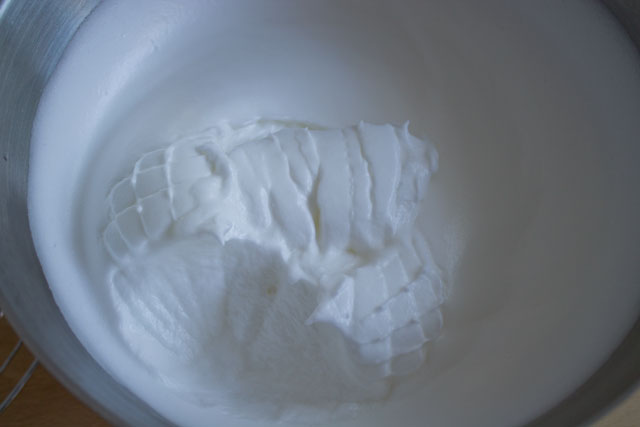
- Make the Italian meringue
- Prepare the caramel
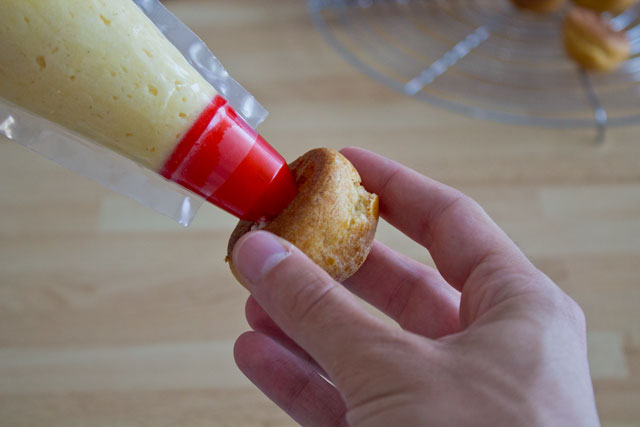
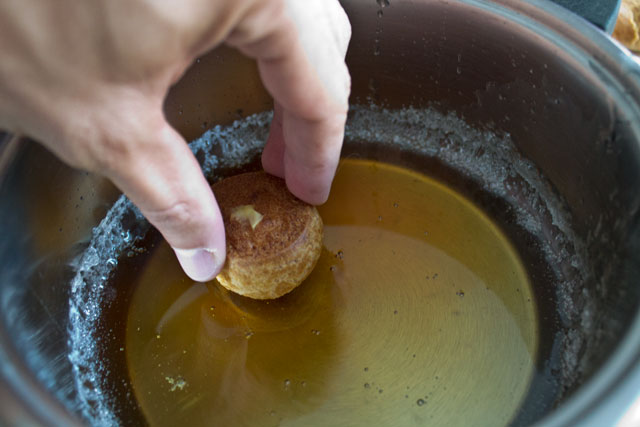
- Fill the choux with the chilled pastry cream
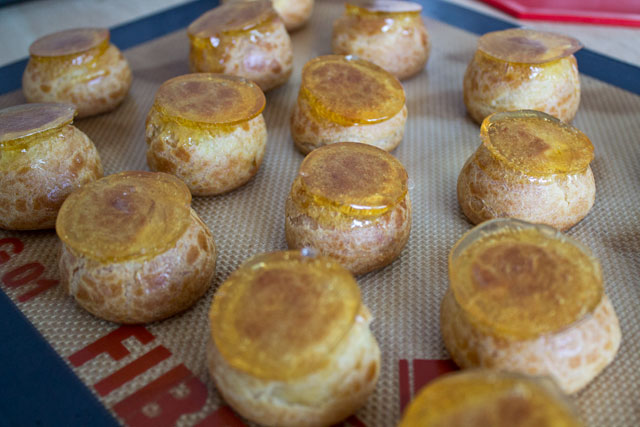
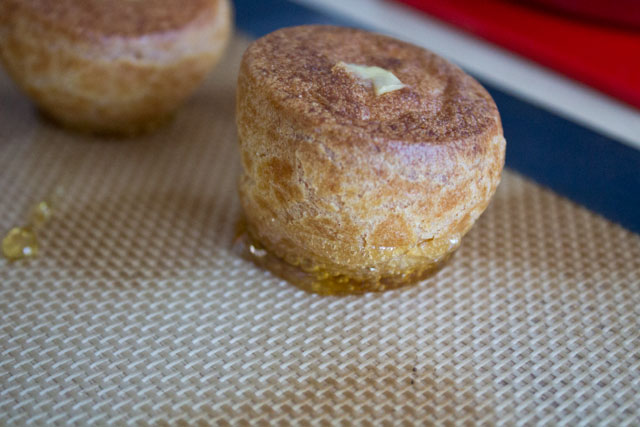
- Glaze the cream puffs
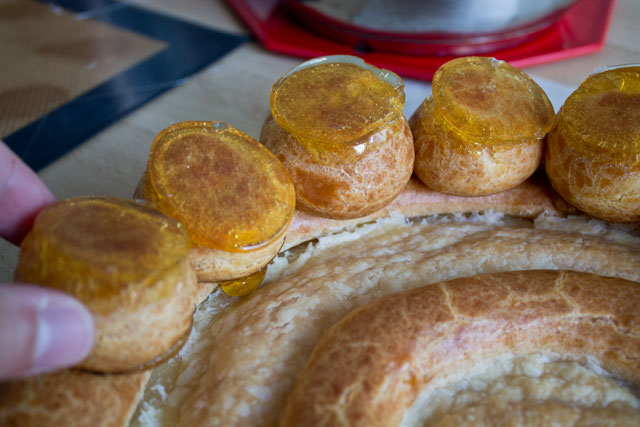
- Glue the cream puffs to the chilled cake base
- Fill the cake
- Decorate
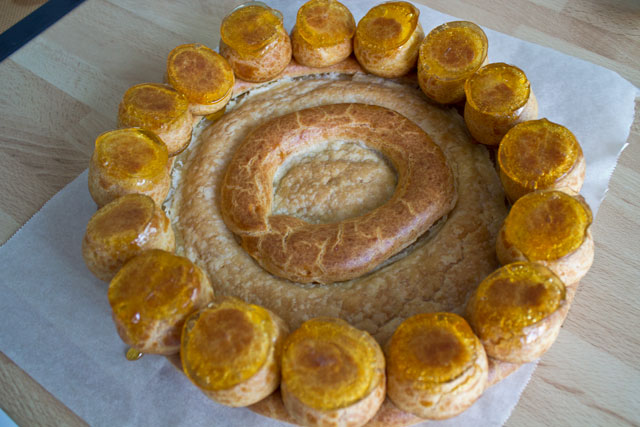
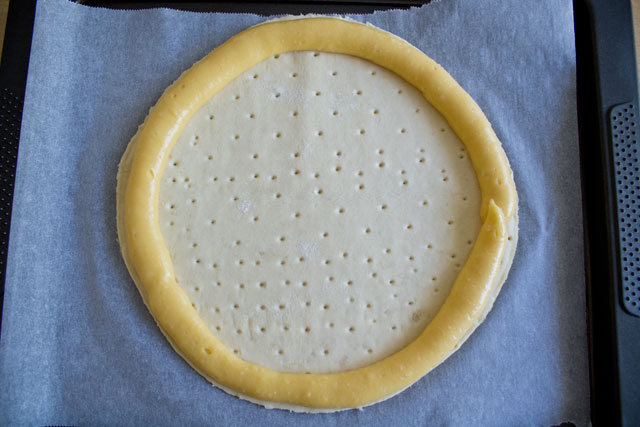
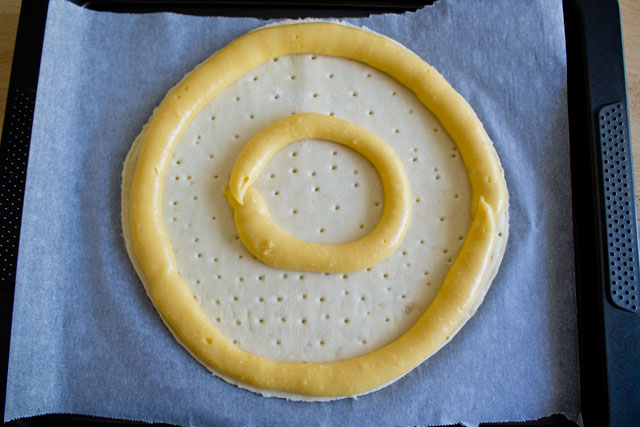
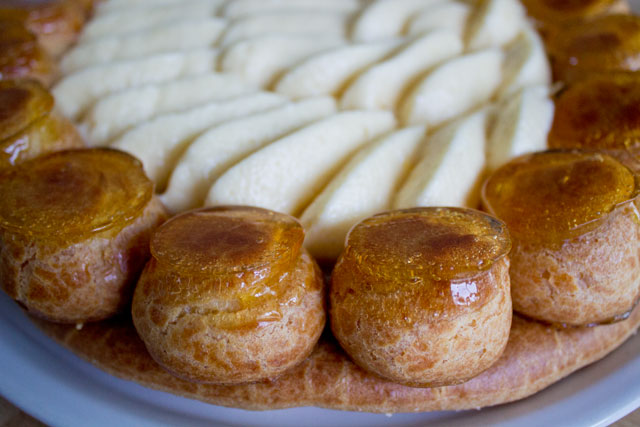
The Saint-Honoré before the filling stage
If you’re not scared by this complex cake, then it means that you can make it (or that you’re too self-confident!), so here is the full, step-by-step recipe of this Saint-Honoré with Chiboust cream.
Saint-Honoré with crème Chiboust
 Print recipe
Ingredients
Cake base
| 200g | Puff pastry |
Choux pastry
| 95g | Water |
| 95g | Milk |
| 3g | Salt |
| 85g | Unsalted butter |
| 120g | Bread flour |
| 200g | Eggs (~ 4 eggs) |
Pastry cream
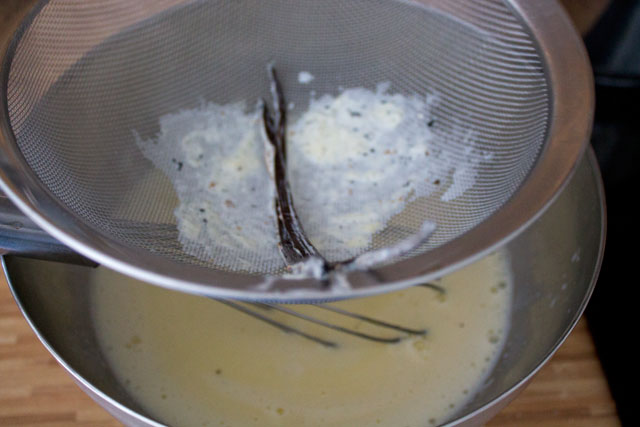
| 650g | Milk |
| 1 | Vanilla bean (seeded) |
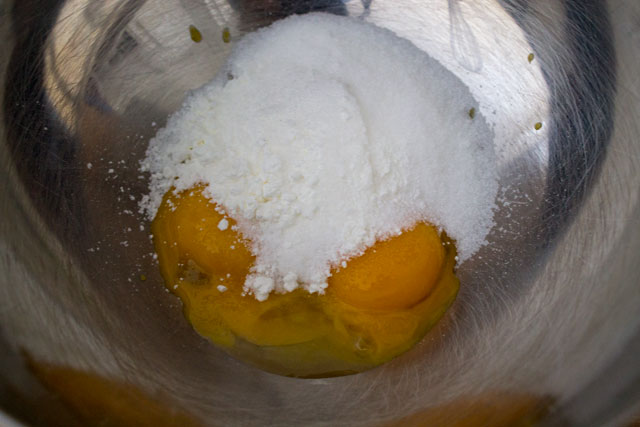
| 195g | Egg yolks (~ 10) |
| 160g | Granulated sugar |
| 65g | Cornstarch |
Chiboust cream
| 15g | Sheet gelatin |
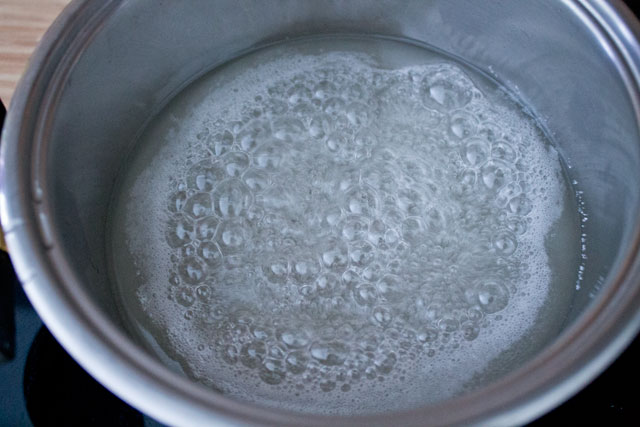
| 360g | Granulated sugar |
| 120g | Water |
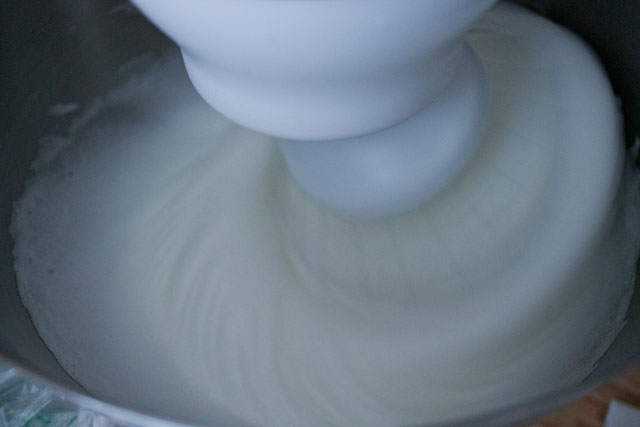
| 180g | Egg whites (~ 6 egg whites) |
Caramel glaze
| 160g | Granulated sugar |
| 40g | Glucose or corn syrup (optional - can be replaced with the same quantity of granulated sugar) |
| 50g | Water |
Directions
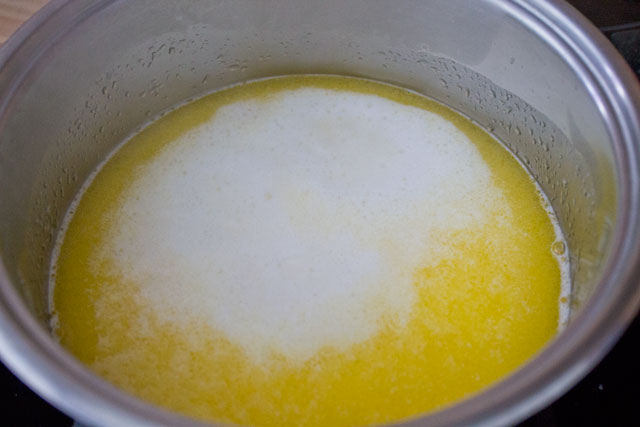
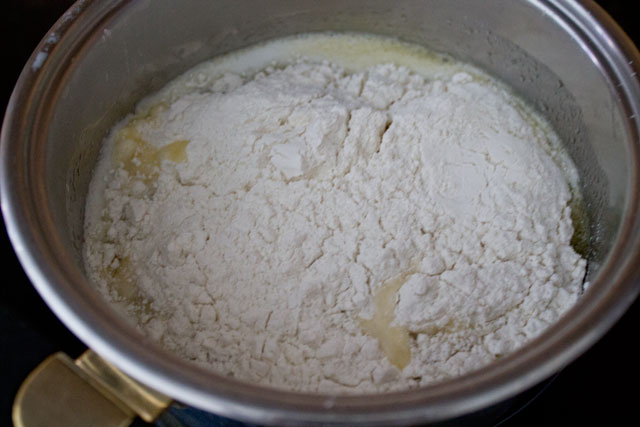
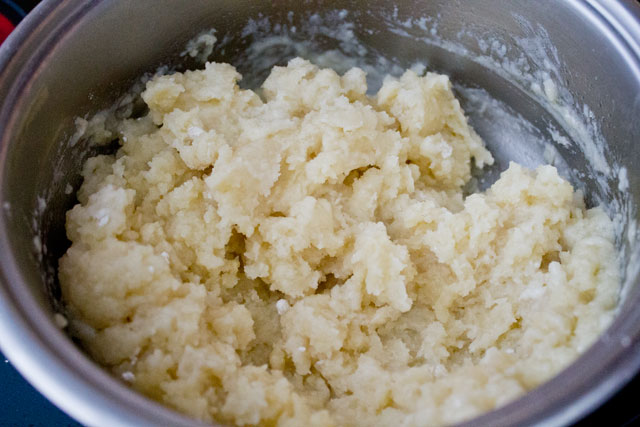
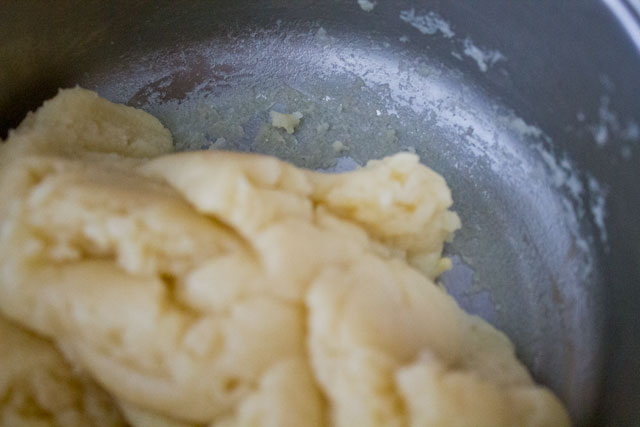
Choux pastry
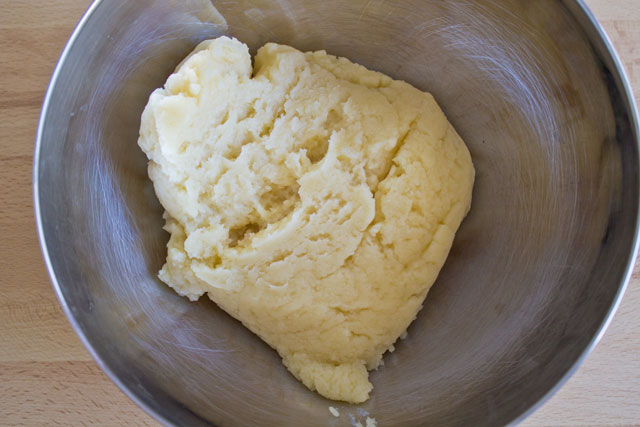
Keep the remaining choux pastry in the piping bag for the moment.
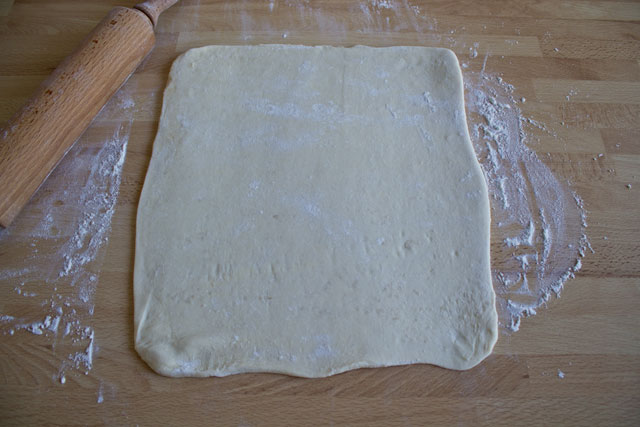
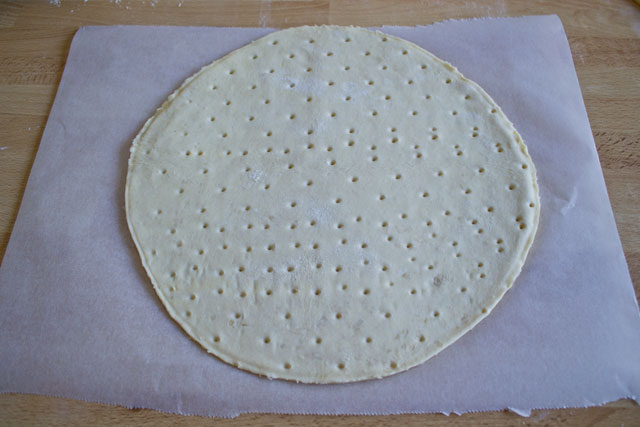
Cake base
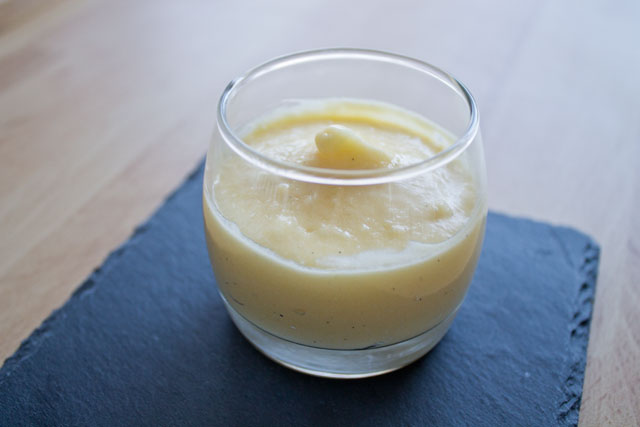
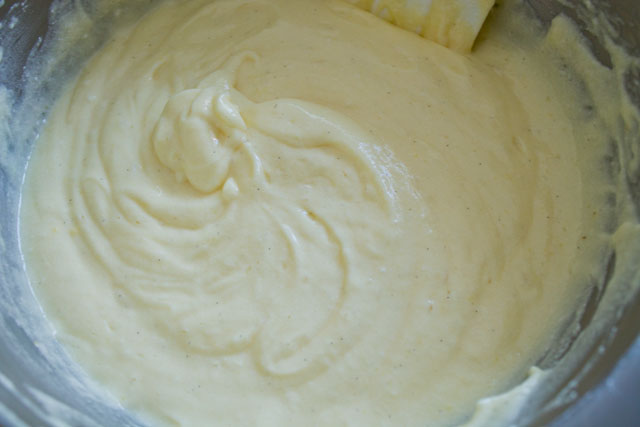
Pastry cream

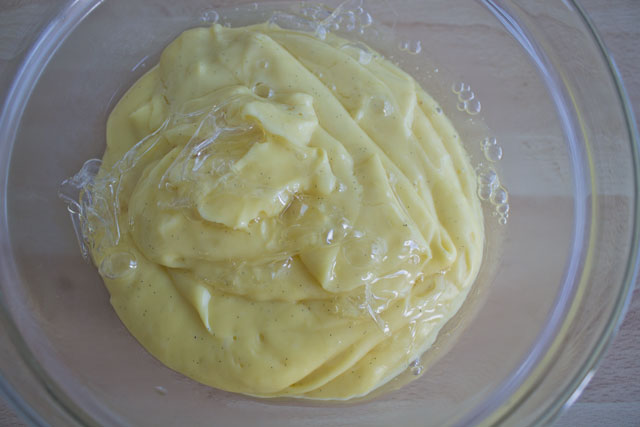
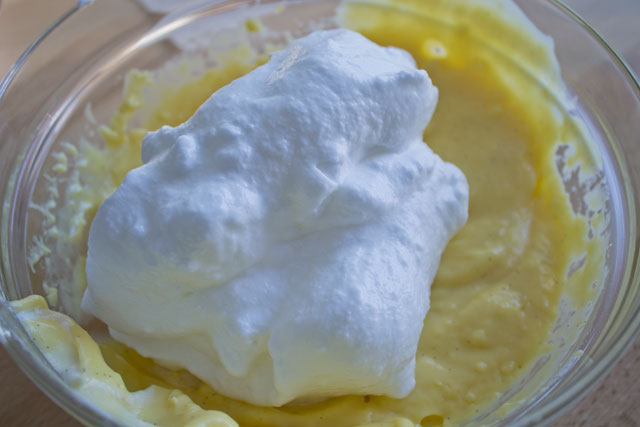
Chiboust cream
In the meantime, do not refrigerate nor allow the cream to set while preparing the Italian meringue.

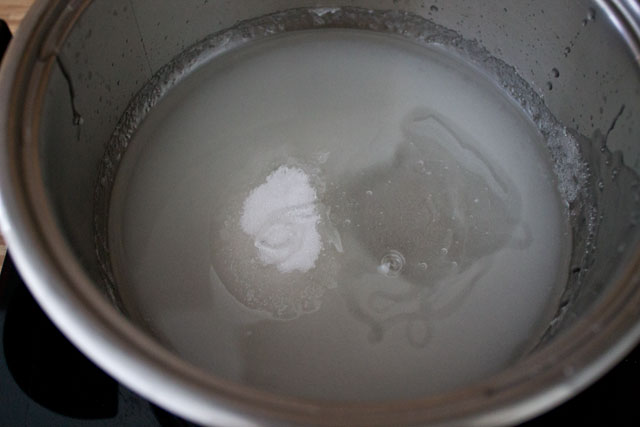
Caramel glaze for cream puffs
Cake assembly
Note
Pâte à choux:
- This dough can be used immediately or even frozen
- It is very important that the butter be fully melted when the milk and water come to a boil and for this reason it must be diced (it will melt faster): if it is not melted when the liquids are at 100°, you'll have to wait before adding the flour and waiting means the water will evaporate, changing the proportions of ingredients in this delicate recipe
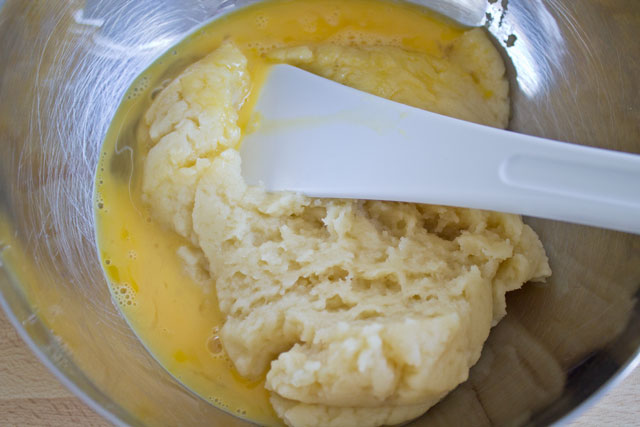
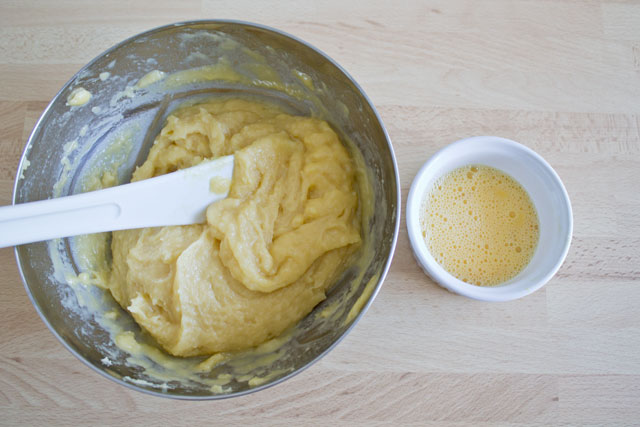
- Always add the last egg little by little, checking frequently if the dough has reached right shiny, firm texture
- Leave the oven door slightly open only after the first half of the baking process
- Steam is necessary at least for the first half of the baking process, so don't open the oven door until your pâte à choux has fully risen! Be careful as well of excessive steam, since it might contribute to an uneven development and to the formation of cracks on the baked pastries.
- To test for doneness, I usually touch the touch in the oven and if they seem hard, they're done. Otherwise, you can remove one unit and let it sit for 2 minutes at room temperature: if it doesn't collpase, it means the choux are ready! 😛 (Don't worry, pâte à choux doesn't burn easily if baked for a longer time...)
Crème Chiboust:
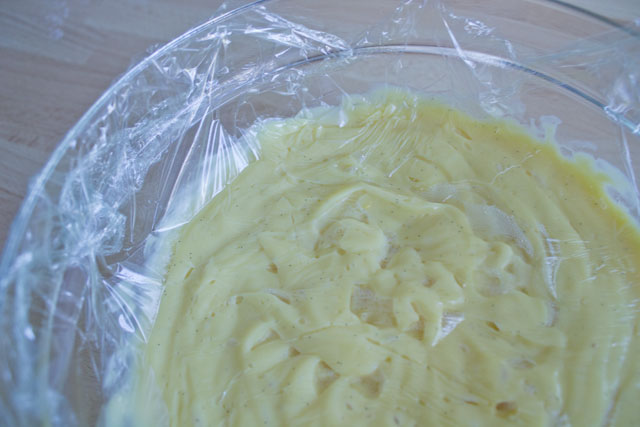
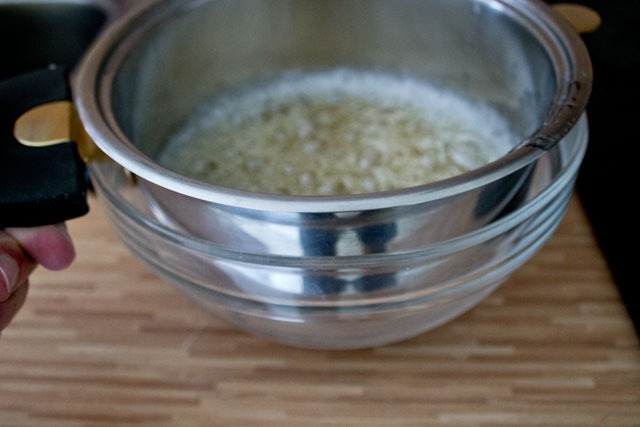
- Please remember that the Crème Chiboust is very delicate and can become "dangerous" since the pastry cream is left at room temperature for some time, during which bacteria could form in it.
- To avoid risks while you prepare the meringue, you can cover the bowl with plastic film on the pastry cream and additionally you could also place temporarily the bowl on a bain marie: this will keep the cream at safe temperatures and prevent the formation of bacteria.
- If the cream needs to be baked (e.g. to fill tarts), you can omit the gelatin.
- It might be necessary to let the cream set a few minutes in the fridge before it can used in a piping bag.
Caramel:
- When the sugar starts boiling, always keep an eye on it as caramel might burn quickly
- When you're glazing the choux, make sure not to touch the caramel with your fingers, because even if it is not boiling, its temperature might be well above 150°C!