Video: Simple round brioches

That’s it, I’ve made the purchase of the decade: my new stand mixer. It took me years to make up my mind and upgrade but finally this cool “prairie green” KMix by Kenwood is mine! (Yes, “prairie green” is the name of the color. And I’m not ashamed of it!) 😛
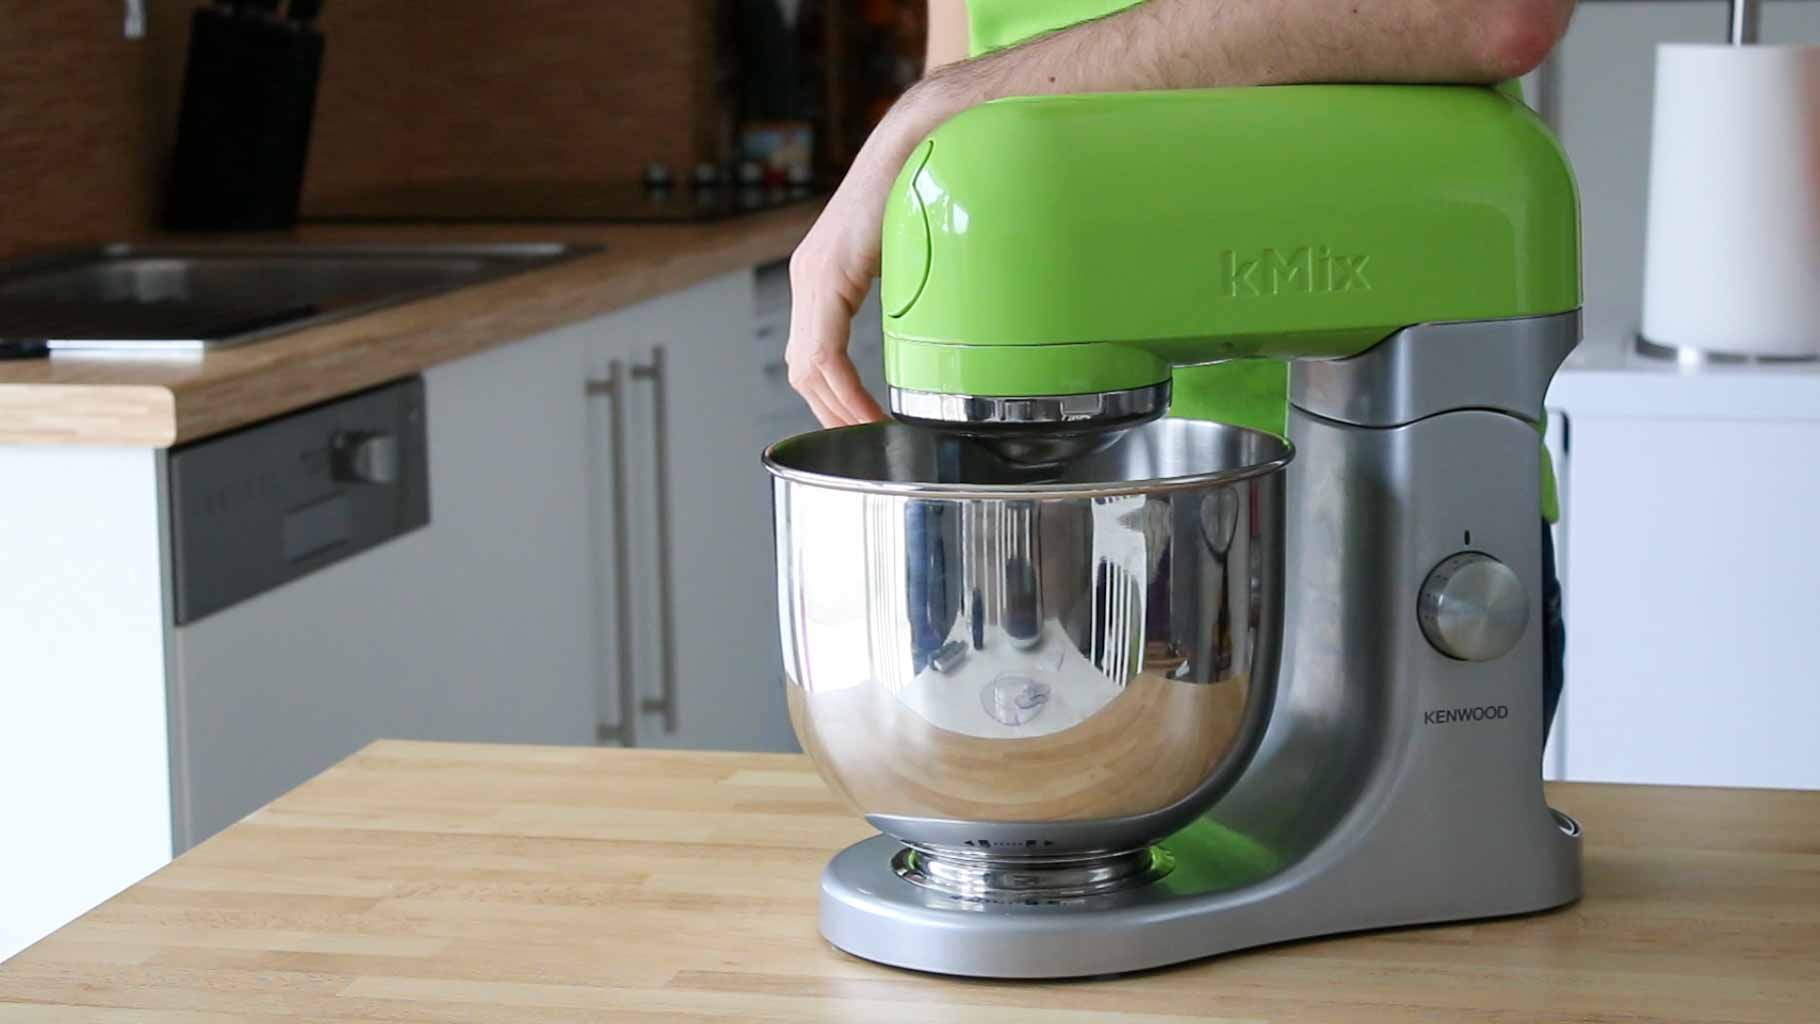
It seems very similar to the KitchenAid, but it’s less girly, (way) less expensive and has nicer colours!
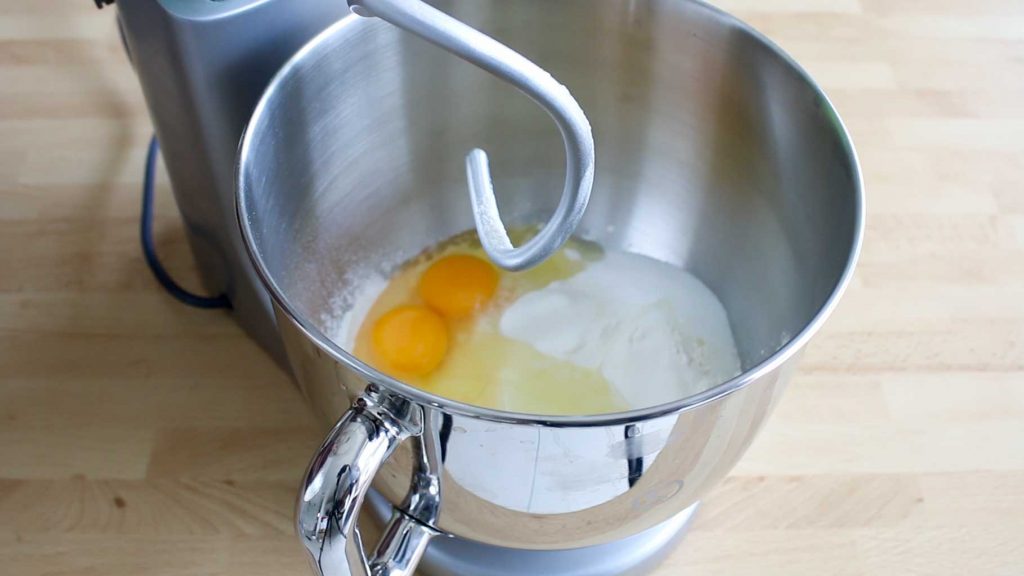
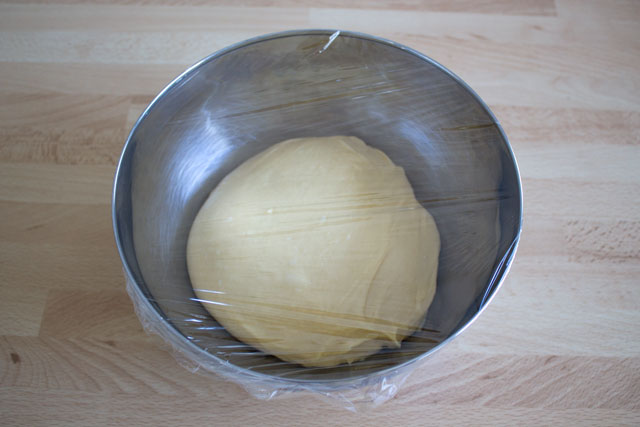
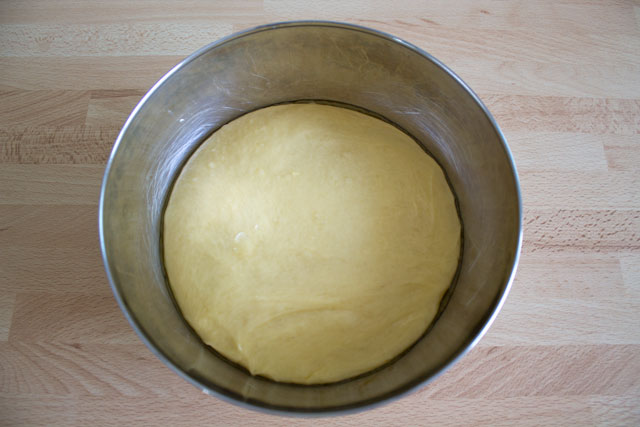
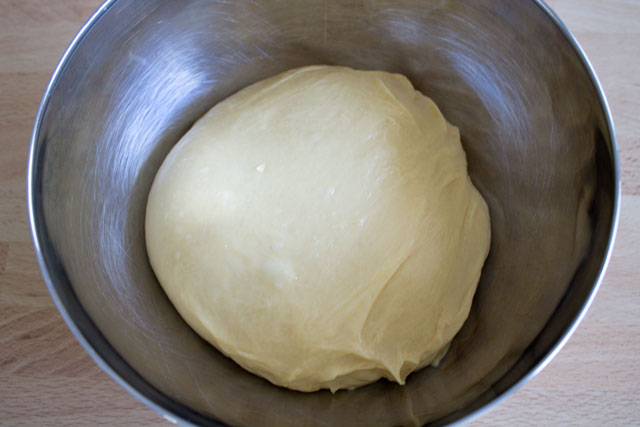
So what do you do when you have a new mixer and you want to see if it actually does its job well? You put it to the test with something that never came out well with the previous mixer: brioches!
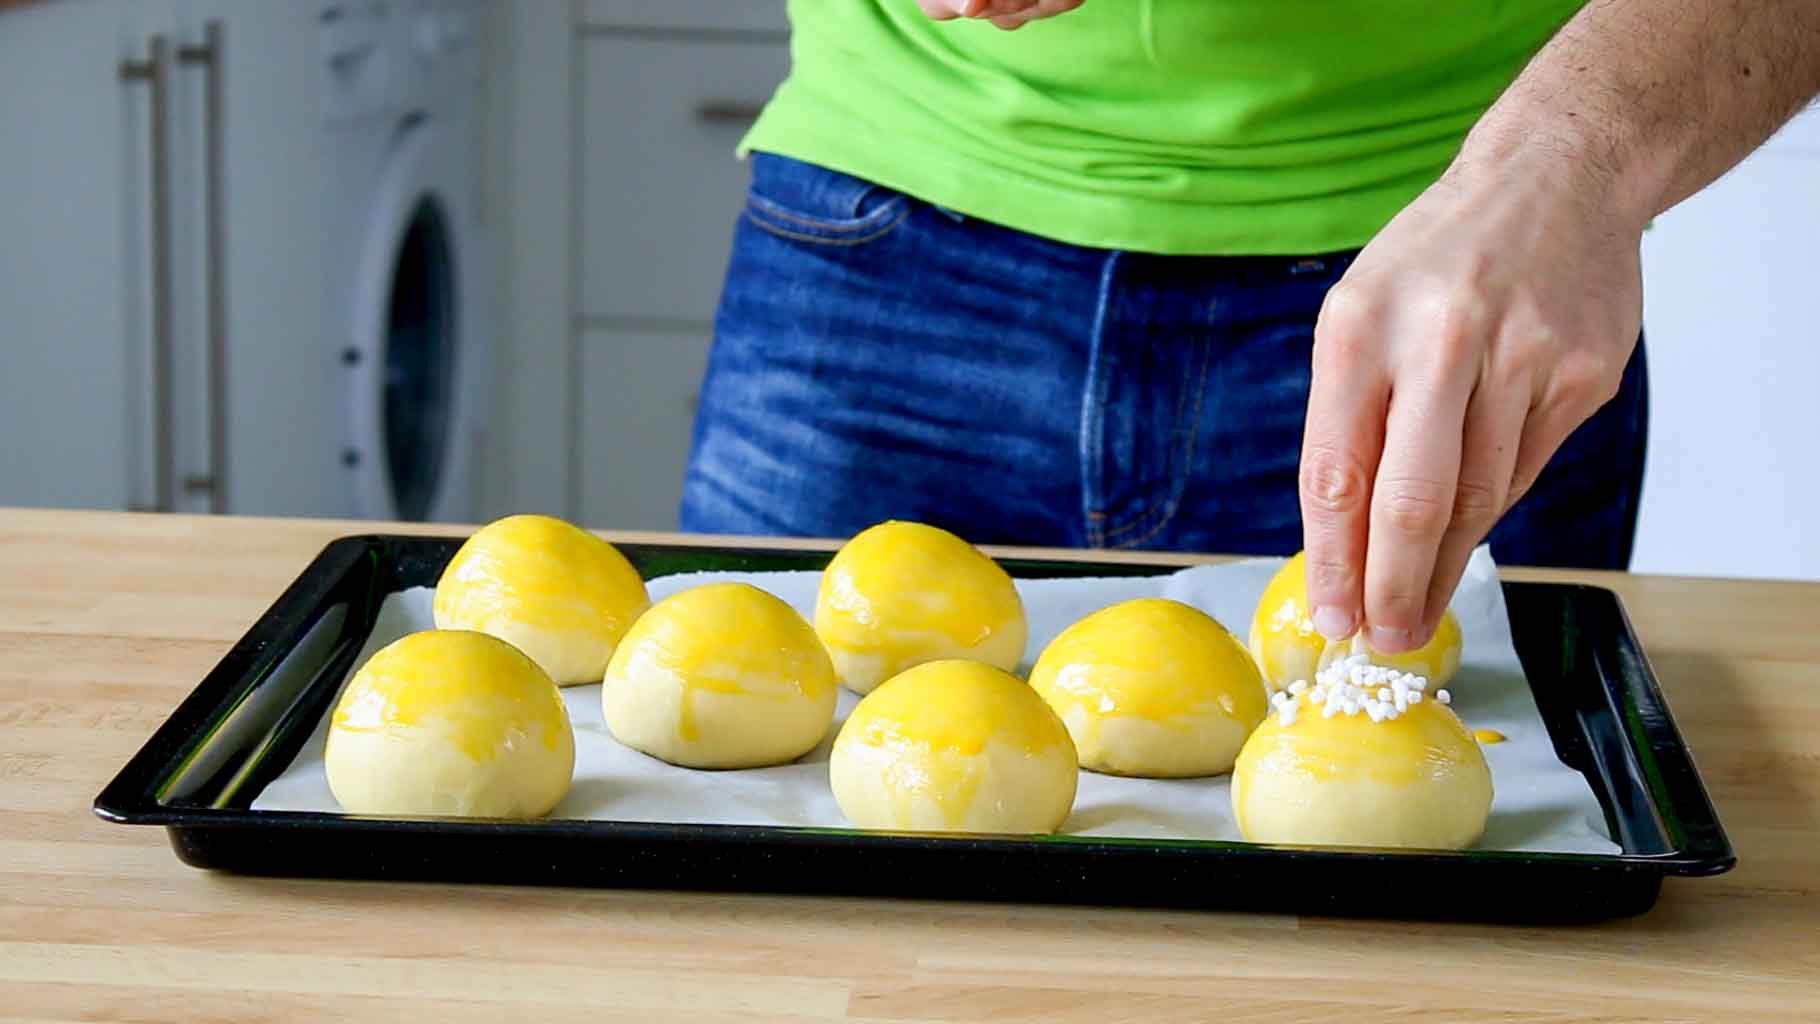
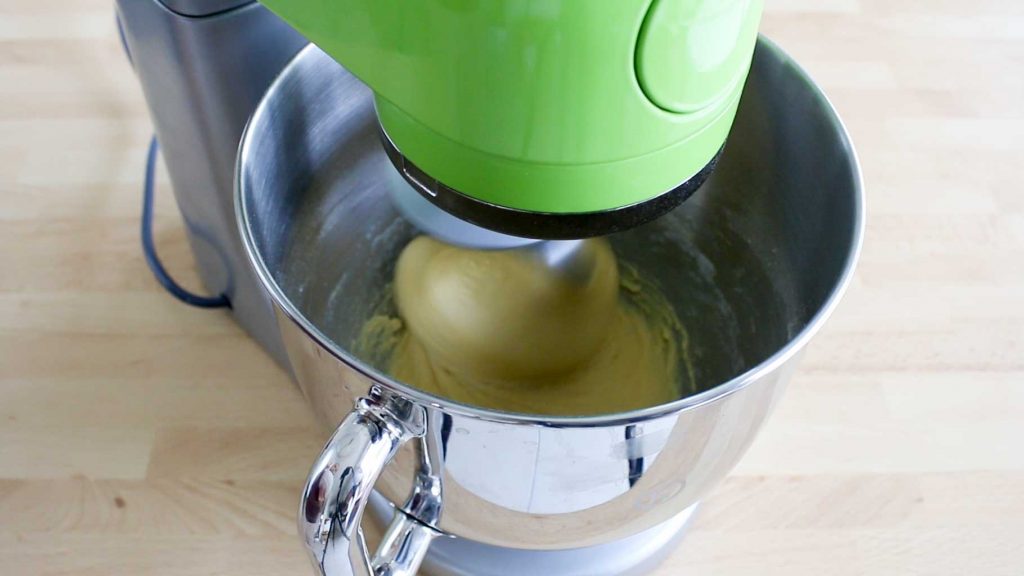
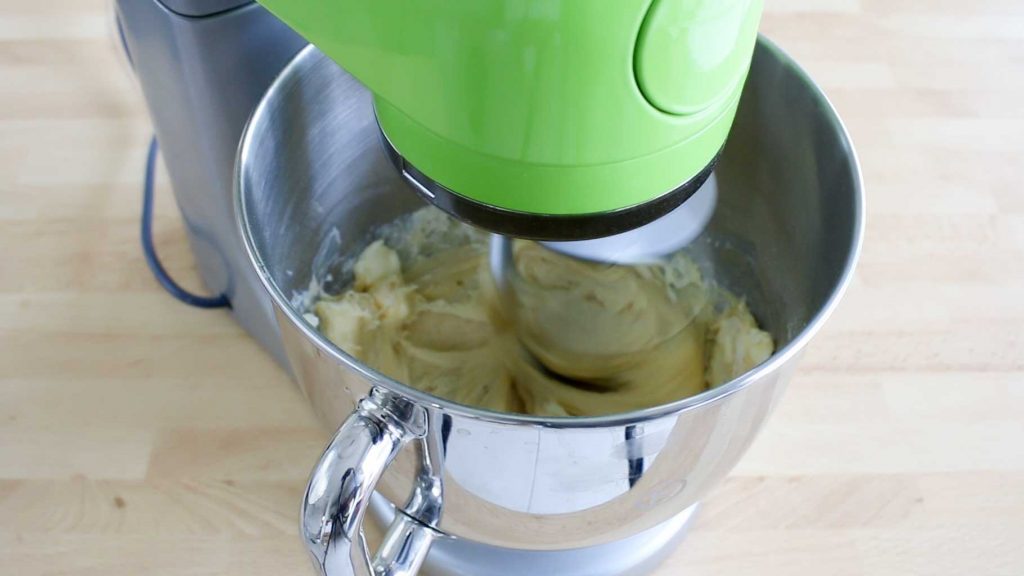
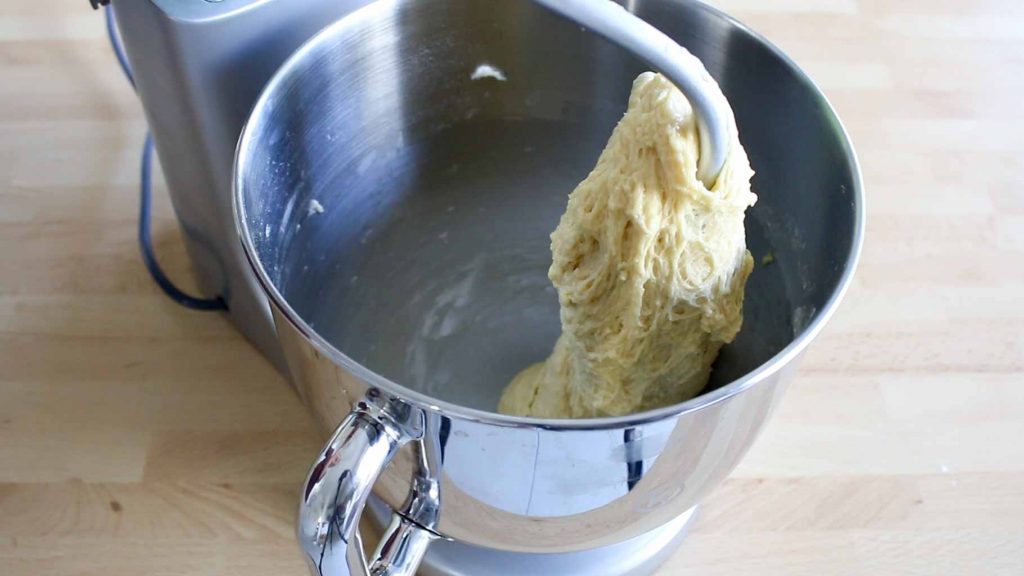
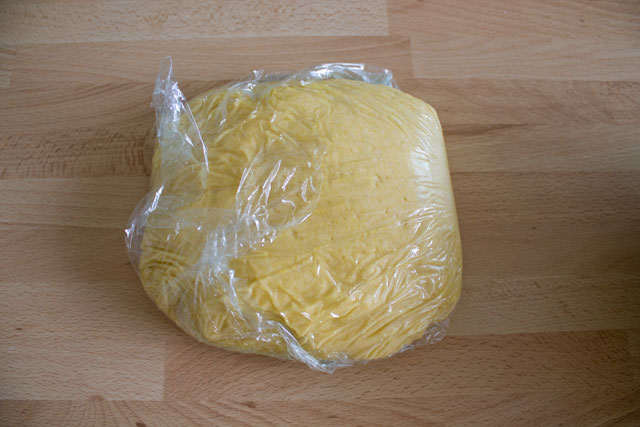
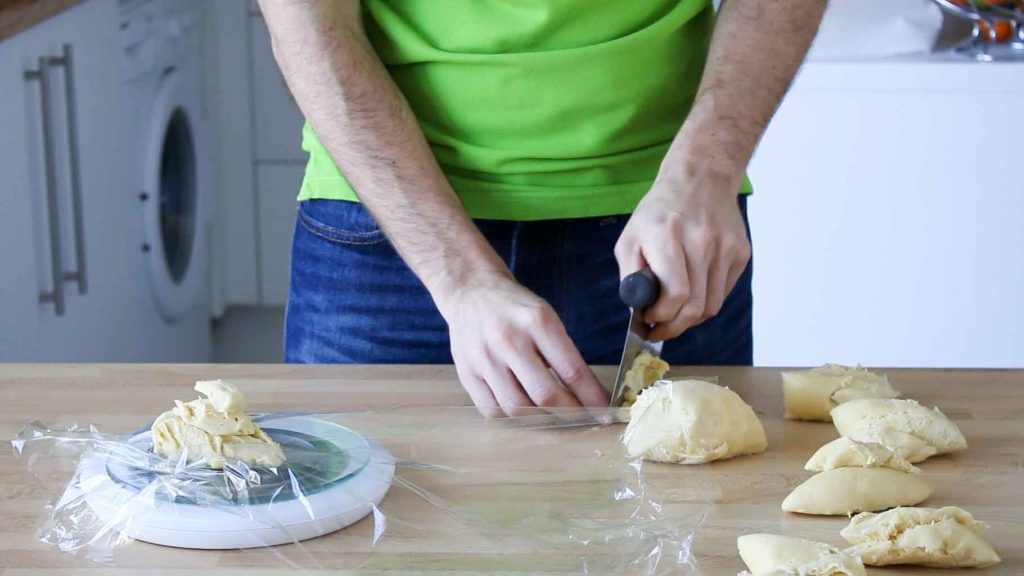
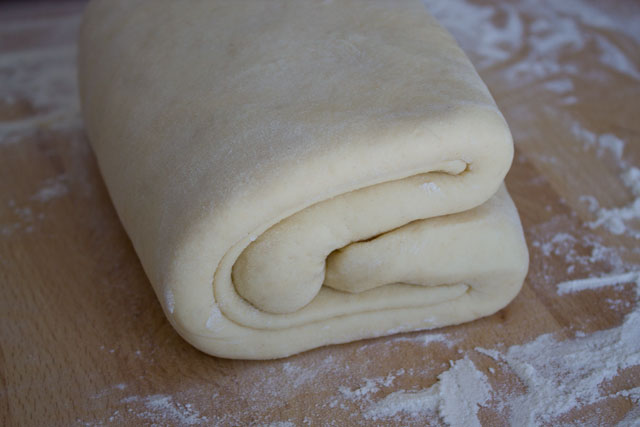
I wrote about brioches in another article (check it out for all the details about flour type, yeast tips and the general kneading process), but I was never able to get such an astonishing result!
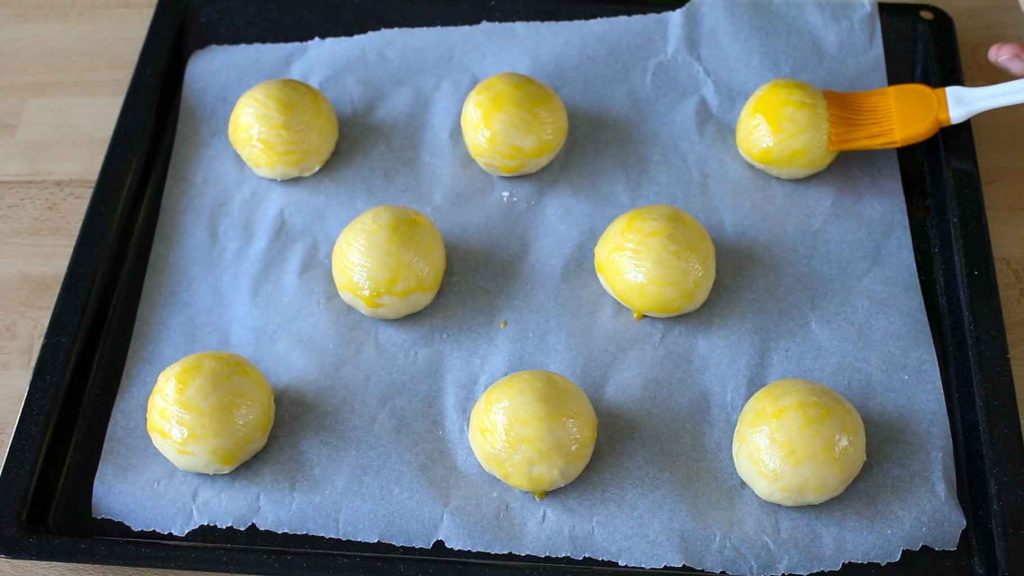
This time my brioches turned out amazing: extremely soft, with a light taste of butter (but not too much) and they are absolutely the best you can get for a healthy breakfast!
So far I’m very satisfied with the KMix! Do you have one? Or did you prefer to spend the double for a KitchenAid? Share your thoughts! 😛
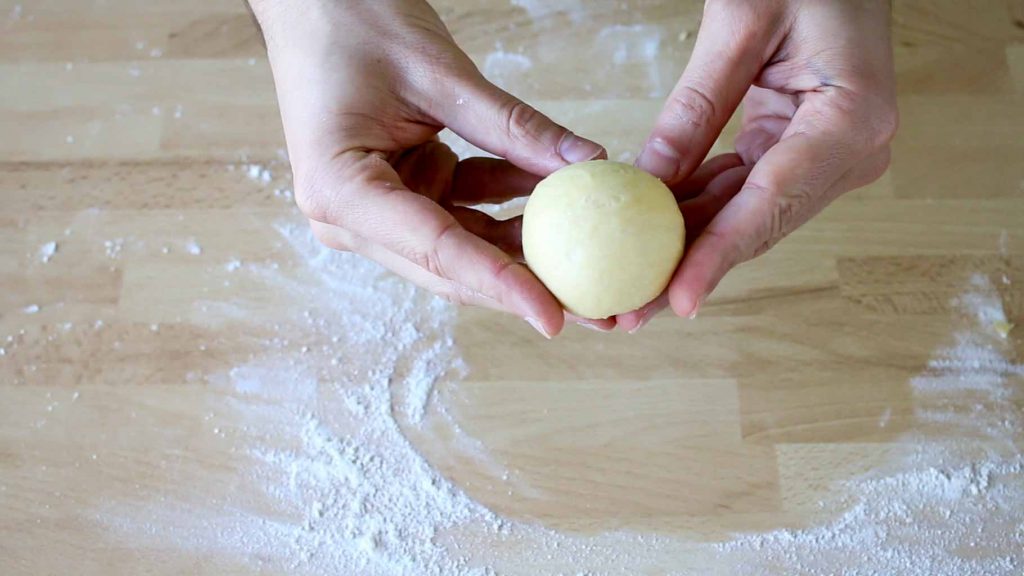
Simple round brioches
 Print recipe
Ingredients
Brioche dough
| 250g | Strong flour (W380) |
| 30g | Granulated sugar |
| 5g | Salt |
| 10g | Fresh yeast |
| 150g | Eggs (~3) |
| 165g | Butter (room temperature) |
| As needed | Coarse or granulated sugar |
Egg wash
| 2 | Egg yolks |
Directions