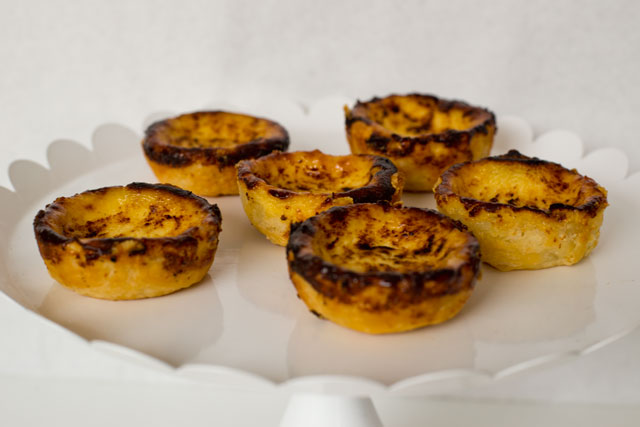
Recipe: Pasteis de nata (Portuguese custard tarts)
French pastry is good, but it’s not the only one in the world! After a virtual tasty trip to Austria for the apple strudel of my last post, this time we head to Portugal.
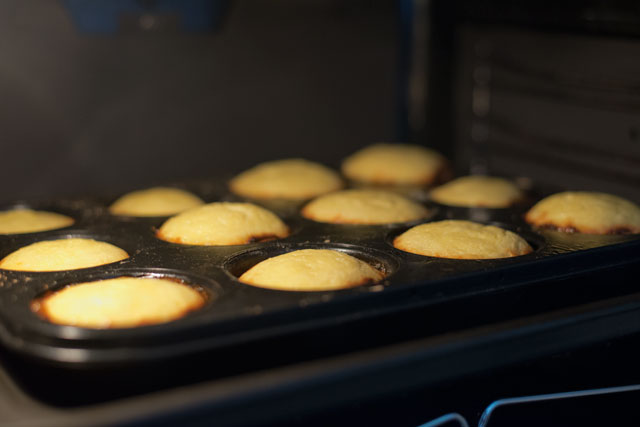
Pastéis de nata or Pastéis de Belém are a national institution in Portugal: they are baked puff pastry tarts filled with custard. The custard is usually of a neutral flavour, but I added a bit of vanilla just because I’m addicted to it; the baked tarts, though, are served with sprinkled cinnamon on top.
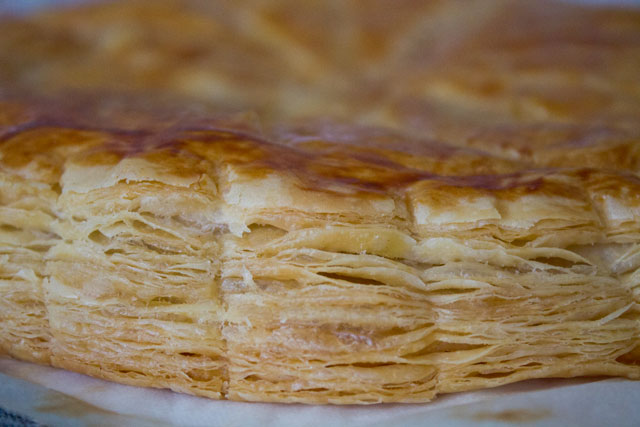
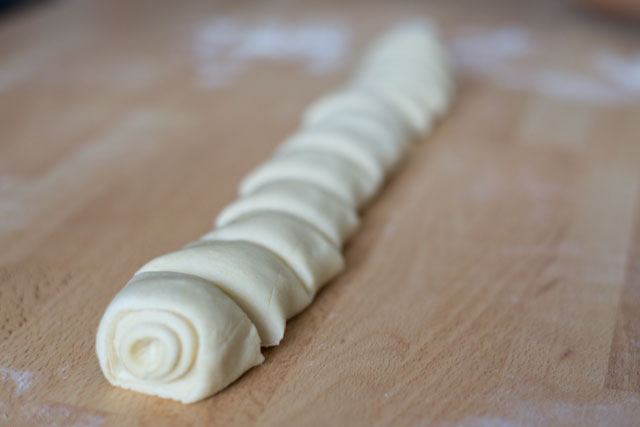
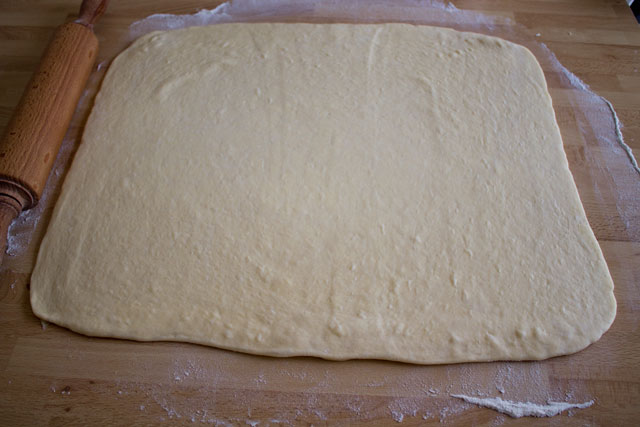
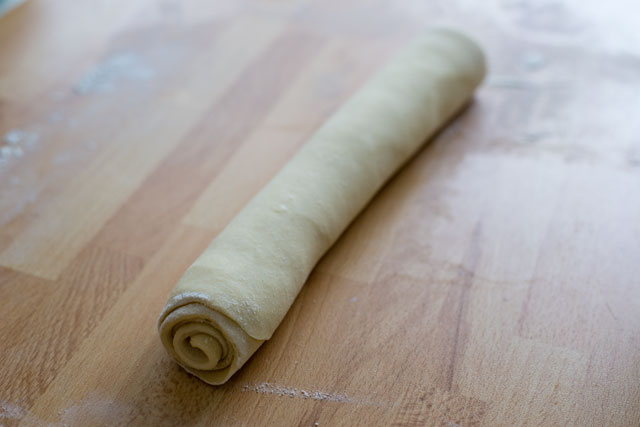
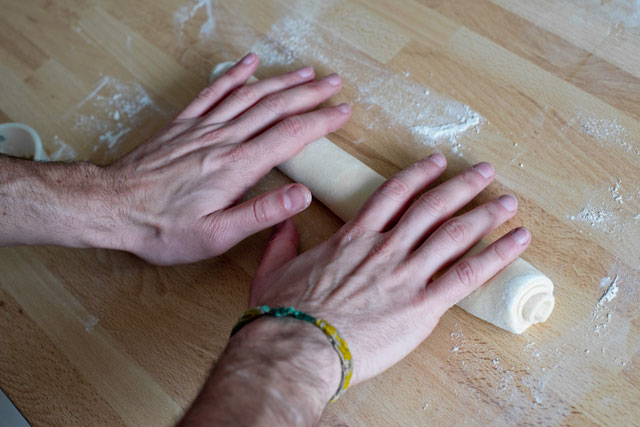
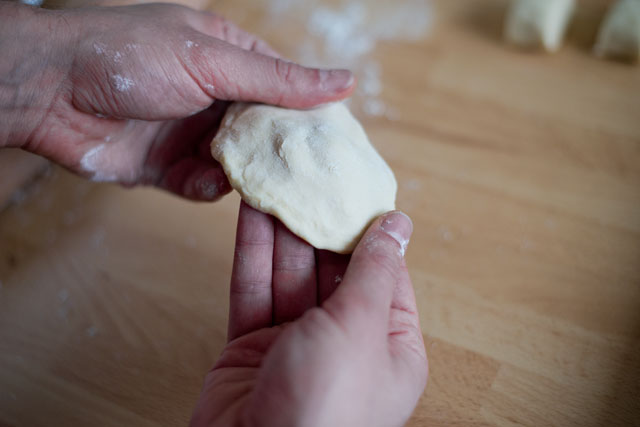
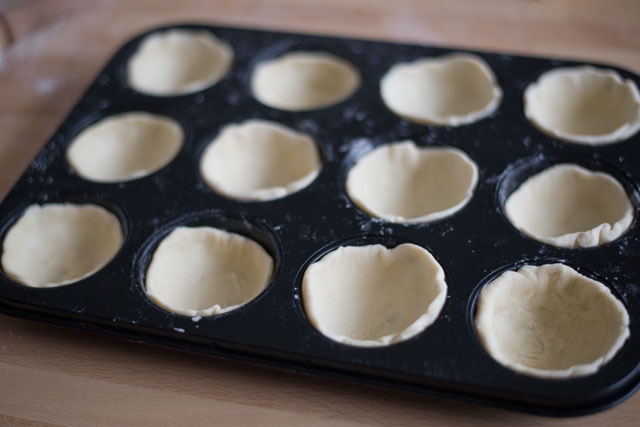
Of course I used my home-made puff pastry for these pastéis, but I admit I haven’t understood one step of the recipe yet: many books and blogs call for regular laminated puff pastry to be rolled (that would give even more layers) but then crushed to form the tart bases (and this is not a good news for our beautiful layers).
I think the interest of having puff pastry is to have crunchy and flaky layers as the base of a pastel, but with the most common procedure I found (which is the one explained in this recipe), the result is buttery but not too crunchy nor flaky. Next time I’ll avoid crushing all the layers to see the difference!

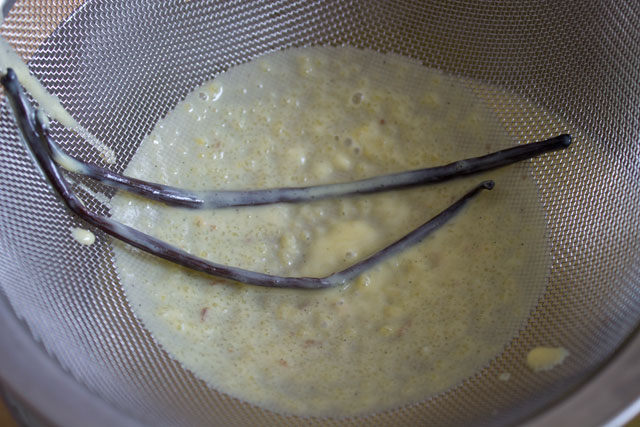
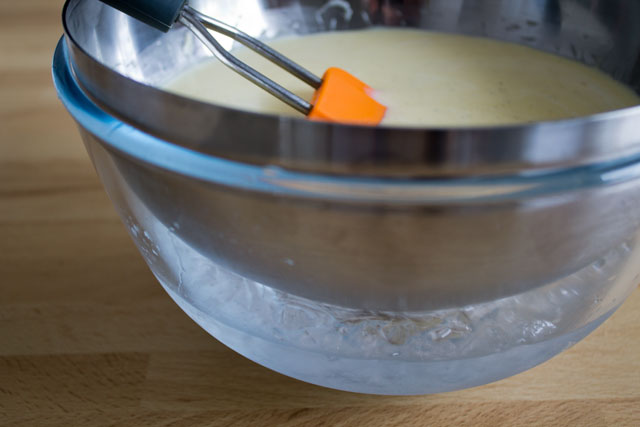
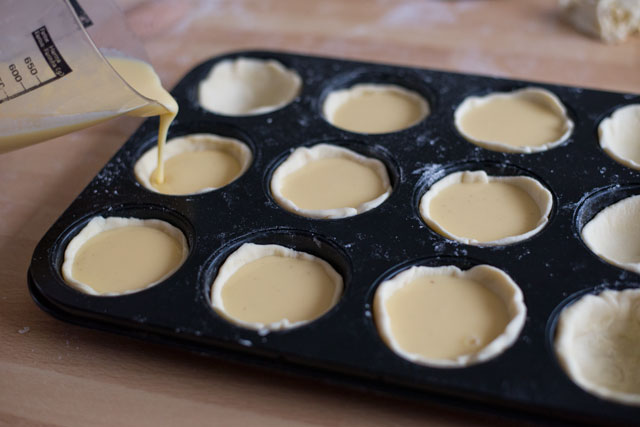
As for the filling, some versions of these pastéis feature pastry cream and some a custard sauce (crème anglaise): I used the latter and the result was excellent for me!
Bom apetite!
Pastéis de nata
 Print recipe
Ingredients
Base
| 500g | Puff pastry |
Filling
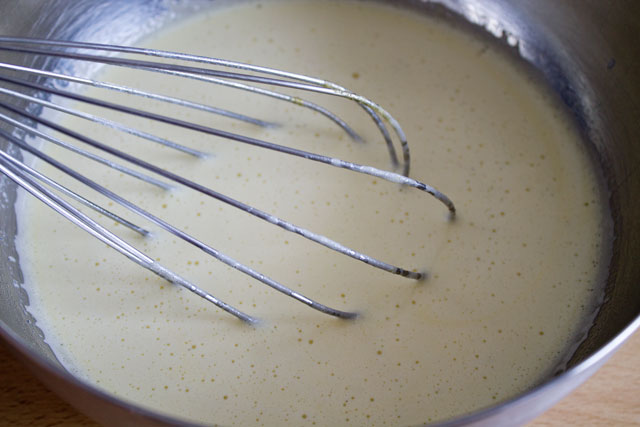
| 250ml | Whole milk |
| 250ml | Heavy cream |
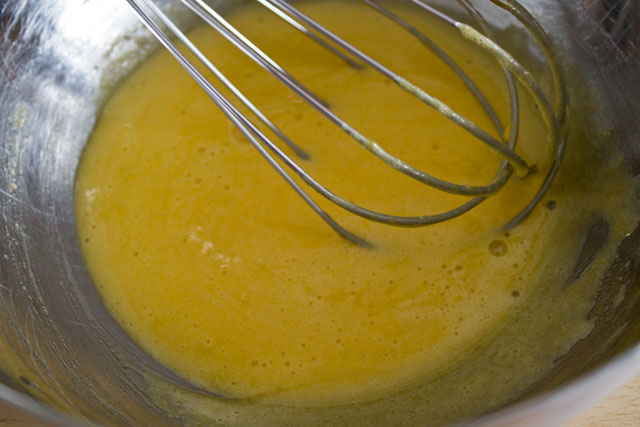
| 6 | Egg yolks |
| 150g | Granulated sugar |
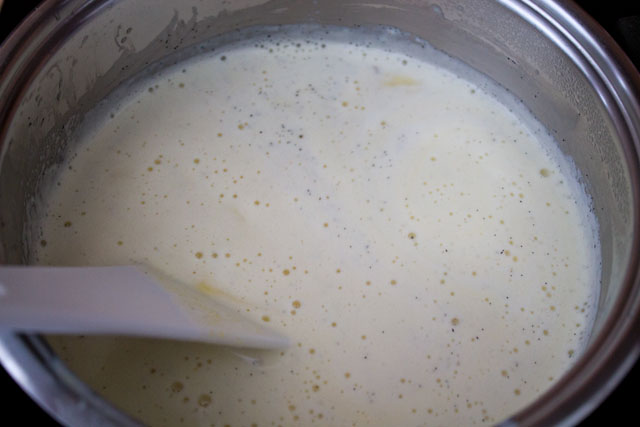
| 1/2 | Vanilla bean, split (optional) |
| Cinnamon (ground) |
Directions

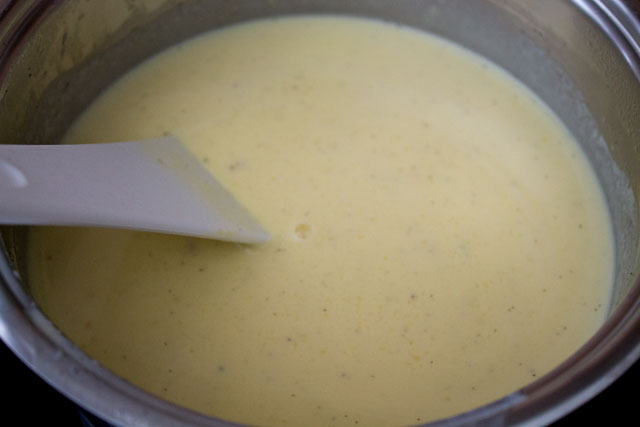
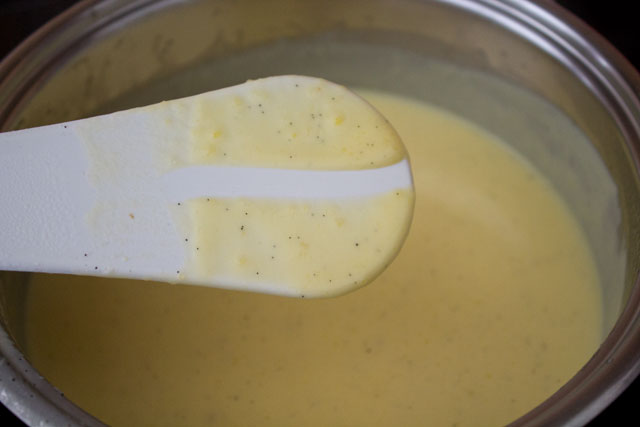
When the custard reaches the correct temperature, it will be sufficiently thickened and will coat the spatula or the back of a spoon.
Note
The baked pastéis de nata can be stored at room temperature in an an air-tight container or a cake bell for a couple of days.