Recipe: Vanilla ice cream
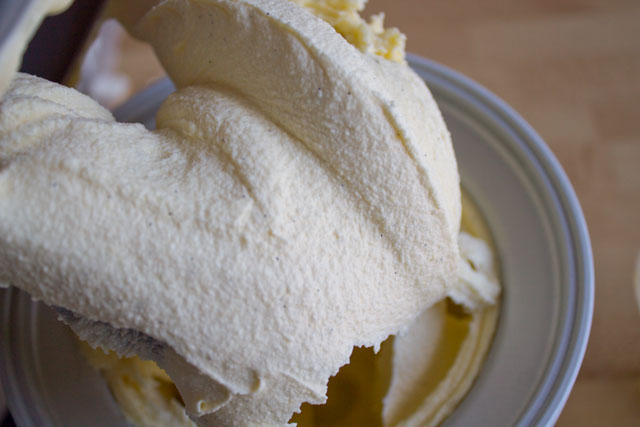
This is an all-time favourite of mine! My ice cream machine was definitely a good investment since it allows me to make a great dessert any time I want for a very cheap price! Home-made ice cream is so good I can’t stop making it, especially in summer! 🙂
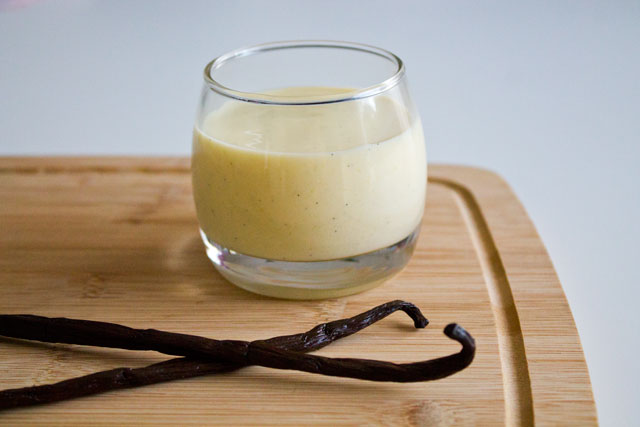
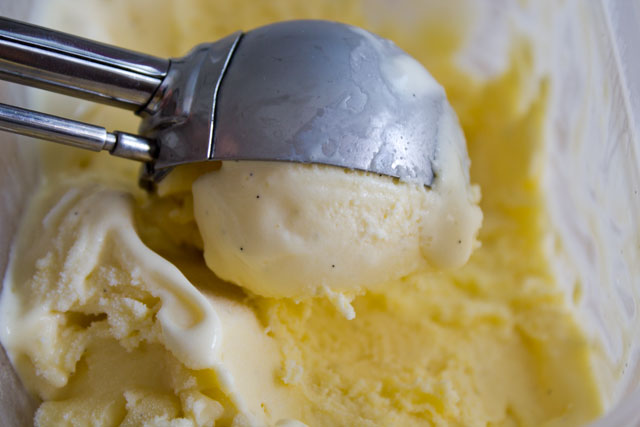
This is my first ice cream recipe on this blog and I couldn’t go more classic: vanilla ice cream.
Making ice cream is not so different from making a flavoured custard sauce, but there are a few important ingredients and steps to remember:
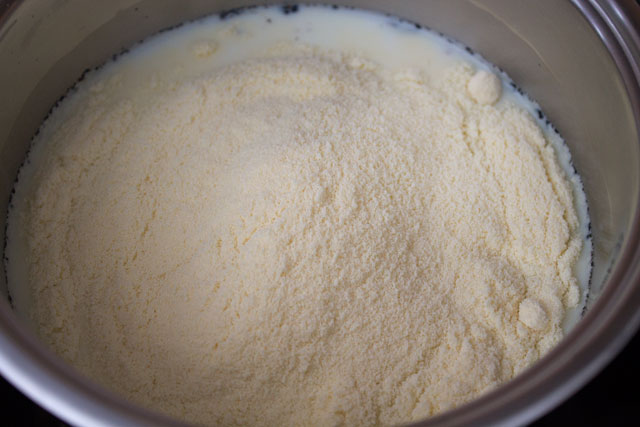
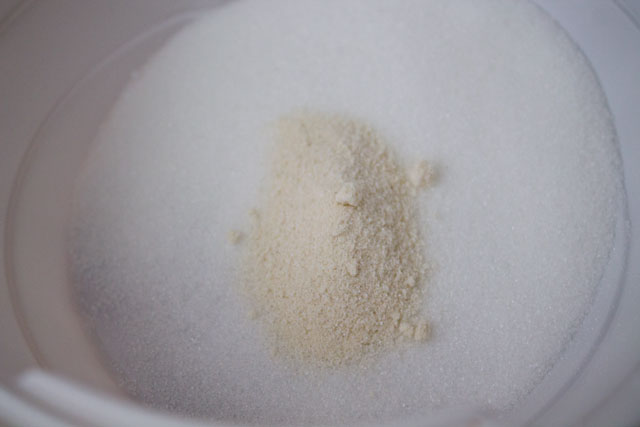
- Powdered milk is fundamental to add creaminess
- Glucose or dextrose is needed to prevent crystallisation (otherwise the ice cream will be good the same day, but will become too hard and icy in the following days)
- An ice cream stabiliser is recommendable to keep the final product creamy and soft
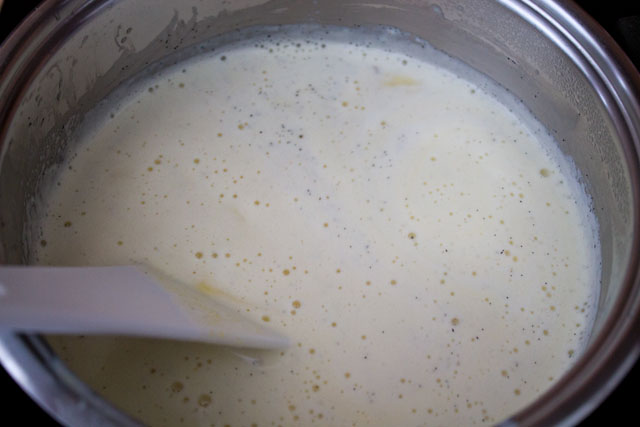
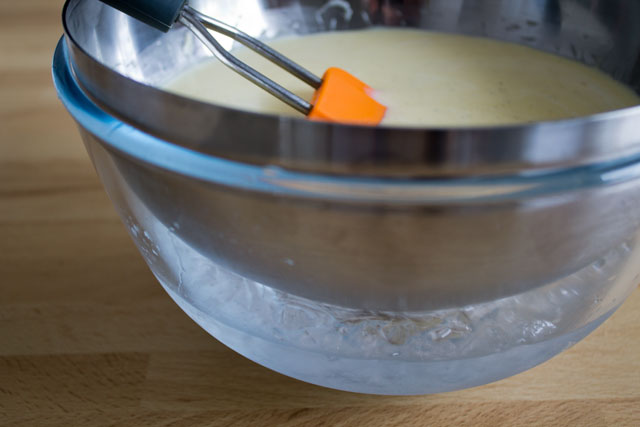
- The custard must be chilled quickly after cooking and needs to rest 24 hours in the fridge before churning.
(Of course, without these “special” ingredients, you might achieve a pretty decent result anyway, but it will probably be way different from artisan ice cream.)
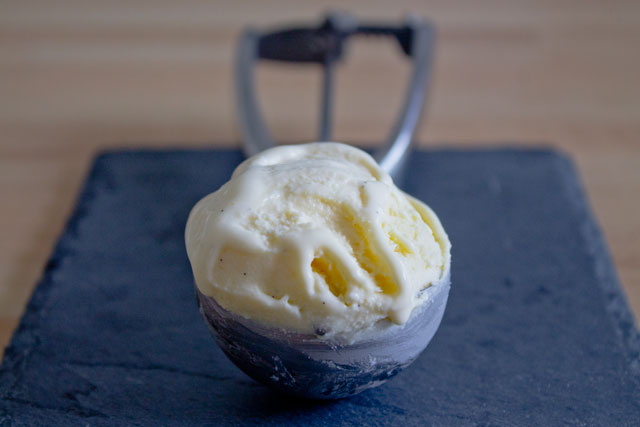
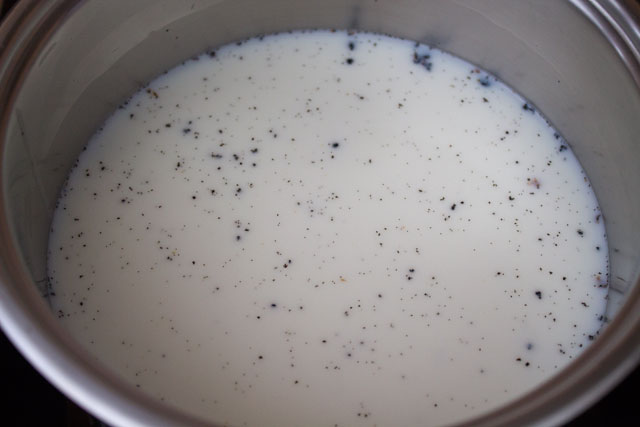
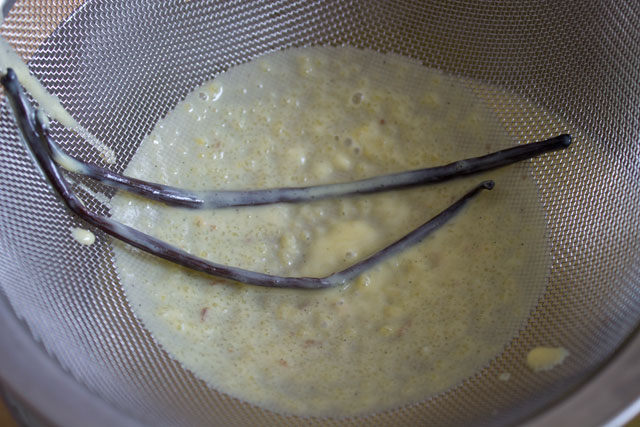
This recipe, inspired by Pierre Hermé, is very rich and creamy. If you want to follow his directions, let two vanilla beans steep in the milk for one day: as a result the ice cream has a fantastic and strong vanilla flavour (but for mere mortals like me, steeping the vanilla for 10 minutes gives an amazing result anyway).
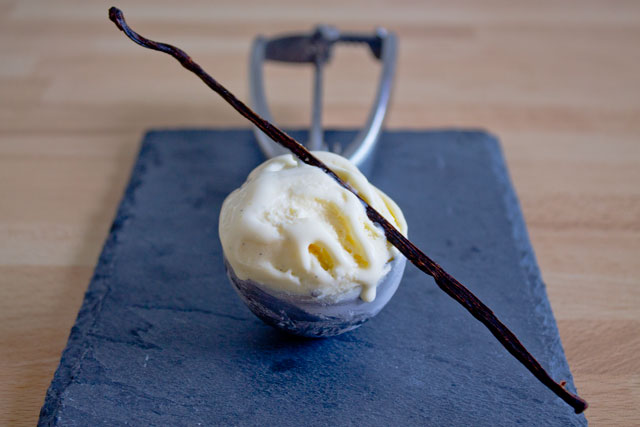
This is a basic recipe which is good for virtually any kind of ice cream: so unleash your creativity and add some chocolate, pistachio paste, praline paste, tea bags or any other flavour you want! And why not serving it with chocolate chips, cookie crumbs or meringues? 🙂 Slurp!
Vanilla ice cream
 Print recipe
Ingredients
| 280g | Whole milk |
| 15g | Granulated sugar (for the milk) |
| 25g | Dextrose (or 13g granulated sugar) |
| 35g | Whole milk powder |
| 1/2 teaspoon | Ice cream stabiliser (e.g. carrageenan or guar gum - optional) |
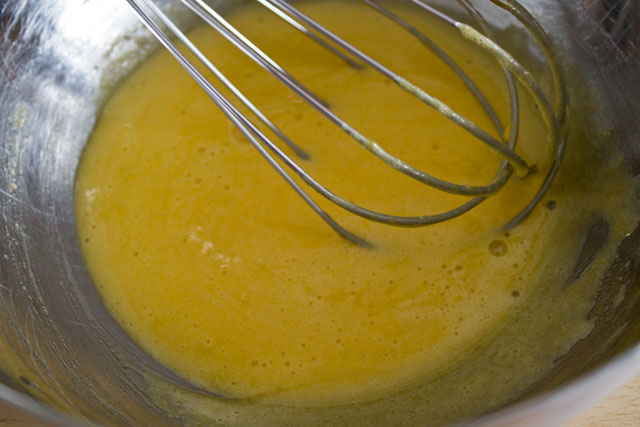
| 40g | Granulated sugar (for the yolks) |
| 2 | Egg yolks |
| 2 | Vanilla beans (split in half) |
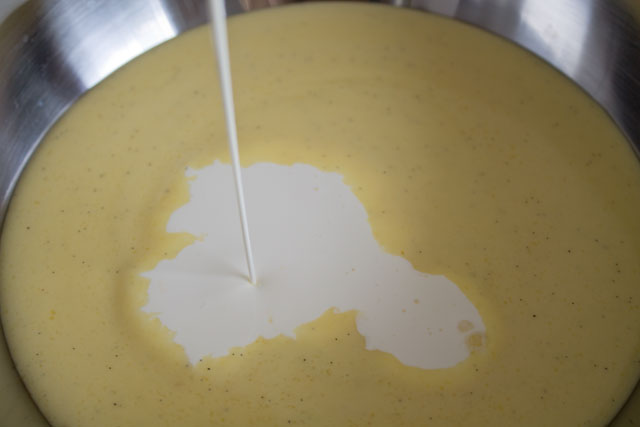
| 120ml | Heavy cream (cold) |
Directions
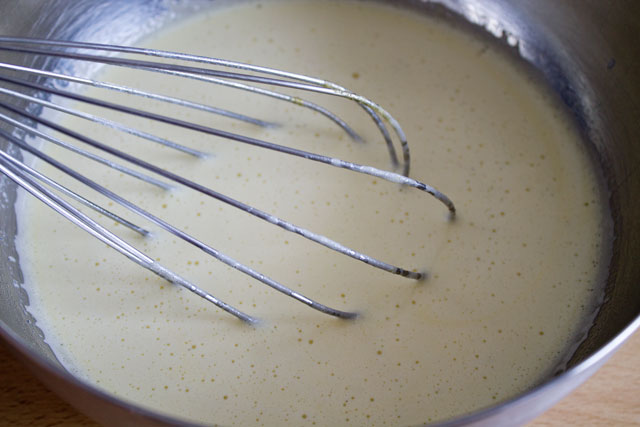
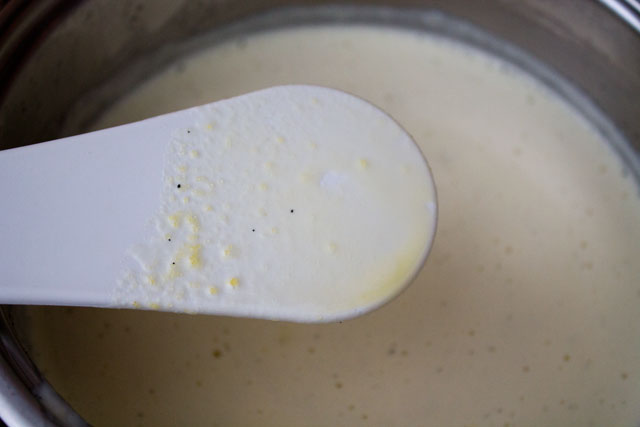
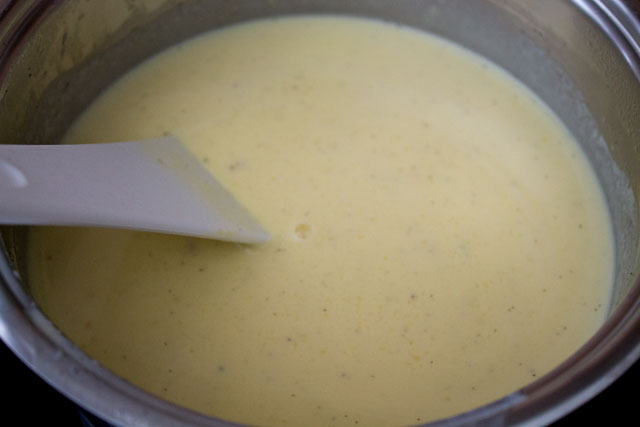
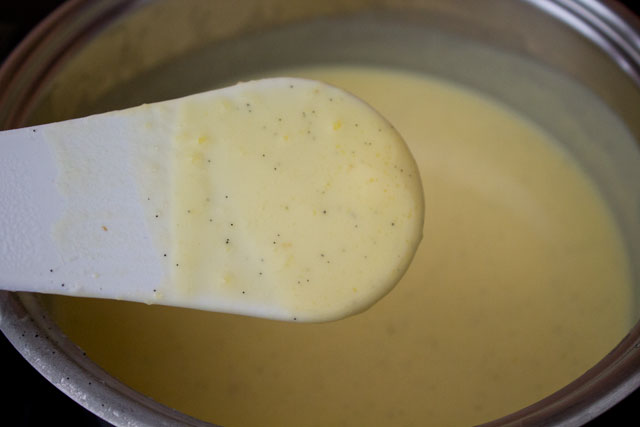
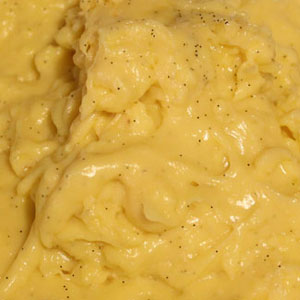
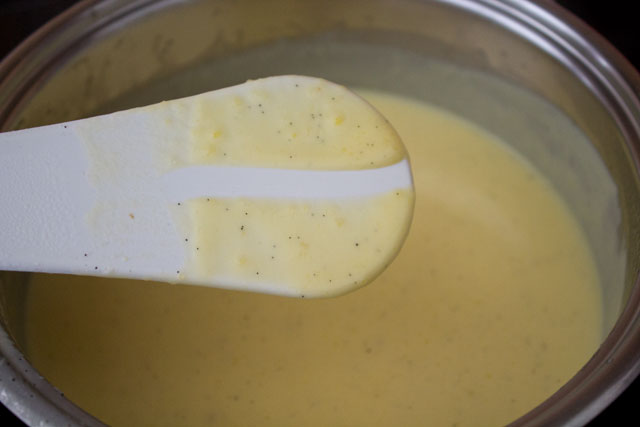
When the custard reaches the correct temperature, it will be sufficiently thickened and will coat the spatula or the back of a spoon.
Note
- Eggs are a potentially hazardous food with a high bacterial content, so they must be pasteurised by keeping the custard at 82°C for a couple of minutes in this recipe. This will kill all the bacteria in the custard. Any temperature above 85°C is risky as the yolks might start curdling.
- The final custard with pasteurised eggs should not be poured in the container that contained the raw eggs, as this would make the pasteurisation useless.
- The custard must be chilled quickly to prevent the proliferation of bacteria, which is highest at temperatures between 10°C and 60°C. To do this, prepare an ice bath with ice and cold water.
- The atomised glucose is powdered glucose (and is different from glucose syrup), which is used in the recipe to prevent crystallisation and to make the ice cream creamier. For home made ice cream, you can definitely survive if you use dextrose. And let's be clear: you can even replace it with regular sugar (around 0.5g of sugar for each gram of atomised glucose).