Recipe: Brioche dough
The first time I ate a French brioche, I almost fell on the floor!
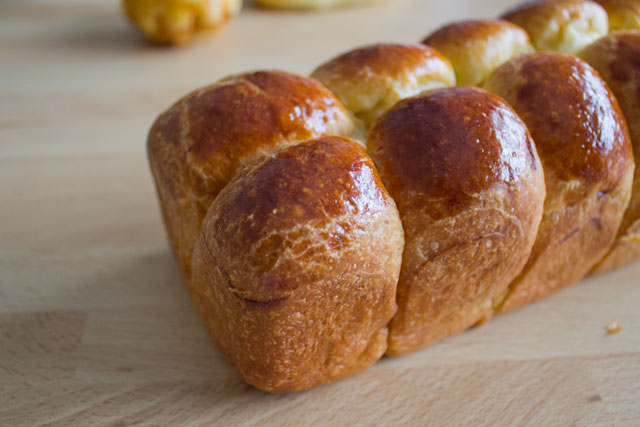
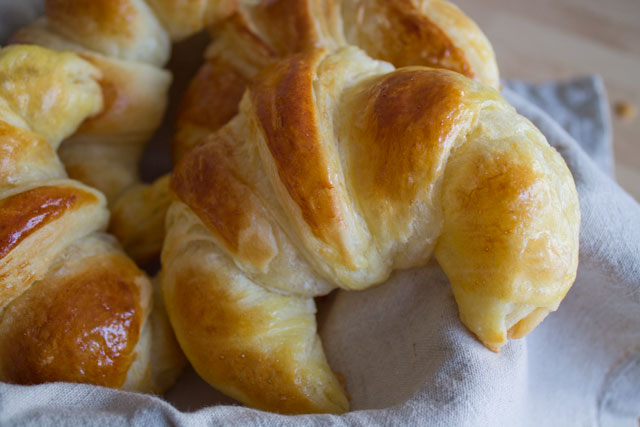
Brioches are heavenly soft and are by far my favourite “viennoiseries“, although the French still seem to prefer their flaky croissants for breakfast.
Their light, melt-in-your-mouth texture is the perfect way to start the day smoothly! The best part is that brioches come in different sizes and shapes and can be flavoured with sugar, chocolate, pralines or anything you want!
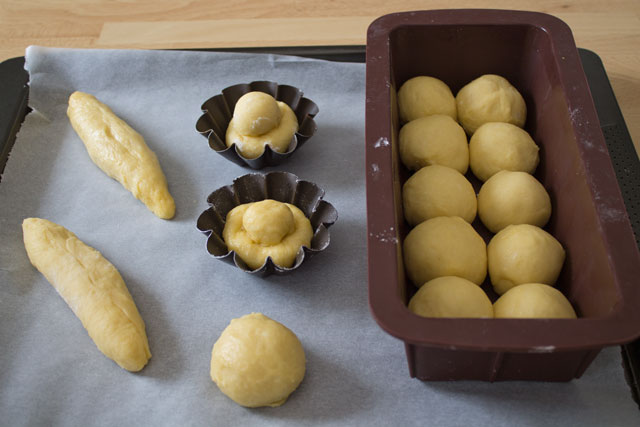
In this post you will find the basic recipe of the dough, which can then be used to shape different brioches: Nanterre brioche, Parisian brioche, Brioche à tête, Swiss brioche, plaited brioche and many more…
So how is a brioche made?
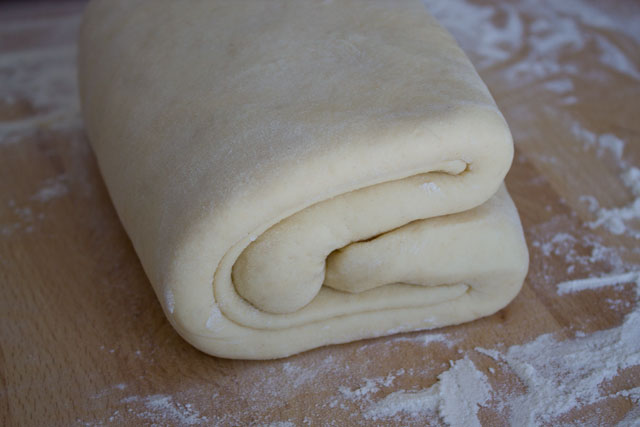
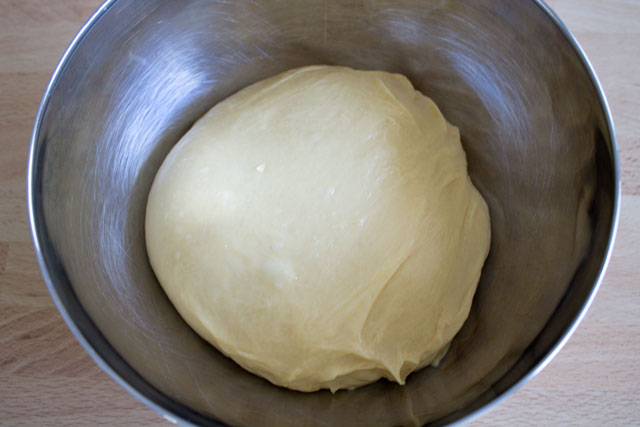
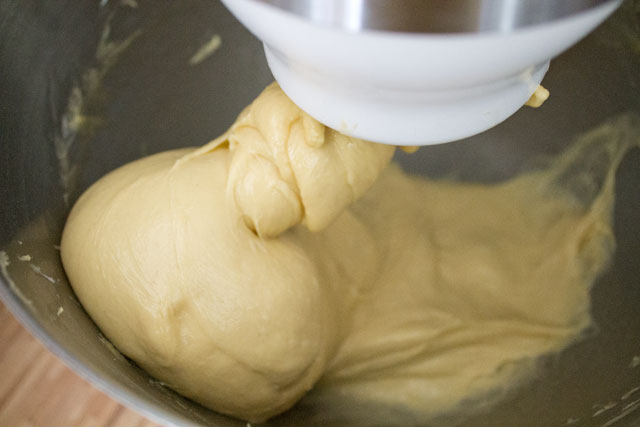
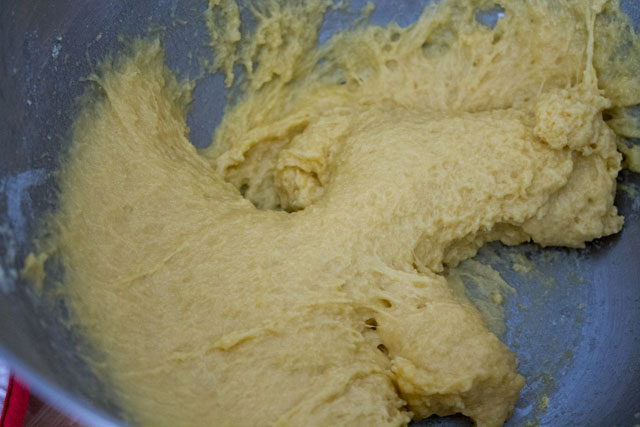
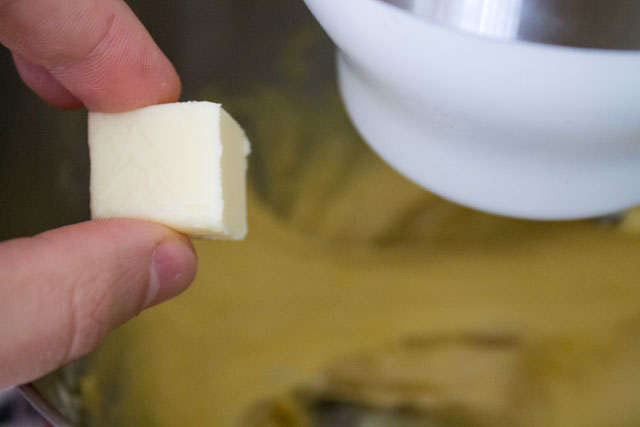
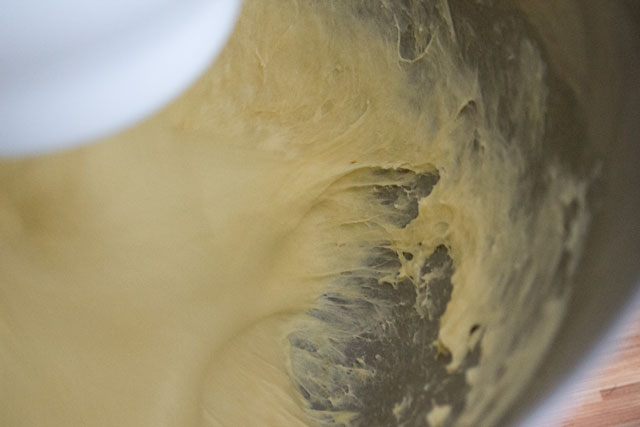
Brioches are made by incorporating soft butter into a thick dough obtained by kneading flour, yeast, sugar, salt and eggs together.
It is a very rich and buttery dough: for this reason, brioche must be made with a strong flour. A strong flour will have stronger gluten strands that are able to compensate the action of the butter (which loosens gluten strands).
Strong flour have a high “W”, a technical parameter which is usually never mentioned in supermarket flours: as a rule of thumb, you can opt for a high-protein flour, or bread flour, or, best of all, the so-called “Manitoba” flour (“farine de gruau” in French).
What are the steps to make a brioche?
Brioche is classified as “enriched yeast doughs“, so it is not different from other doughs that contain yeast. The procedure is the following:

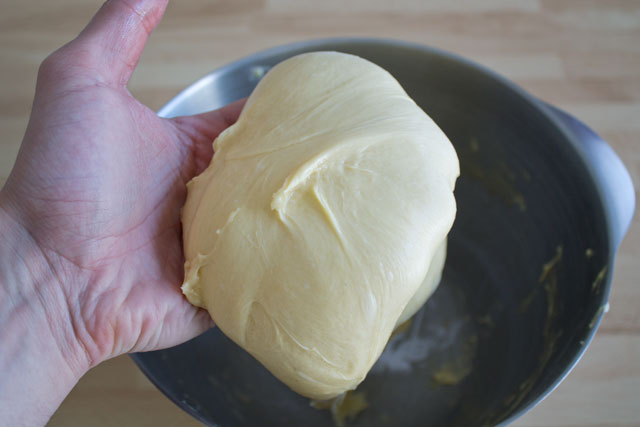
- Knead the basic dough
- “Enrich” it with the soft butter
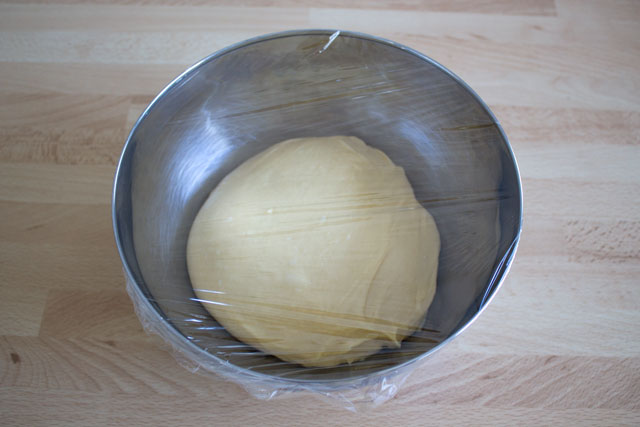
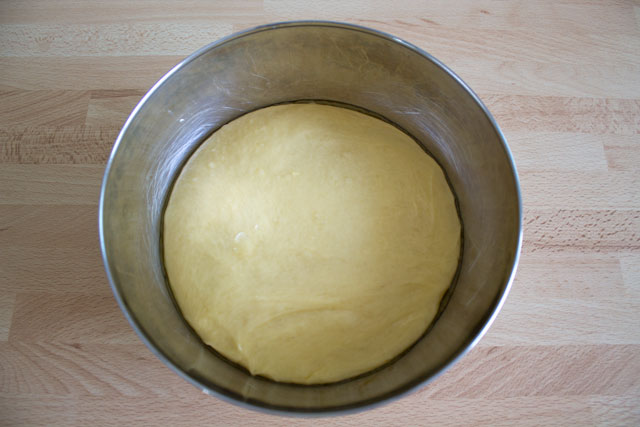
- Ferment at room temperature until doubled in size (first “rise”) for about an hour or 12 hours in the fridge
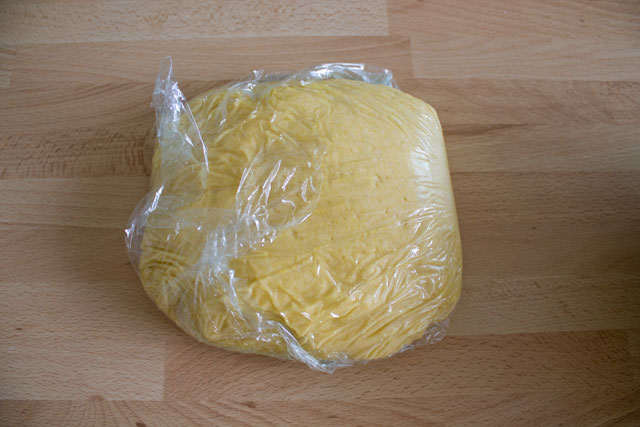
- “Punch” the dough to extract all gases
- Portion the dough and form the desired shapes
- Proof at room temperature until doubled in size (second “rise”) before baking, around 2 hours
Only step 1-4 are covered in this basic recipes. The remaining steps will be handled in the specific posts for each type of brioche.
Remarks about temperature
As you all know by now (because you’ve read my article on yeast), temperature (of the ingredients and of the room) affect the rise of the dough.
To cut a long story short, here a few considerations to keep in mind while working with brioches:
- The ingredients should all be at room temperature
- The dough should reach 24°C at the end of kneading and before fermenting. If it is warmer, store it right away into the freezer for a few minutes, until it reaches 24°C.
- To accelerate the fermentation (or in case your room is very cold), you can place the dough in a covered bowl inside the oven (make sure it is turned off of course!). You can preheat the oven at 35°C, but not higher, otherwise the butter will melt.
- Usually, “room temperature” means around 22°C. In summer, the fermentation will be faster, and in winter it will be slower. In any case, there should never be any current of air during the fermentation and proofing phases.
Brioche dough
 Print recipe
Ingredients
Dough
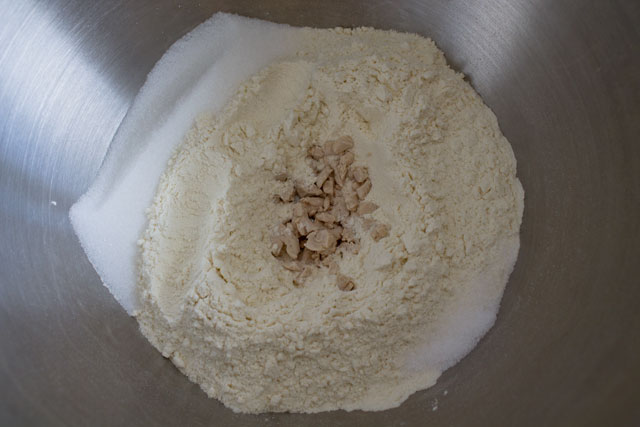
| 250g | High-gluten flour (Manitoba) |
| 30g | Granulated sugar |
| 1 teaspoon | Salt |
| 10g | Fresh yeast |
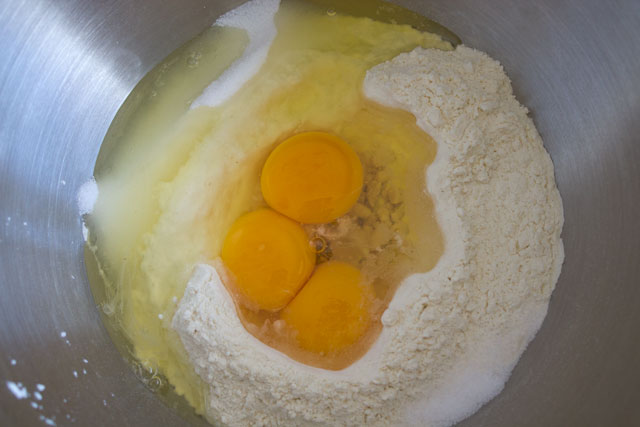
| 3 | Eggs |
| 170g | Unsalted butter (soft, room temperature) |
Directions
Note
- All the ingredients should be at room temperature, especially the butter which should be very soft (take it out of the fridge at least 2 hours before using)
- The sugar and salt should never enter in direct contact with the yeast to avoid "killing" it
P.S: a “real” brioche is yellow inside; if the brioche you buy in your bakery is whitish, it probably doesn’t contain butter but other cheaper substitutes!