Logo
  • Home
  • Pastry theory
    • Quick breads
    • Puff pastry – Pâte feuilletée
    • Choux pastry
    • Savarins
  • Recipes
    • Cakes
    • Cookies and brownies
    • Creams, custards and sauces
    • Enriched yeast doughs
    • Frozen desserts
    • Laminated doughs
    • Macarons
    • Meringues
    • Pâte à choux
    • Quick breads
    • Tarts
    • All recipes
  • About me
  • Contact
Copyright, 2015
August 30, 2014
Rob
Enriched yeast doughs
7

Recipe: Milk bread dough

A pastry chef in a bakery is often responsible for viennoiseries as well. Viennoiseries are products halfway between bread and pastry, like brioches or croissants.

Milk breads are also part of this category and they are probably the easiest viennoiserie you can make.

Recipe-Milk-bread-dough

The procedure to make milk bread is quite similar to that of brioches, with the following differences:

  • The addition of milk (oh really?)
  • Less butter: the dough is therefore easier to handle and knead (and less caloric of course)

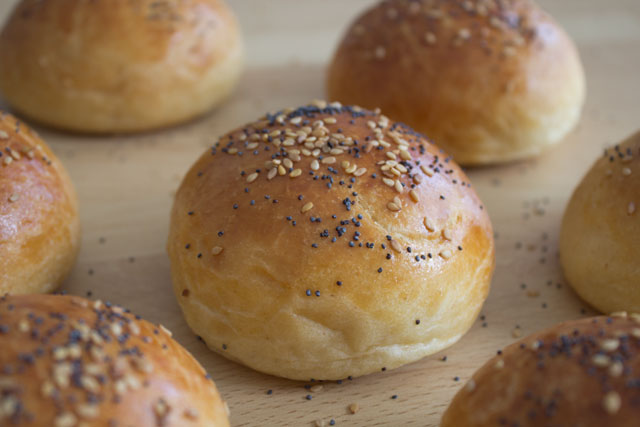
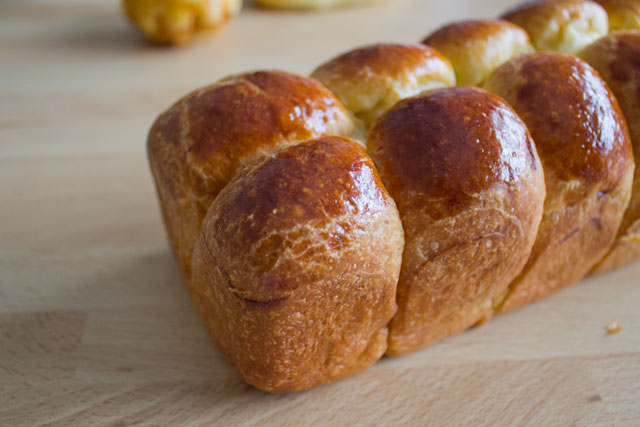
Like brioches, milk breads can come in different sizes and shapes, although the most common ones are:
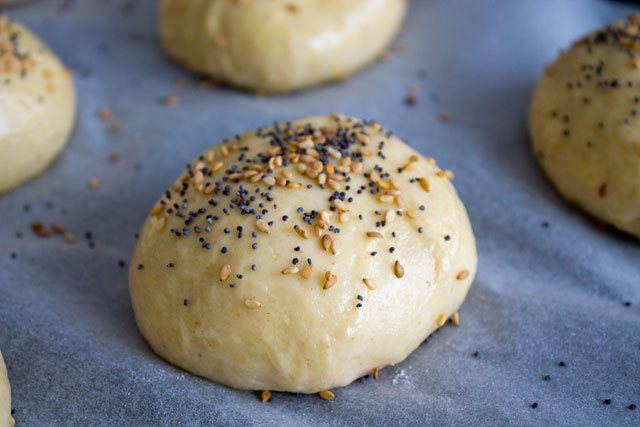
  • Round burger buns
  • Navettes (small, baguette-shaped breads)

So how to make milk bread?

Recipe-Milk-bread-dough03

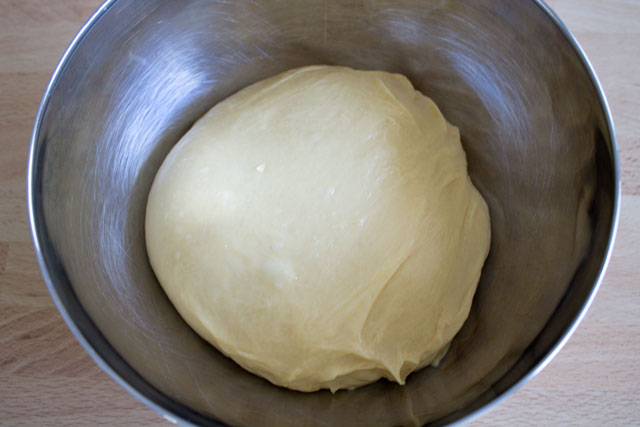
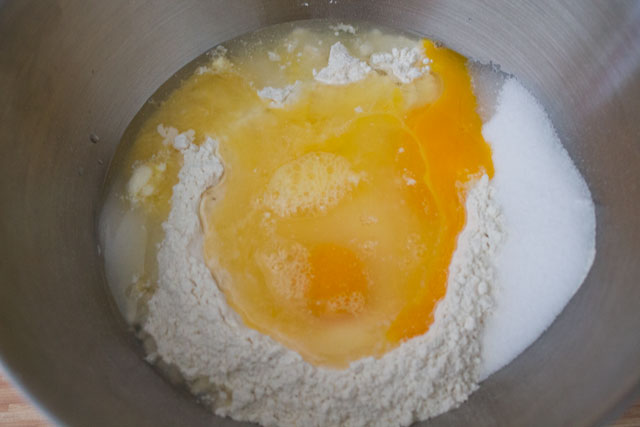
Milk breads are made by incorporating soft butter into a thick dough obtained by kneading flour, yeast, sugar, salt, milk and eggs together.

The same indications used for brioches are valid here as well. The dough contains a good amount of fat, which loosens gluten strands (and therefore makes it difficult for an elastic dough to form): for this reason, milk breads must be made with a strong flour in order to compensate the action of the butter.

Strong flour have a high “W”, a technical parameter which is usually never mentioned in supermarket flours: as a rule of thumb, you can opt for a high-protein flour, or bread flour, or, best of all, the so-called“Manitoba” flour (“farine de gruau” in French).

Finally, to handle products like milk breads, there are a few things you should know on yeast.

What are the steps to make a milk bread?

Milk breads are classified as “enriched yeast doughs“, so the procedure to make other doughs containing yeast applies:

Enriched yeast dough steps Recipe: Brioche dough

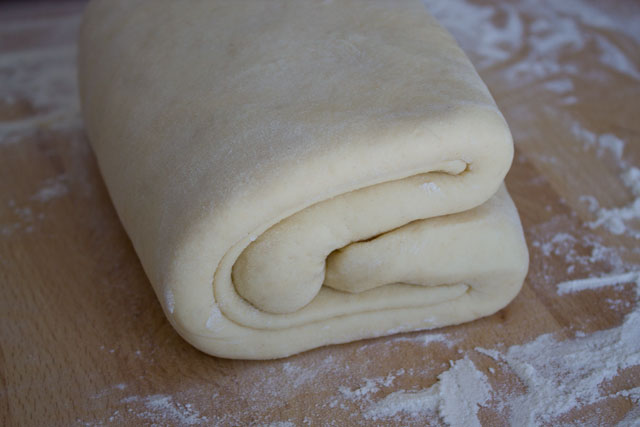
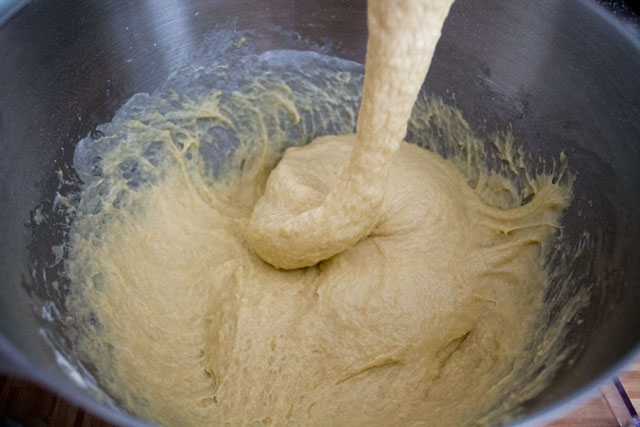
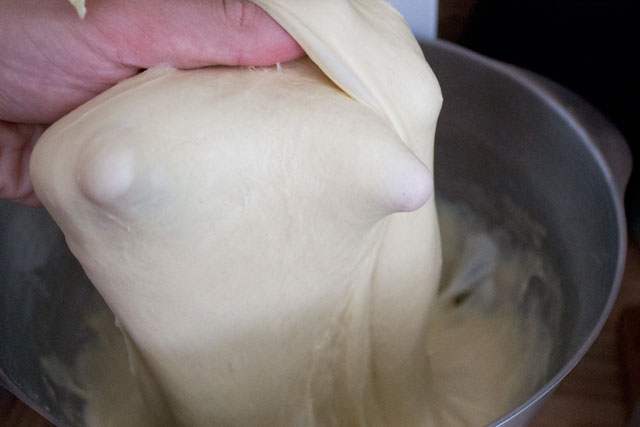
  1. Knead the basic dough
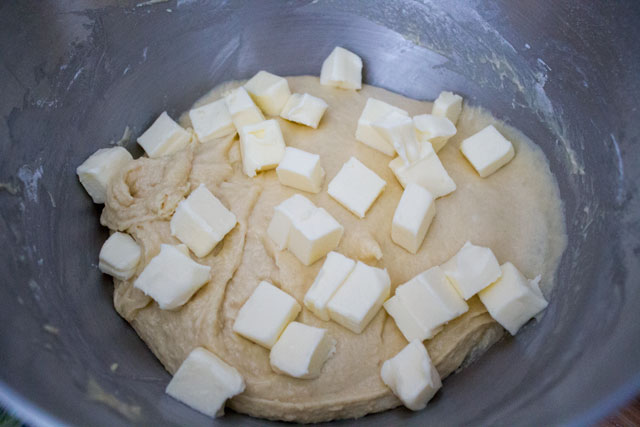
  2. “Enrich” it with the soft butter
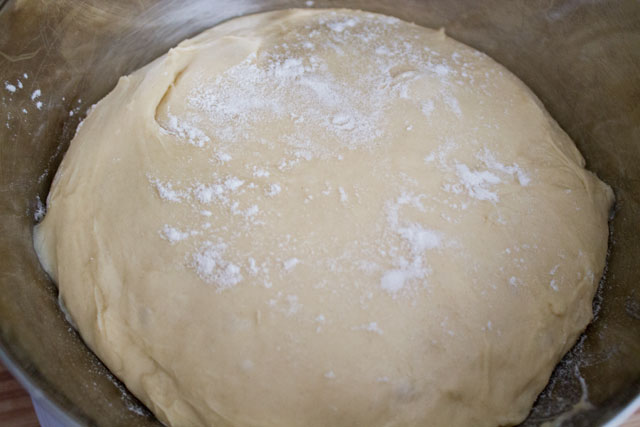
  3. Ferment at room temperature until doubled in size (first “rise”) for about an hour or 12 hours in the fridge
  4. “Punch” the dough to extract all gases
  5. Portion the dough and form the desired shapes
  6. Proof at room temperature until doubled in size (second “rise”) before baking, around 2 hours

Only step 1-4 are covered in this basic recipe. The remaining steps will be handled in the specific posts for each type of milk bread.

Recipe-Milk-bread-dough06

Remarks about temperature

Temperature (of the ingredients and of the room) is very important and it affects the rise of the dough.

To cut a long story short, here a few considerations to keep in mind while working with milk breads:

  • The ingredients should all be at room temperature
  • The dough should reach 24°C at the end of kneading and before fermenting. If it is warmer, store it right away into the freezer for a few minutes, until it reaches 24°C.
  • To accelerate the fermentation (or in case your room is very cold), you can place the dough in a covered bowl inside the oven (make sure it is turned off of course!). You can keep the oven at 35°C maximum, but not higher, otherwise the butter will melt.
  • Usually, “room temperature” means around 22°C. In summer, the fermentation will be faster, and in winter it will be slower. In any case, there should never be any current of air during the fermentation and proofing phases.


Milk bread dough

Print recipe
  • Print with all photos
  • Print text only

Ingredients

10gFresh yeast
115gMilk
250gPastry flour
30gGranulated sugar
1 teaspoonSalt
1Egg
115gUnsalted butter (room temperature)

Directions

1
Dissolve the yeast in 30g of room temperature milk, then place the mixture with the remaining milk in a mixing bowl. Add the flour on top, the egg and then place the sugar and salt on opposite sides of the bowl.
2
Knead for a few minutes at low speed with the hook attachment until you obtain a semi-smooth thick dough
3
Add the softened diced butter and knead by hand to incorporate it or keep on kneading at low speed and add the butter dice one by one
4
Keep on kneading until the dough is elastic, smooth, and detaches from the sides of the bowl (i.e. it "cleans" the bowl). You can perform the windowpane test by stretching the dough with two hands: if it doesn't tear apart, it's ready, otherwise keep on kneading.
5
Make a ball out of the dough and place it to rise in a bowl covered with plastic wrap
(Optional: before this step, check the temperature of the dough; it should be around 24°, if it is sensibly higher, store the dough for a few minutes in the freezer until it reaches 24°, the ideal temperature for an optimal rising)
6
One the dough has properly risen, "punch" it (or simply press it) a few times to let the fermentation gases escape. Then cover in plastic wrap and store in the refrigerator for at least 2 hours, or better overnight.

Note

  • All the ingredients should be at room temperature, especially the butter which should be very soft (take it out of the fridge at least 2 hours before using)
  • The sugar and salt should never enter in direct contact with the yeast to avoid "killing" it

More Posts Like This One

Recipe: Brioche dough

June 1, 2014

Recipe: Burger buns

September 7, 2014

Recipe: Brioche Nanterre

June 5, 2014

Recipe: Croissant dough

February 9, 2015
BunsBurger bunsButterEnriched yeast doughsHamburgerManitoba flourMilk breadStrong flourTraditionalViennoiseriesYeast
Share this
7 Comments General

7 Comments

  • ofer
    March 2, 2016 10:19 am

    it came out too runny..what can be my problem? is the amount of 250 grams of flour enough?

    Reply
    • Rob
      March 2, 2016 10:28 am

      Hi ofer, is runny as in step 2? It is normal at the beginning for the dough to be runny, but by kneading it should become firmer. I doubled checked the quantity in my original recipe and they are correct. Probably your flour was not strong enough, you can try to use a Manitoba flour.

      Reply
      • ofer
        March 2, 2016 10:47 am

        first of all thanks to the quick answer..second your blog is amazing and every recipe that i have done came out perfect..so i guess i would change the flour.:)

        Reply
  • c.
    August 2, 2019 7:11 pm

    The recipe calls for Pastry flour (typically packaged as “Cake & Pastry Flour”), which is softer than all-purpose, but the blog post specifically mentions using a hard flour. Hard flours are typically packaged as “Bread Flour”.

    Reply
  • Olga
    June 11, 2020 4:25 pm

    Hey, why after overnight fermentation my dough smell like alcohol and is growing so much? Should I punch it before putting in fridge or after (before portioning)? Thank you in advance for respond 🙂

    Reply
    • Rob
      June 12, 2020 8:08 am

      Hi Olga, it’s normal: yeast in doughs produces CO2 and ethanol, therefore the fermentation must not last “too long”: you should rise the dough only until doubled in size. If that happens too fast for your plans, simply decrease the quantity of yeast.
      And yes, you can punch it before storing in the fridge. Good luck 🙂

      Reply

Leave A Comment Cancel reply


WELCOME

Hi, my name is Rob, I work in IT but I love baking and I also got a pastry diploma. I created this blog to keep track of my journey from complete beginner to world pastry champion (I'm not there yet).

MOST POPULAR POSTS

Recipe: Pistachio macarons (with Italian meringue)

Some time ago I decided to make green macarons and so I bought a powdered green colouring (which for some

Recipe: Chocolate mirror glaze

This is one of the pastry “secrets” that differentiate a home-baker from a “pro”. I’m talking about this super-shiny chocolate

Recipe: Pistachio paste

Now that I don’t have to “study” for my pastry exam anymore and I don’t have to prepare the old-fashioned,

Recipe: Mille-feuille (Cream Napoleon)

You can’t go more classical than this! The mille-feuille is a traditional French pastry that can be found in any

Recipe: Chocolate Royal cake (“Trianon”)

So yes, last month I celebrated my birthday. 29 years. For the third time. For some, a birthday is a

ALSO READ…

My very first video: Tiramisù (with pasteurised eggs)
Recipe: Chocolate Royal cake (“Trianon”)
Video: Carrot cake
Video: Croissants
Video: Strawberry, rhubarb and almond tart

Archives

Subscribe to our Newsletter


Select list(s):