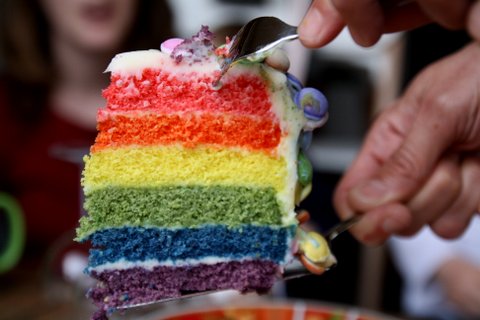
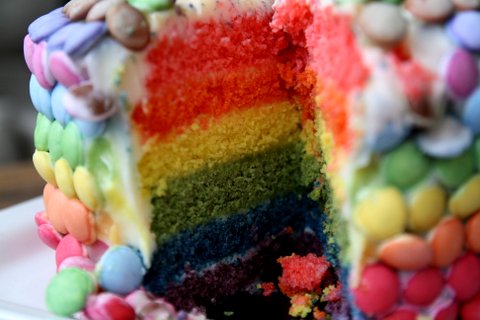
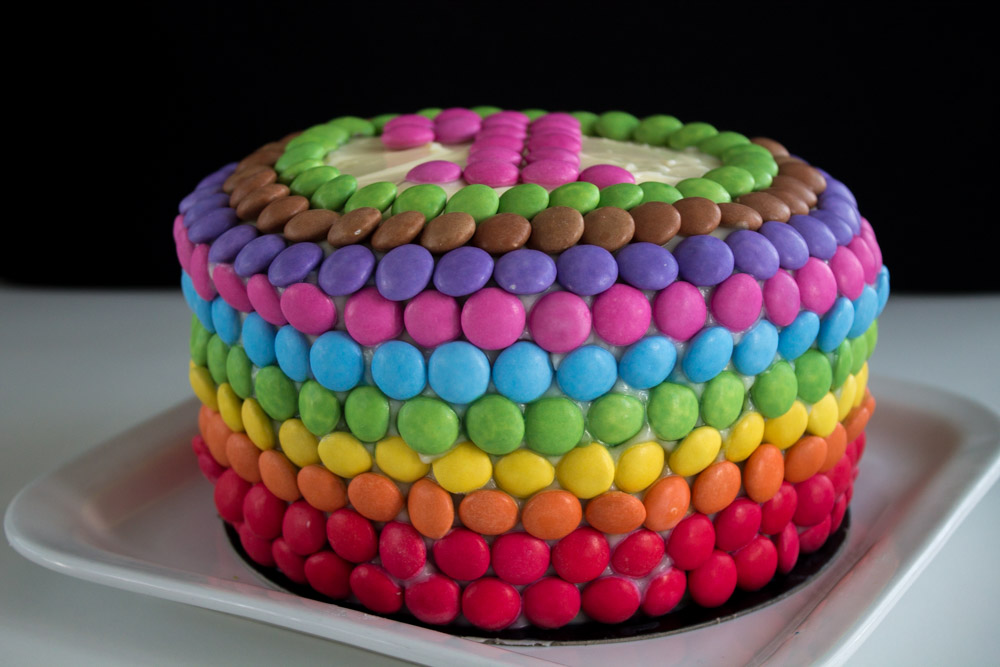
A birthday rainbow cake
My friend Gillian is very easy to please: she just likes complicated cakes!!!
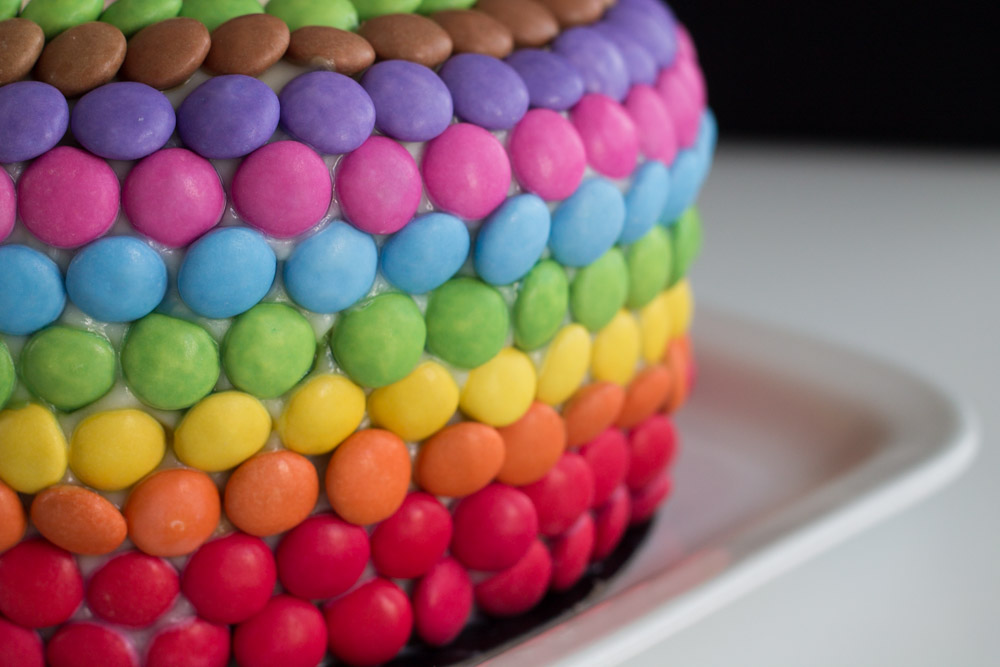
Before I had this blog, she commissioned me a “Rubik’s cube” cake for her birthday, then came the real St. Honoré, which is notoriously elaborate. And this year she decided to challenge me by requesting a Smarties-covered rainbow cake for her little bundle of joy who turned one.
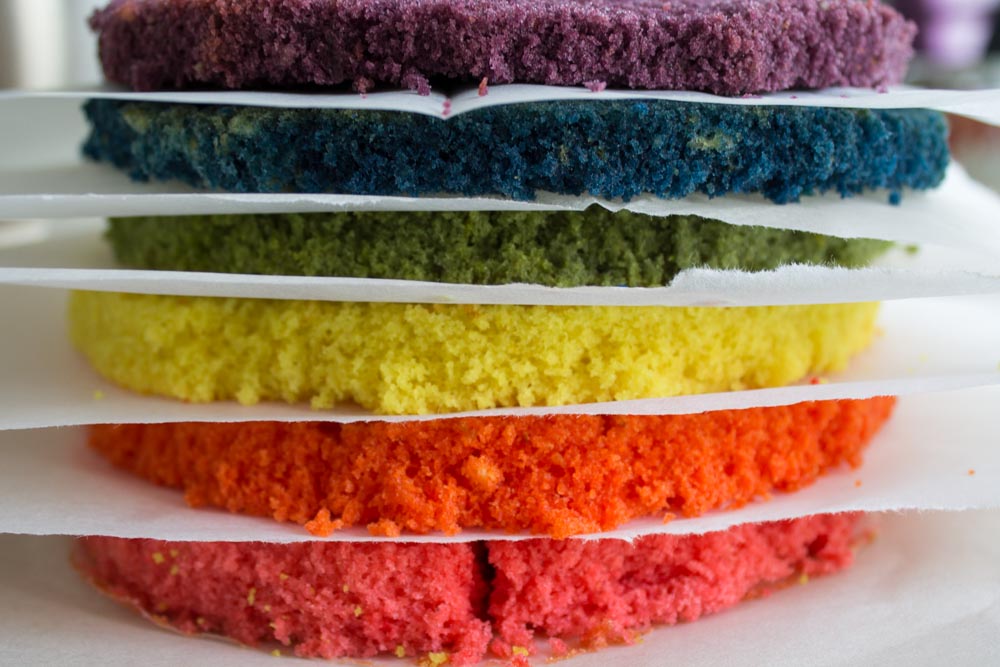
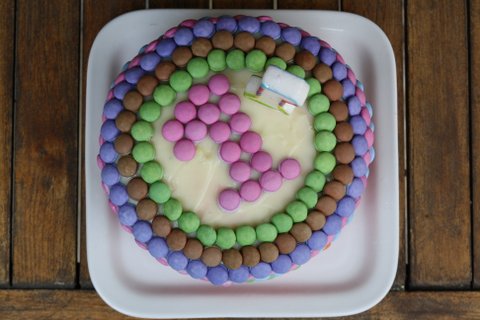
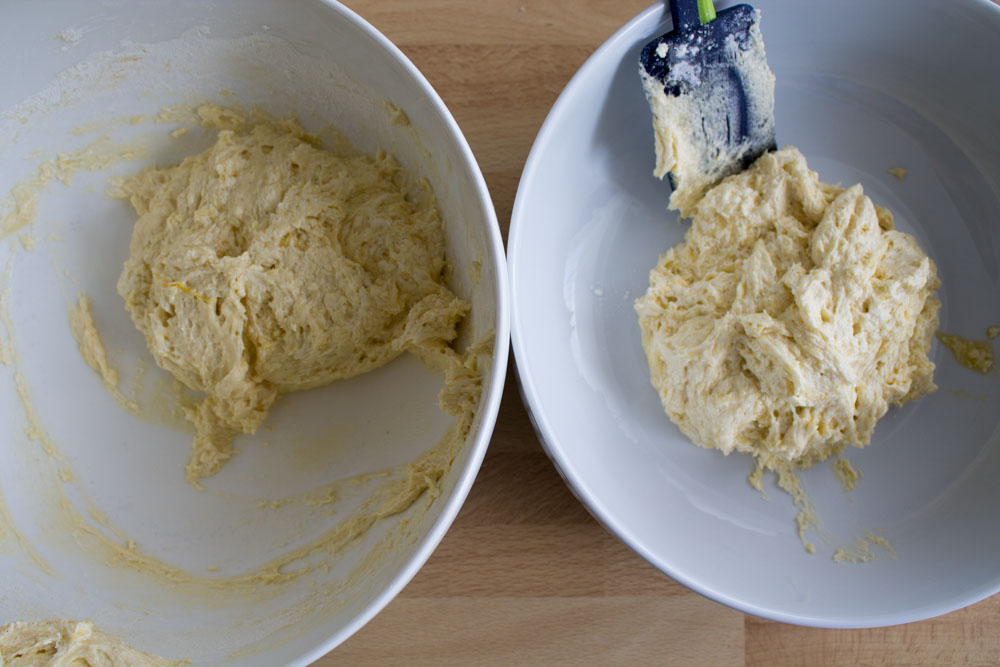
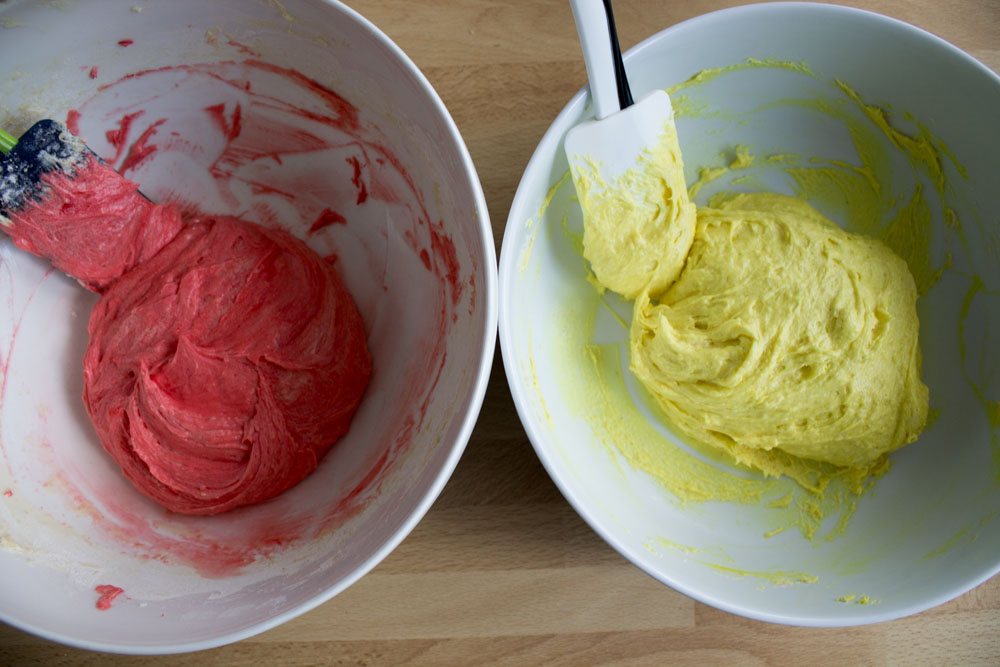
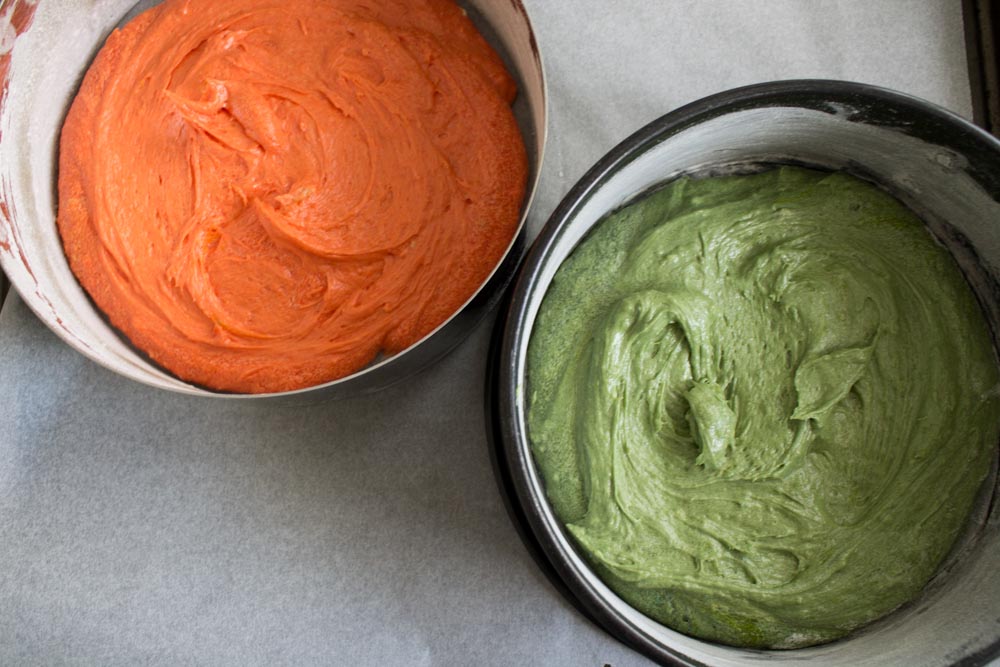
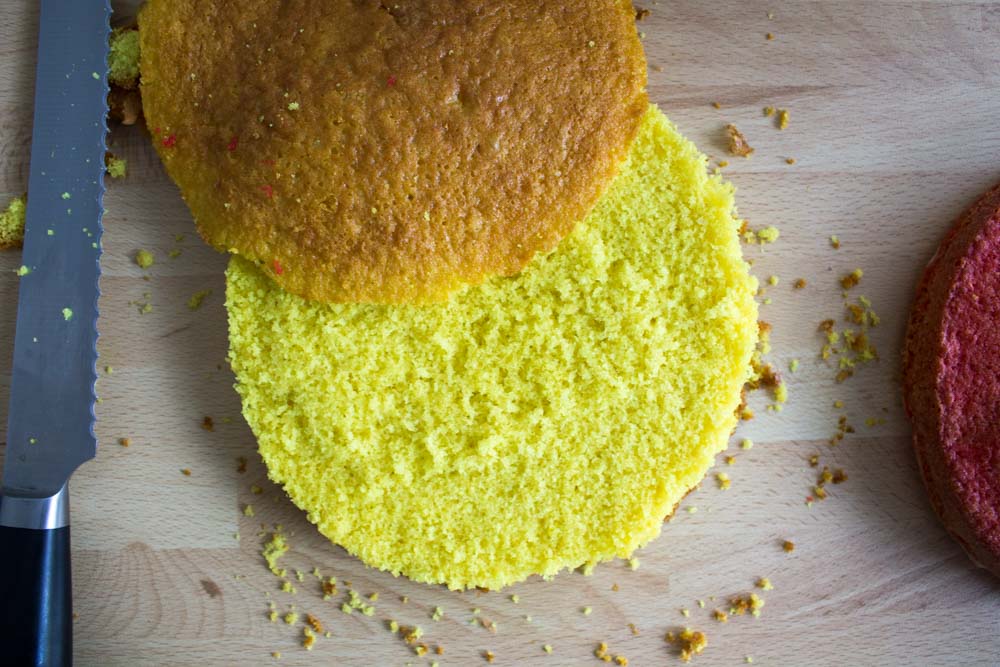
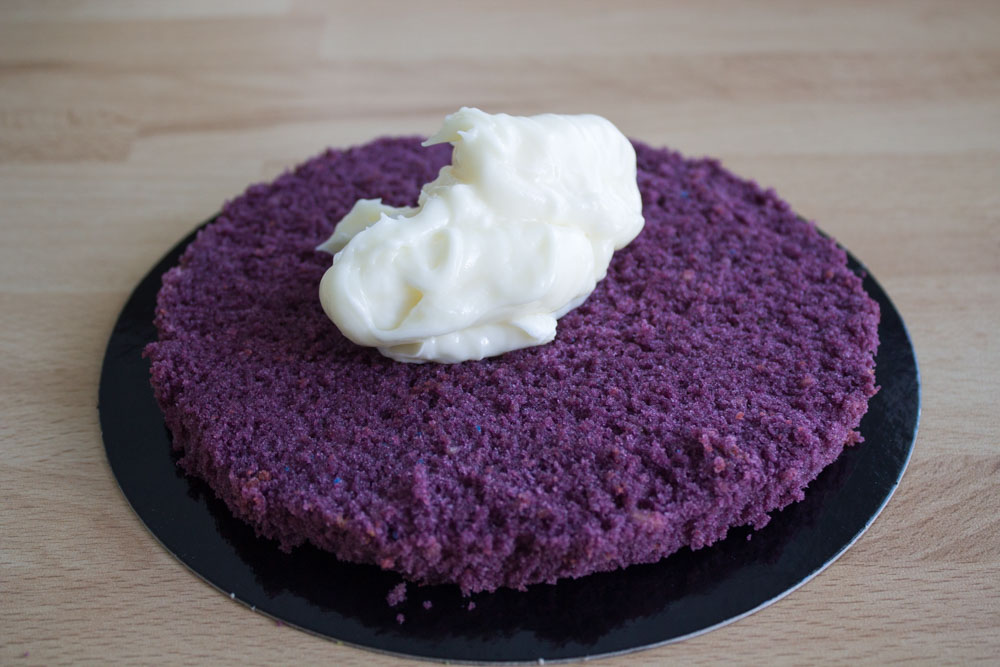
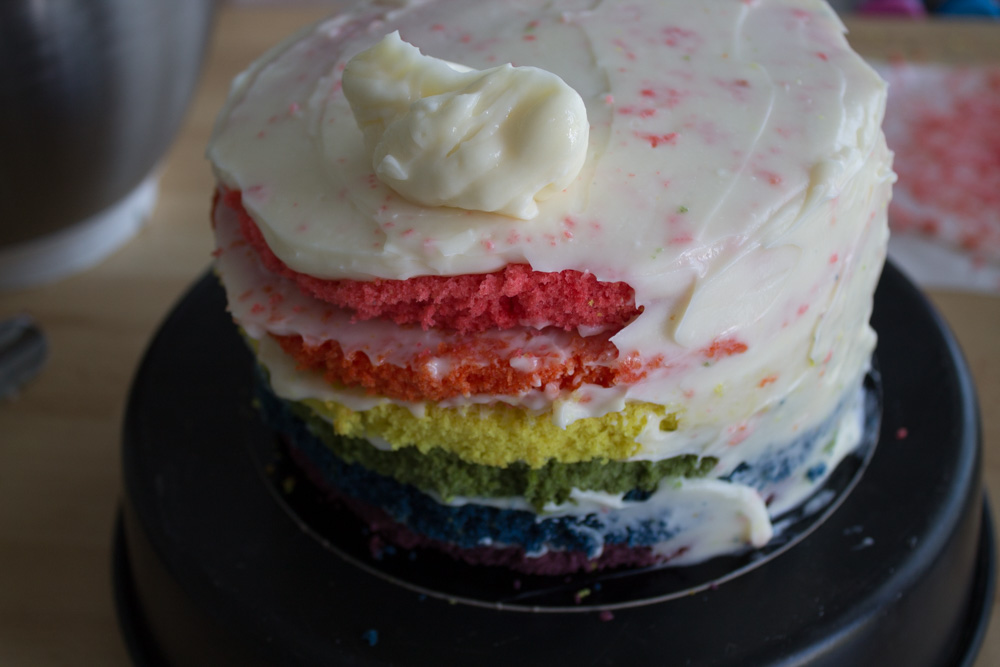
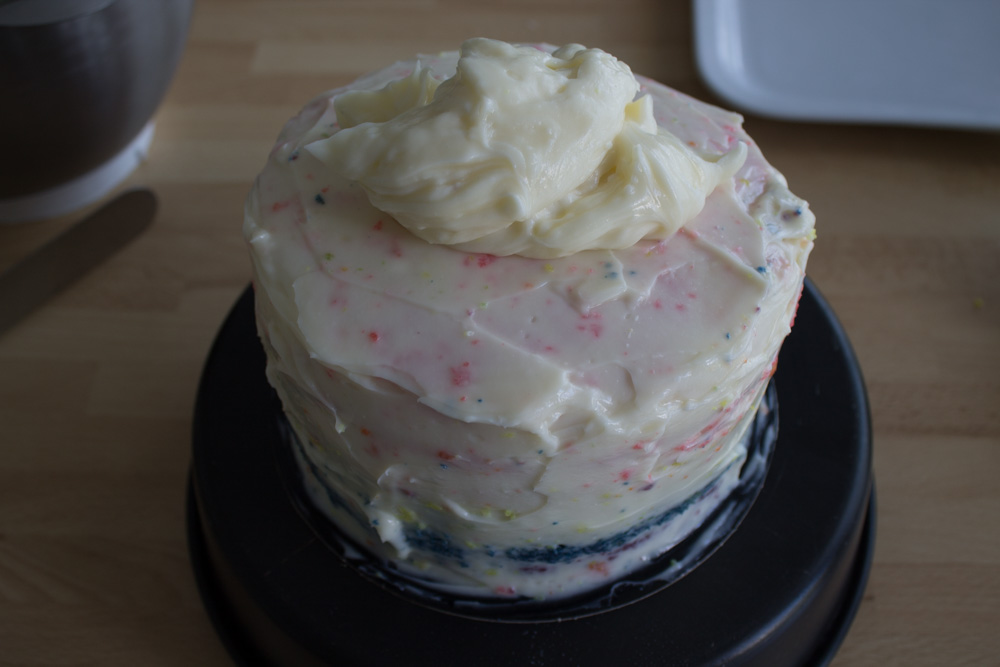
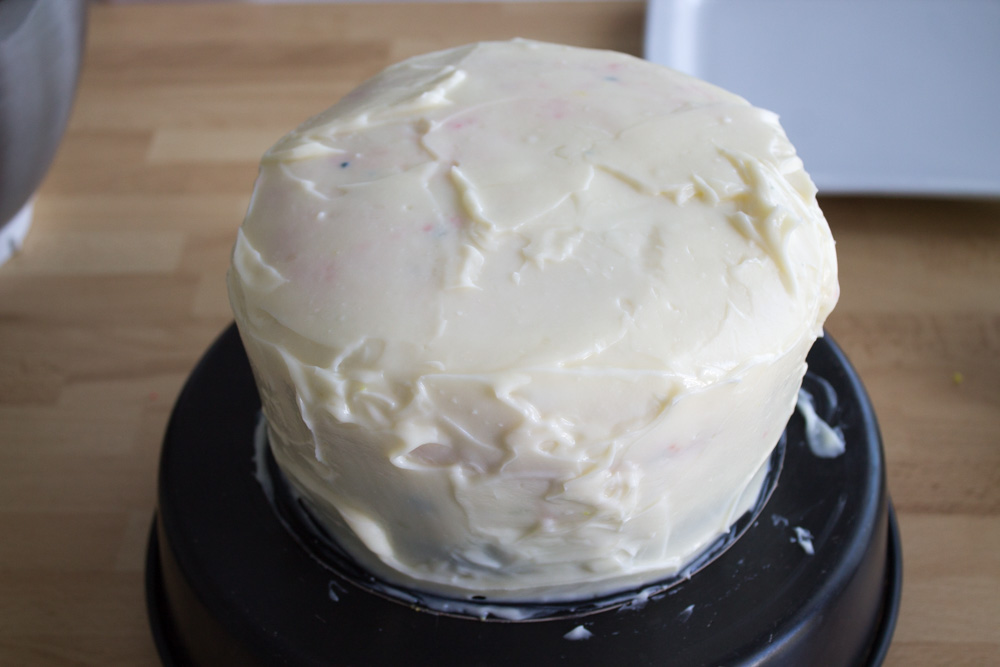
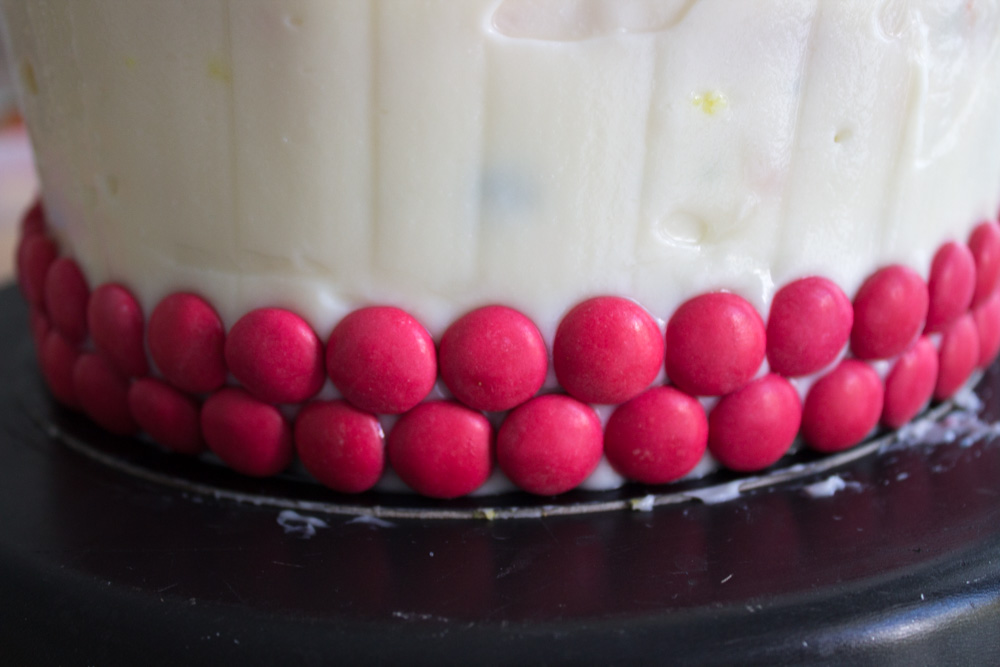
The difficulty level here is not extreme: it’s just a traditional poundcake baked in six different colours, covered in cream cheese icing and decorated with Smarties. Easy, but long to make.
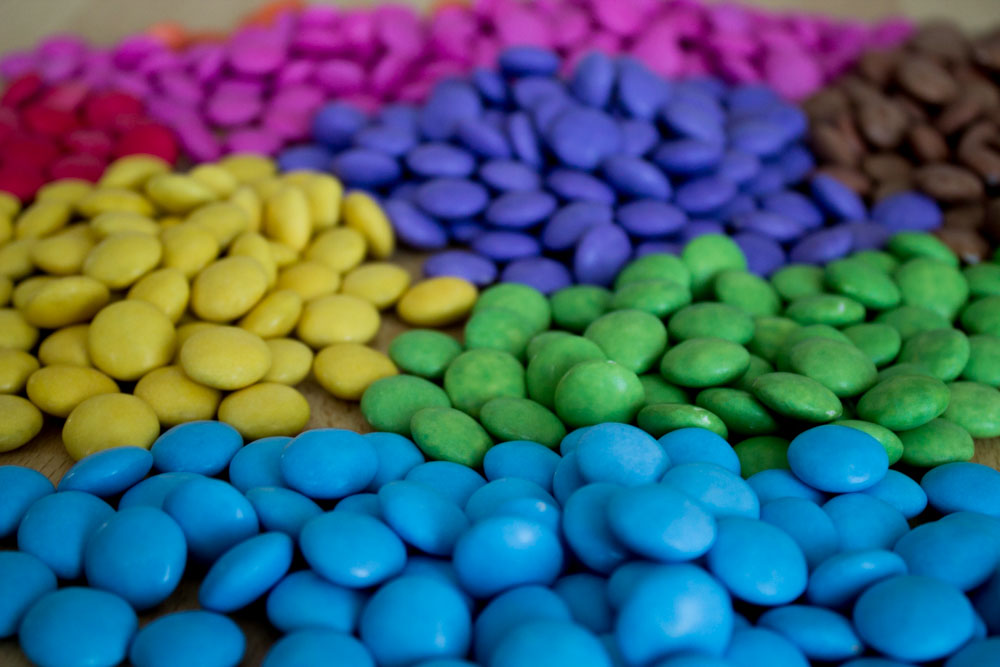
Luckily enough, she took care of a time-consuming task: buying the Smarties… and sorting them by colour!!! (I won’t go into the details of how her engineer husband Florian calculated the number of required Smarties… just know it involved cellular networks!) 😛
All in all, it is an awesome-looking cake that is sure to amaze your friends. I must say it feels a bit weird to eat something colourful that doesn’t match the flavour (you would expect raspberry from the red layer, lemon for the yellow one, Smurf for the blue one, and so on…), but the vanilla flavour is always good and is perfectly complemented by the cream cheese icing. It is perfect for celebrations and for kids!
Rainbow cake
 Print recipe
Ingredients
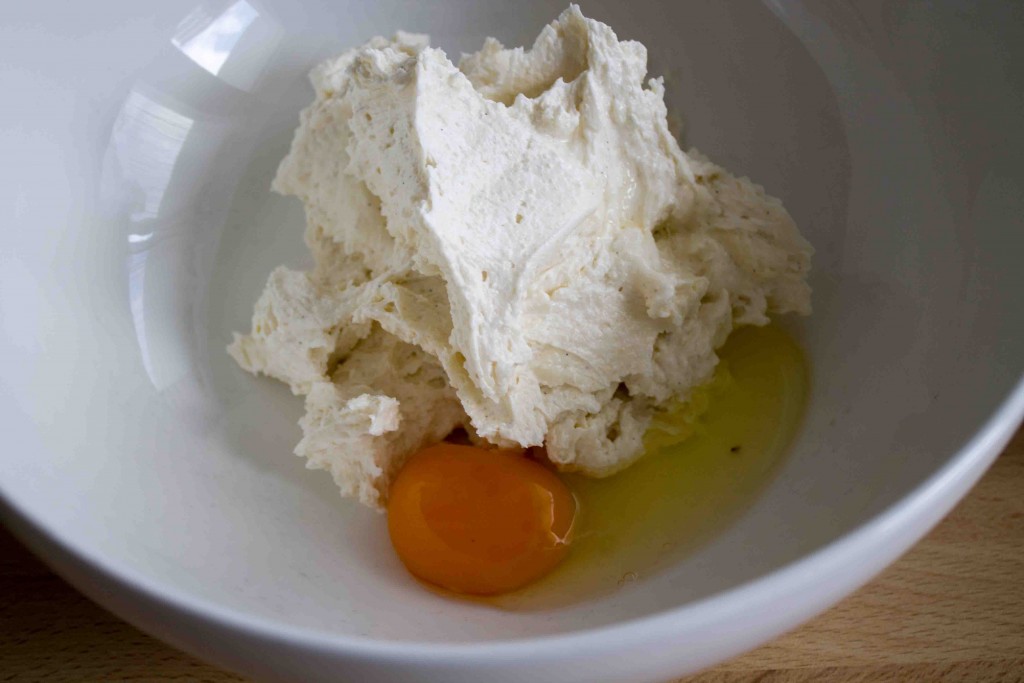
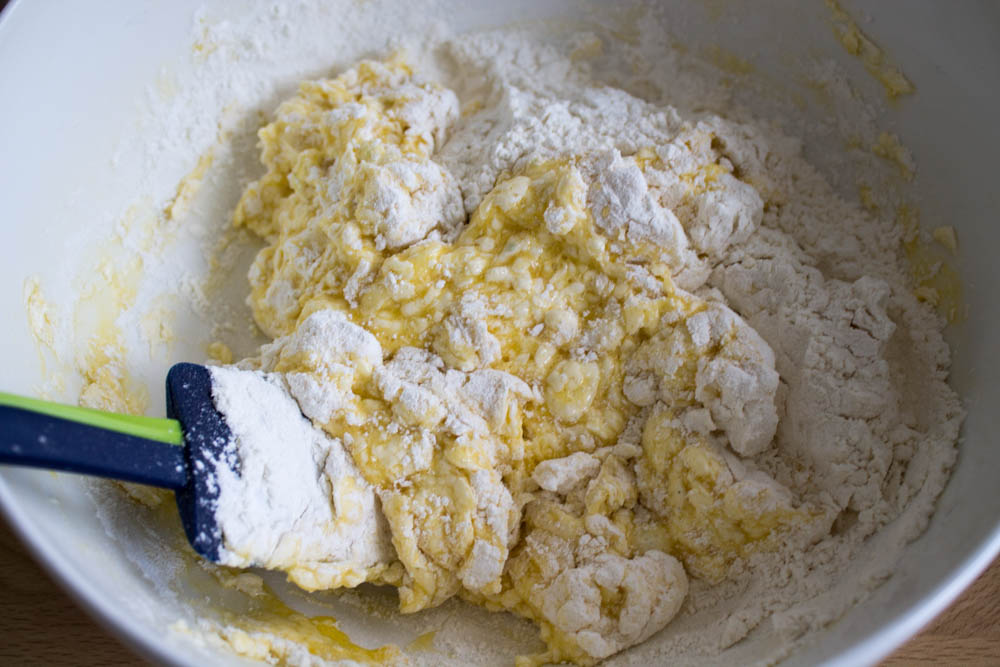
Cake layers
| 500g | Unsalted butter |
| 500g | Powdered sugar |
| 2 | Vanilla beans |
| 500g | Eggs (~ 10 eggs) |
| 250g | Pastry flour |
| 250g | Cornstarch |
| 15g | Baking powder |
| As needed | Red, Yellow and Blue food dye |
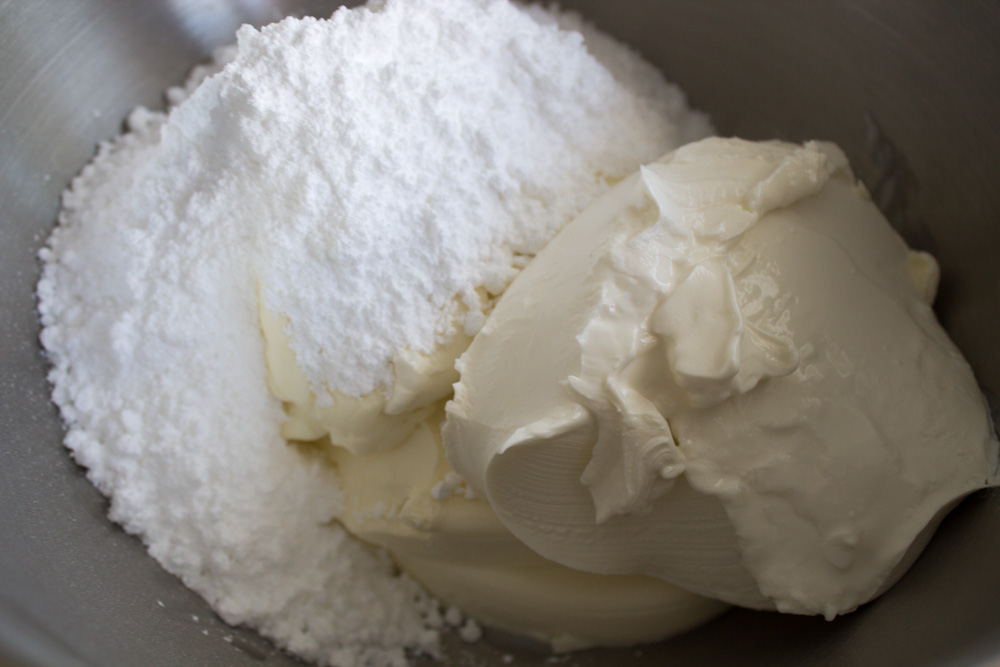
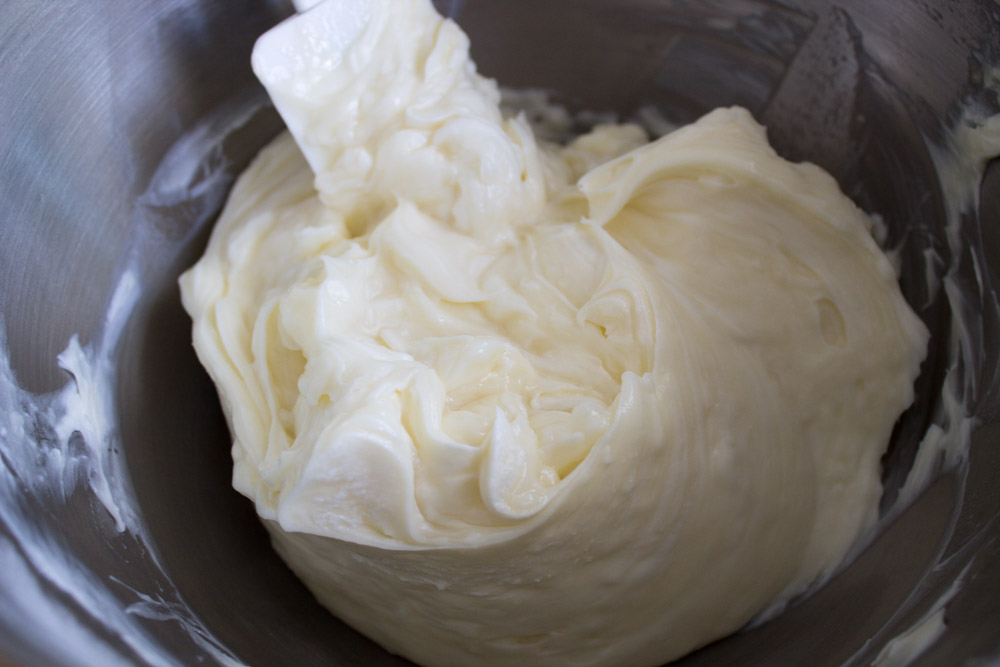
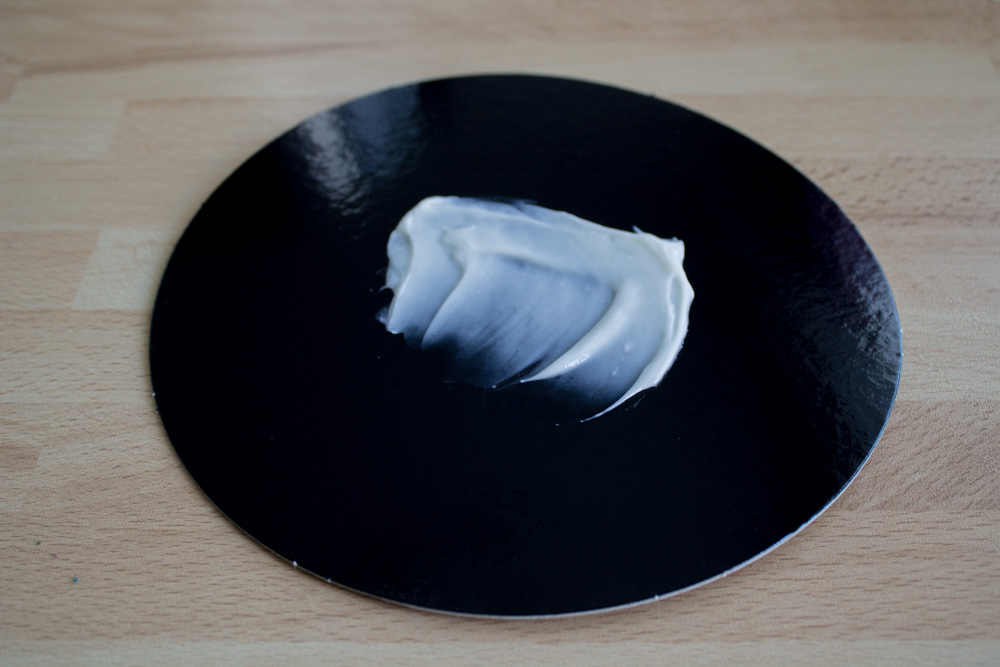
Icing
| 750g | Cream cheese (e.g. Philadelphia) |
| 300g | Powdered sugar |
Decoration
| As needed | Smarties/M&M's (at least 38x9 decoration lines, you should be safe with around 400 in total) |
Directions
Cake layers
Icing
Note
- Store the cake in the fridge for up to 5 days
- Smarties or M&M's will start losing their colour in contact with the icing, and the humidity of the fridge will not help at all, so I would suggest you finish the decoration just a couple of hours before serving, if possible
- For a normal home oven like mine, the cakes should baked on the same level to prevent over/underbaking: this means that you might have to bake in batches of two cakes. If you prefer, you can also repeat the recipe three times to obtain six layers: this was my approach but I'm not sure it is the most efficient 🙂
- Food dye might make your batter a bit "flashy", but don't worry, since the colours will slightly darken during baking
- As a reference, orange = red + yellow; green = yellow + blue; purple = red + blue